

Step 13: Media
Media
— Learn everything about media
At the end of the page there is a media tab. This gives you the ability to add images to a page without using the page builder.
- Open a certain page
- Scroll down until you see the ‘media’ tab
- Click select and add images
You’ll also notice in the dark menubar (on your left) a button ‘media’. This is the media panel where you add and edit media. The media panel contains photos, videos and embedded links.
- Click on the button media in your dark menubar (left)
- Upload content
Tips 'n tricks
Explore with it and you'll get away with it quickly!
Step 12: Featured Image
Featured Image
— Learn everything about featured images. This is the image that will be shown by viewing the page.
Tips 'n tricks
Explore with it and you'll get away with it quickly!
Step 09: SEO
SEO
— Set your SEO (search engine optimization)
Getting started
If you want to be searchable on Google for specific keywords, it's essential to configure the correct SEO settings. In this article, we will cover several crucial steps.
For example, suppose you want to be found for the keyword 'web design Antwerp.
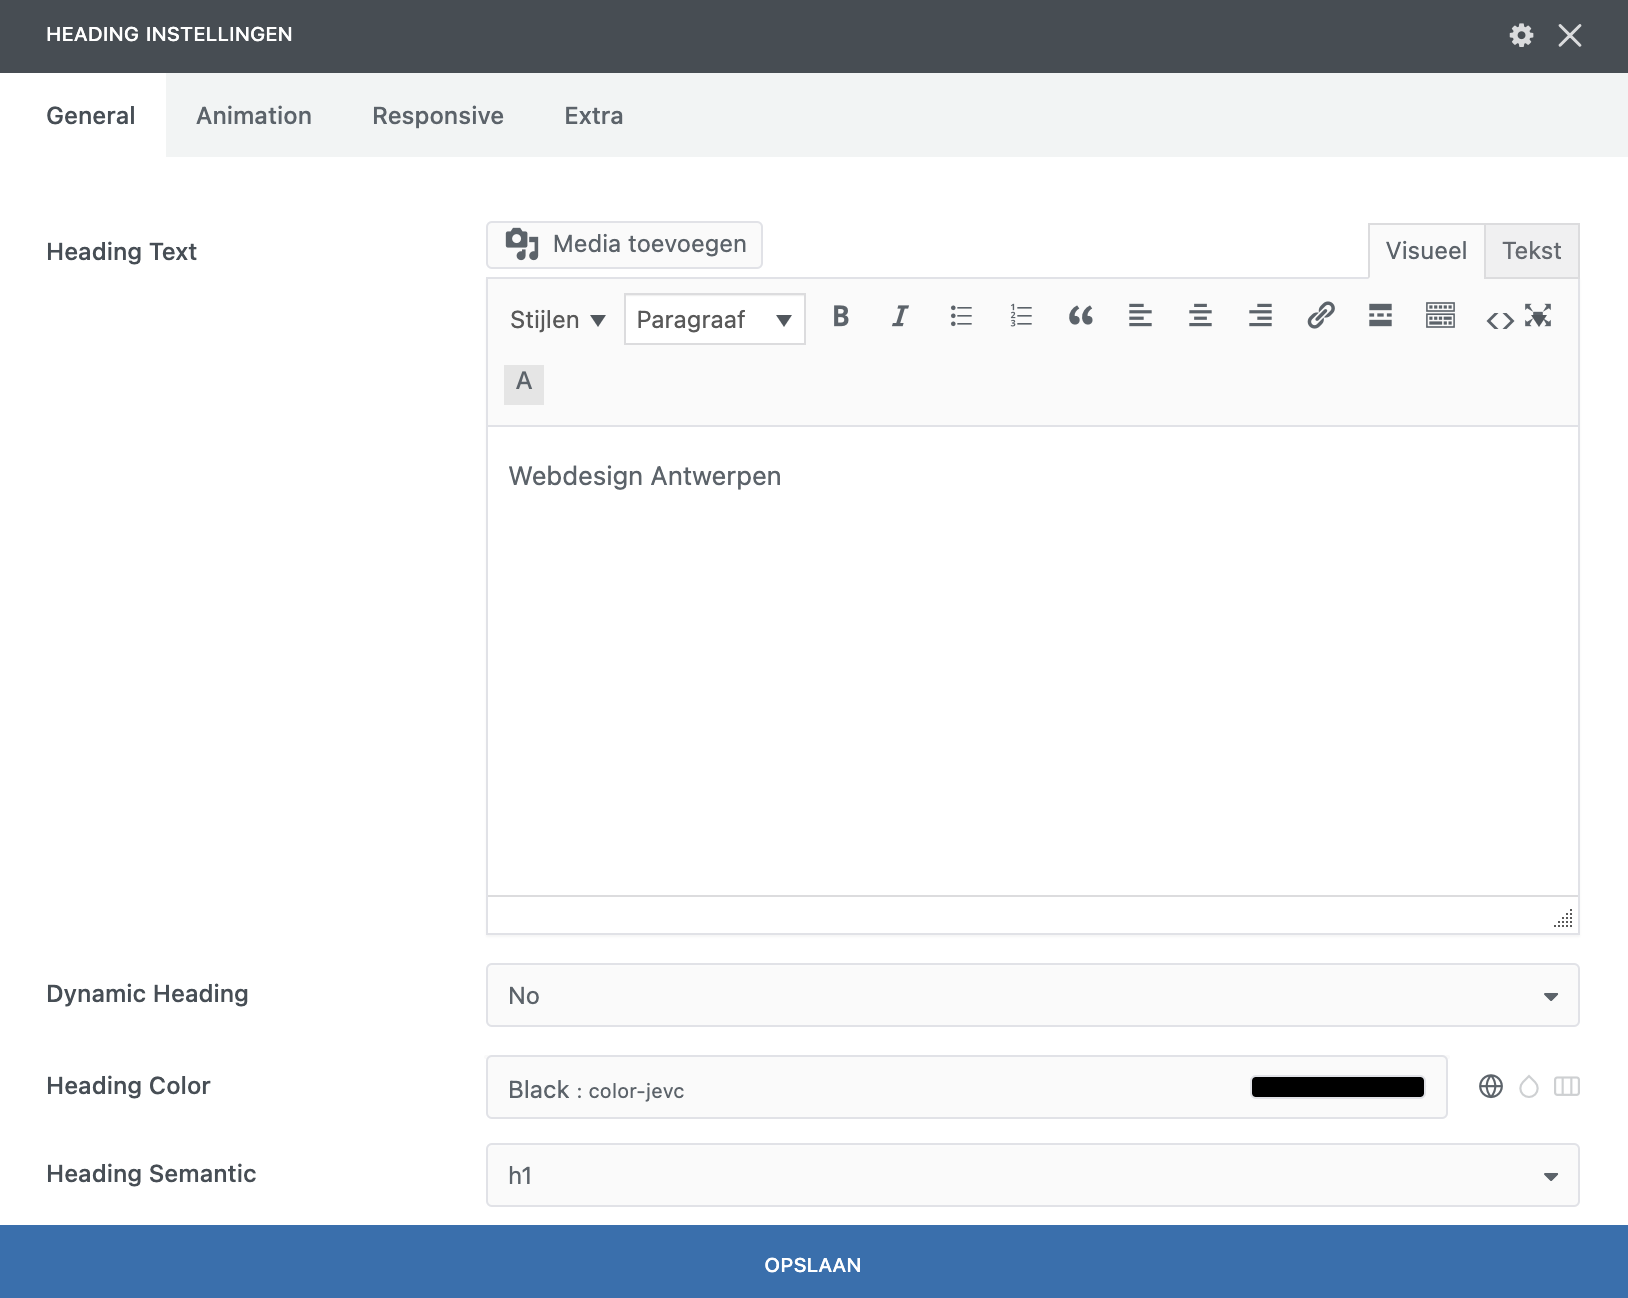
Step 1: At the top of your page, fill in a title, for example 'Webdesign Antwerp.'

Step 2: Right under the title, fill in the permalink. This is the url of the page. Please note when filling in your permalink that a space in a URL is always a '-' sign because Google does not recognize underscores.

H-tags
It's important to assign the appropriate heading semantics (H-tags) to the right titles. Assign the focus keyword and the title of your page an H1 tag. Provide subtitles with the focus word again additionally in an H2 tag. For all text you put on your page, it is important not to use capital letters, as Google ranks them lower. When you want text to be in capital letters on your page, it's best to do this with the appropriate settings or CSS.
Overriding Automatically Generated Titles
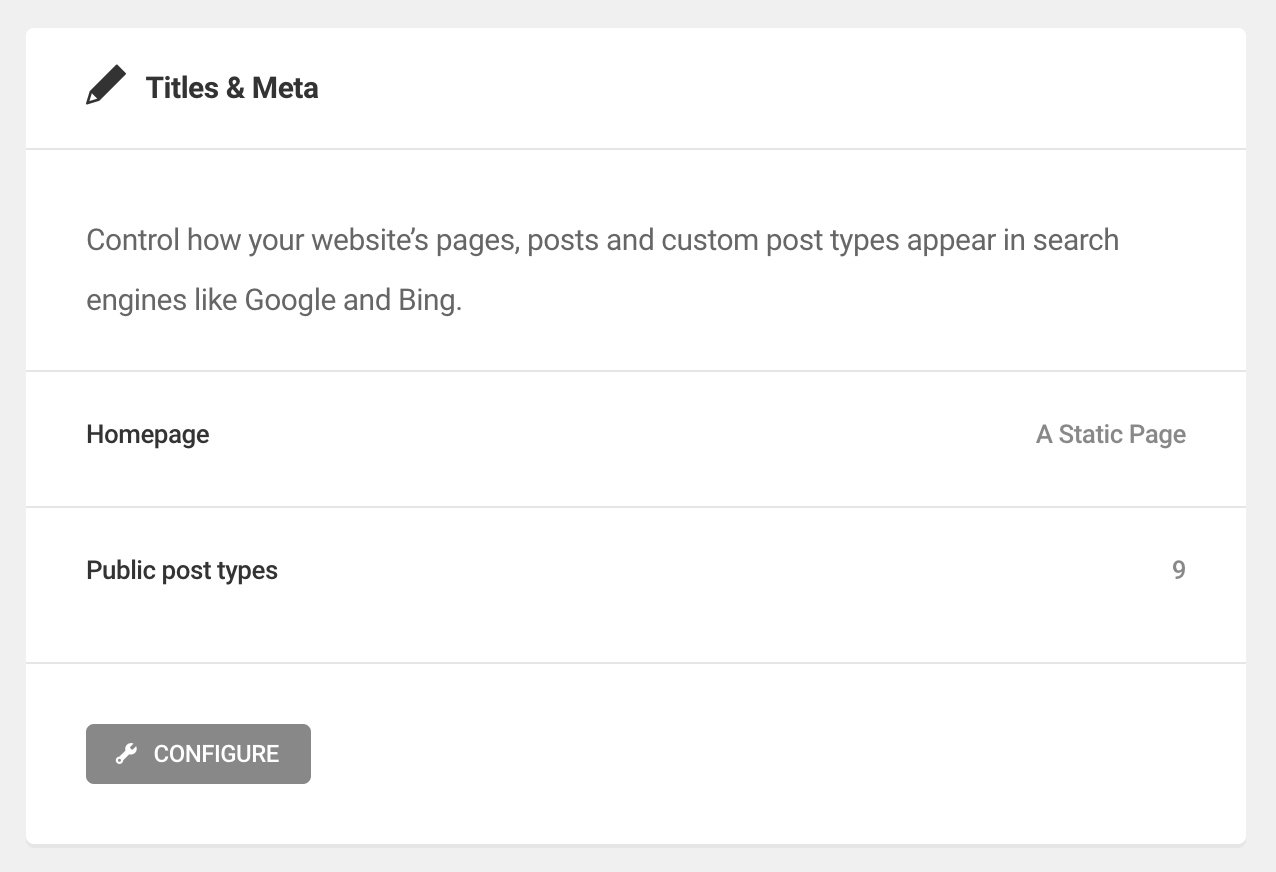
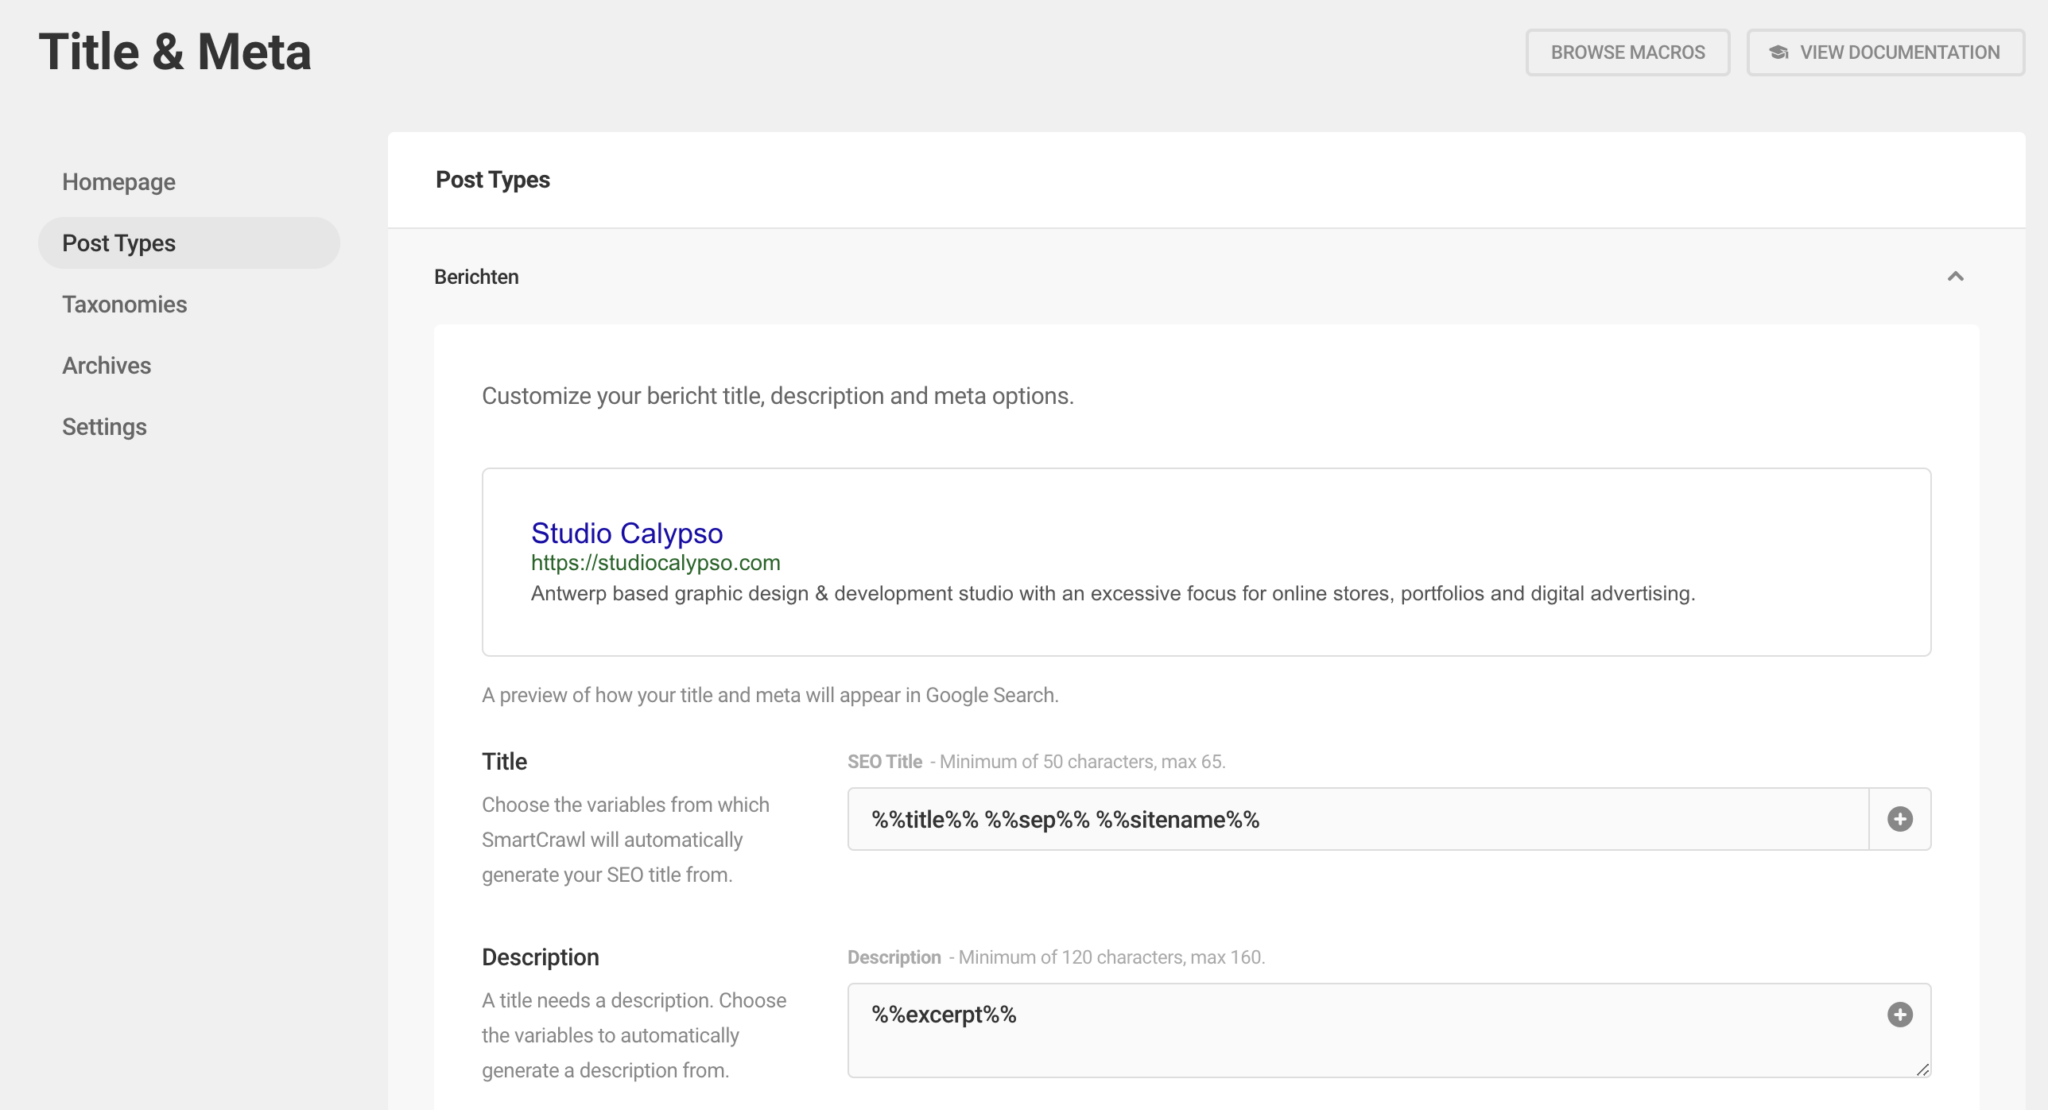
To override automatically generated titles by Google, navigate to 'Google Optimization' on your dashboard. Once here, go to Titles & Meta and press 'configure'. Here you can check how names are composed and overwrite them if you want.
Optimizing with SmartCrawl
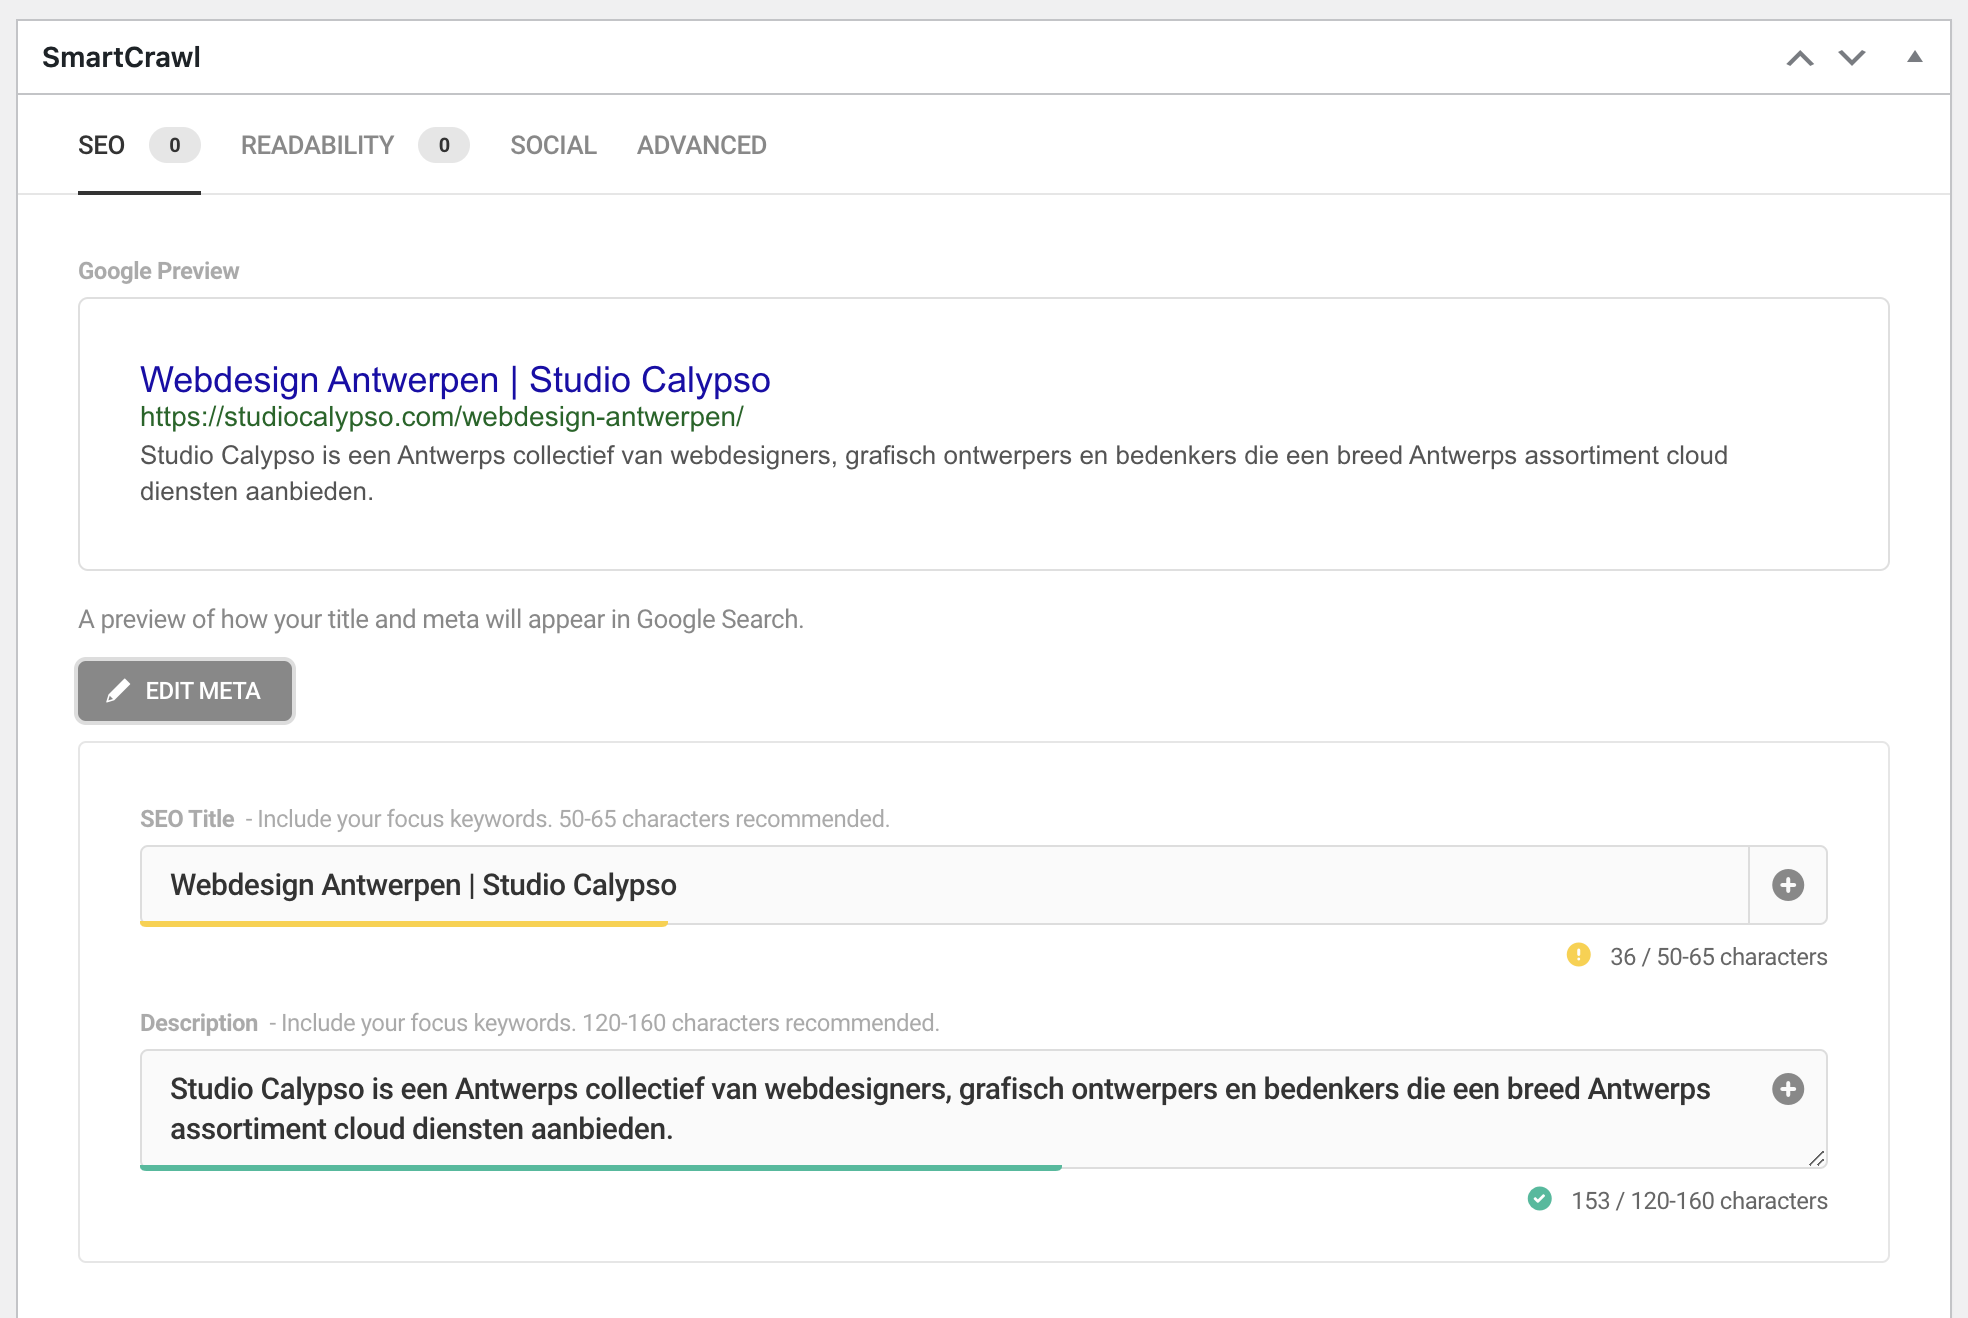
Via the SmartCrawl tab, you can preview how you'll appear in Google searches. If you don't change this, WordPress will automatically set a title and description. It is advisable to check automatically generated Google descriptions for category pages, as they may need verification. Because this is the first thing visible when searching for your website on Google, it is important to make sure this information is correct.
When you press 'EDIT META' you can now start editing this data.
The part behind the separator in the SEO Title will be the name of your website. If you don't want this, you can override it in this tab.
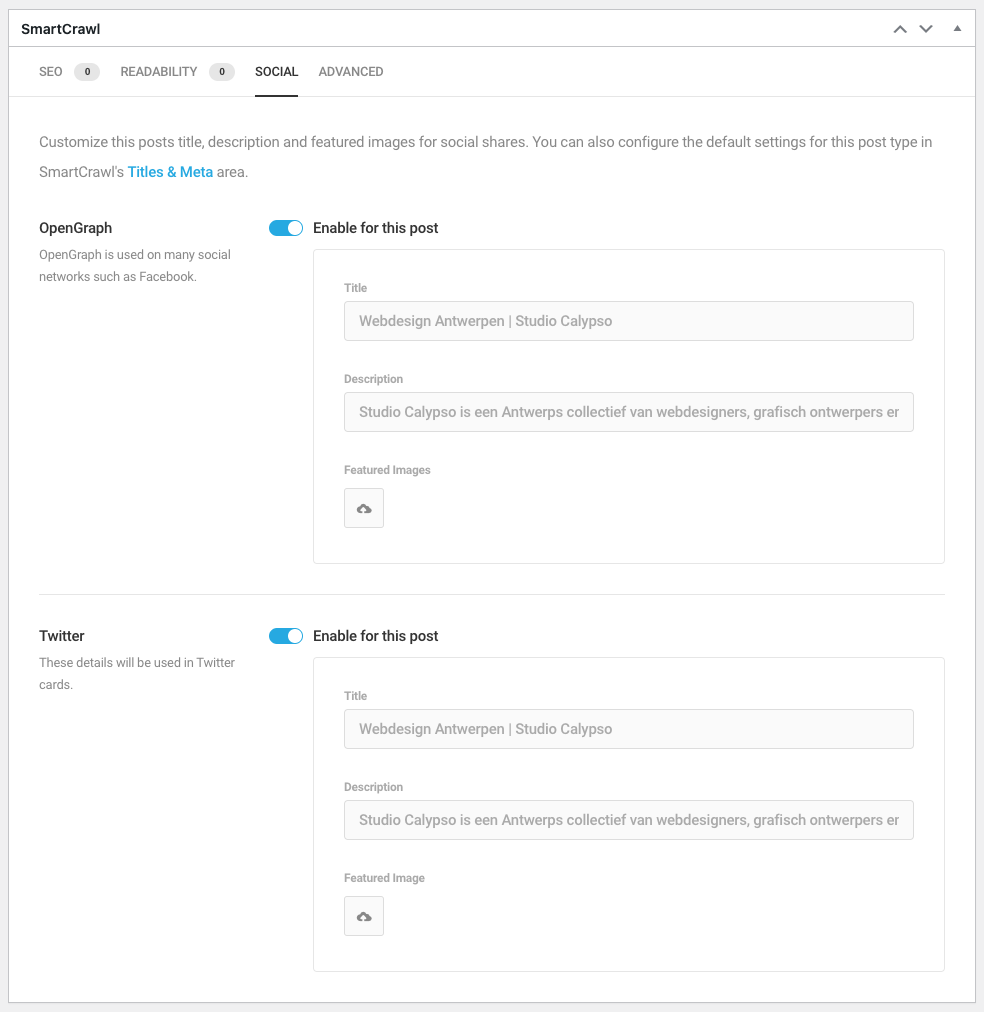
In the 'social' tab, you can customize the title and description specifically for when you want to share the link on social media.
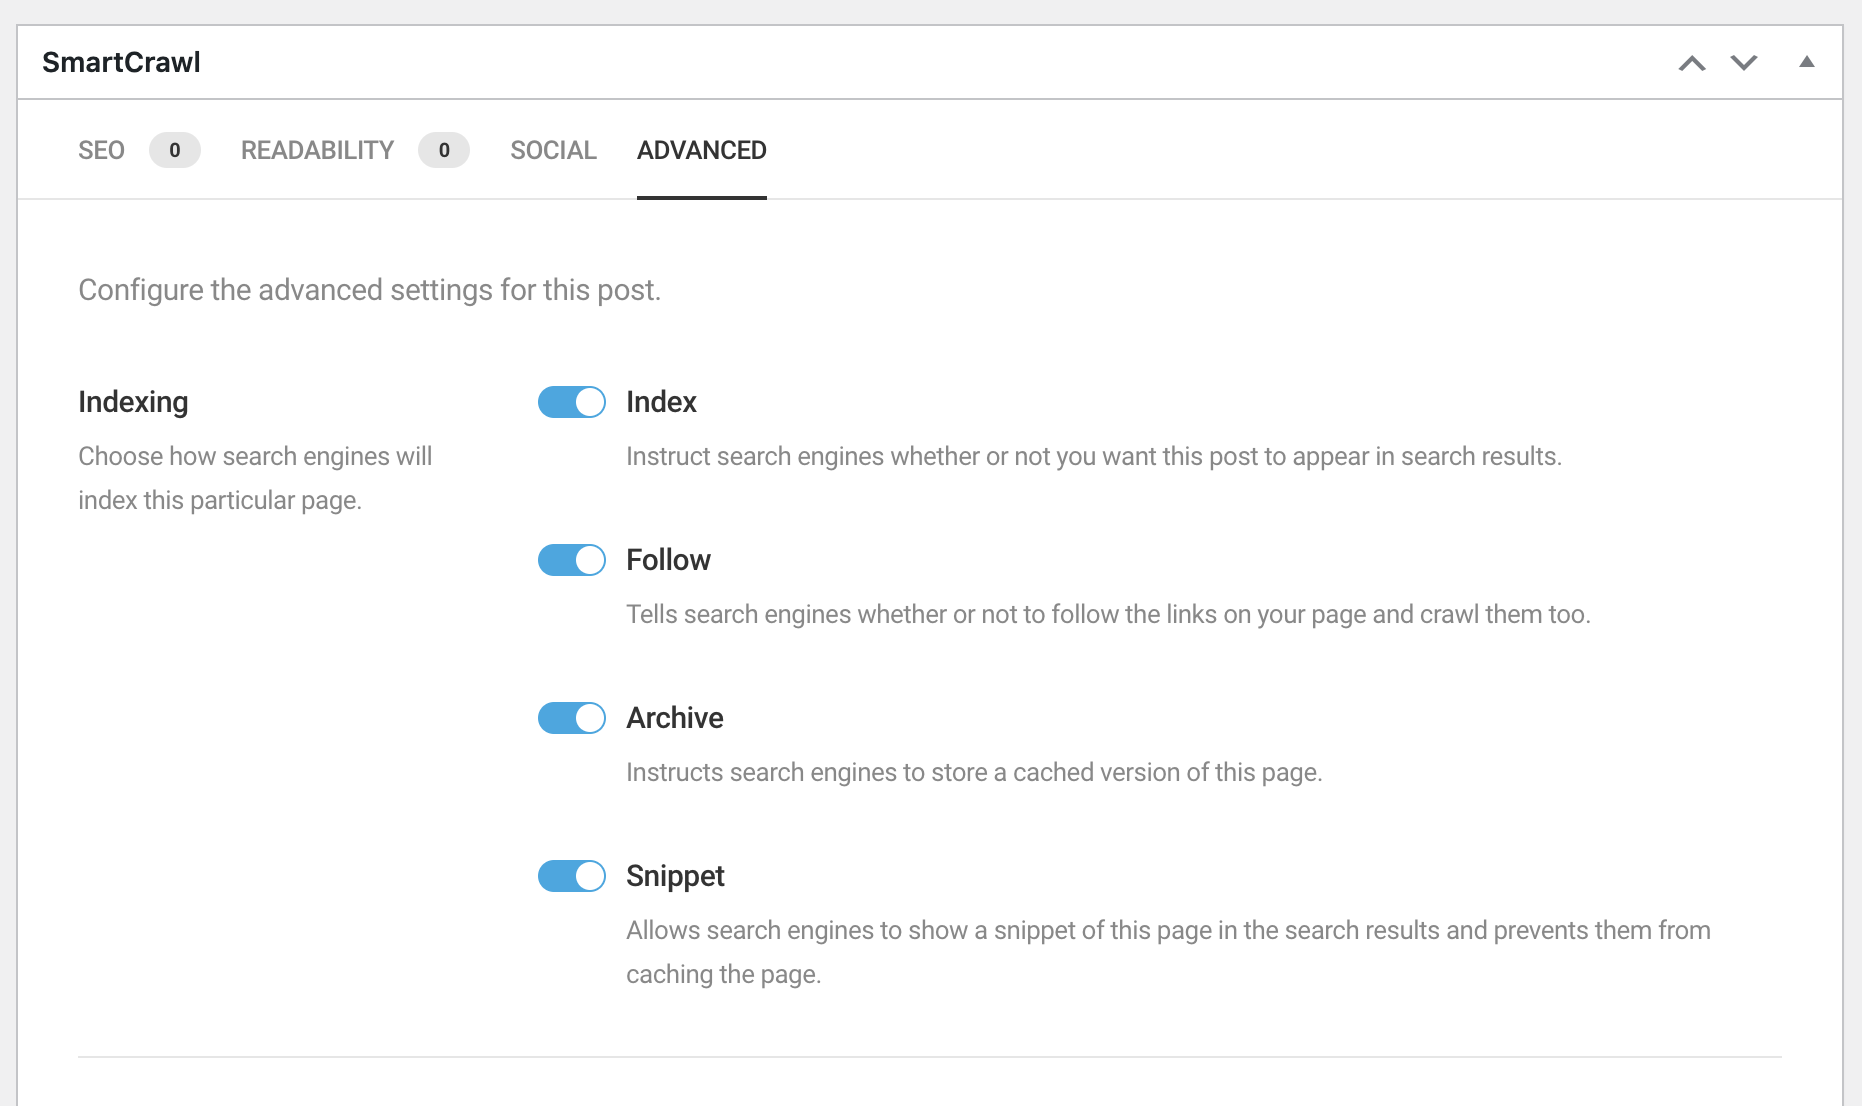
In the final 'advanced' tab, you can configure whether you want to make your website indexable for Google, meaning it will be discoverable via Google Search. For instance, a login page doesn't necessarily need to be searchable on Google, so for that kind of page you can disable all tabs. On the other hand, a homepage should definitely be discoverable, and for such pages, all tabs should be enabled.
Tips 'n tricks
Explore with it and you'll get away with it quickly!
Step 05: Frontend editor
Frontend editor
— The easiest and clearest way to changing your website
Is all this information too much for you, and you just want to edit a few images or text?
- Go to a specific page you want to change
- pages > search page > view page
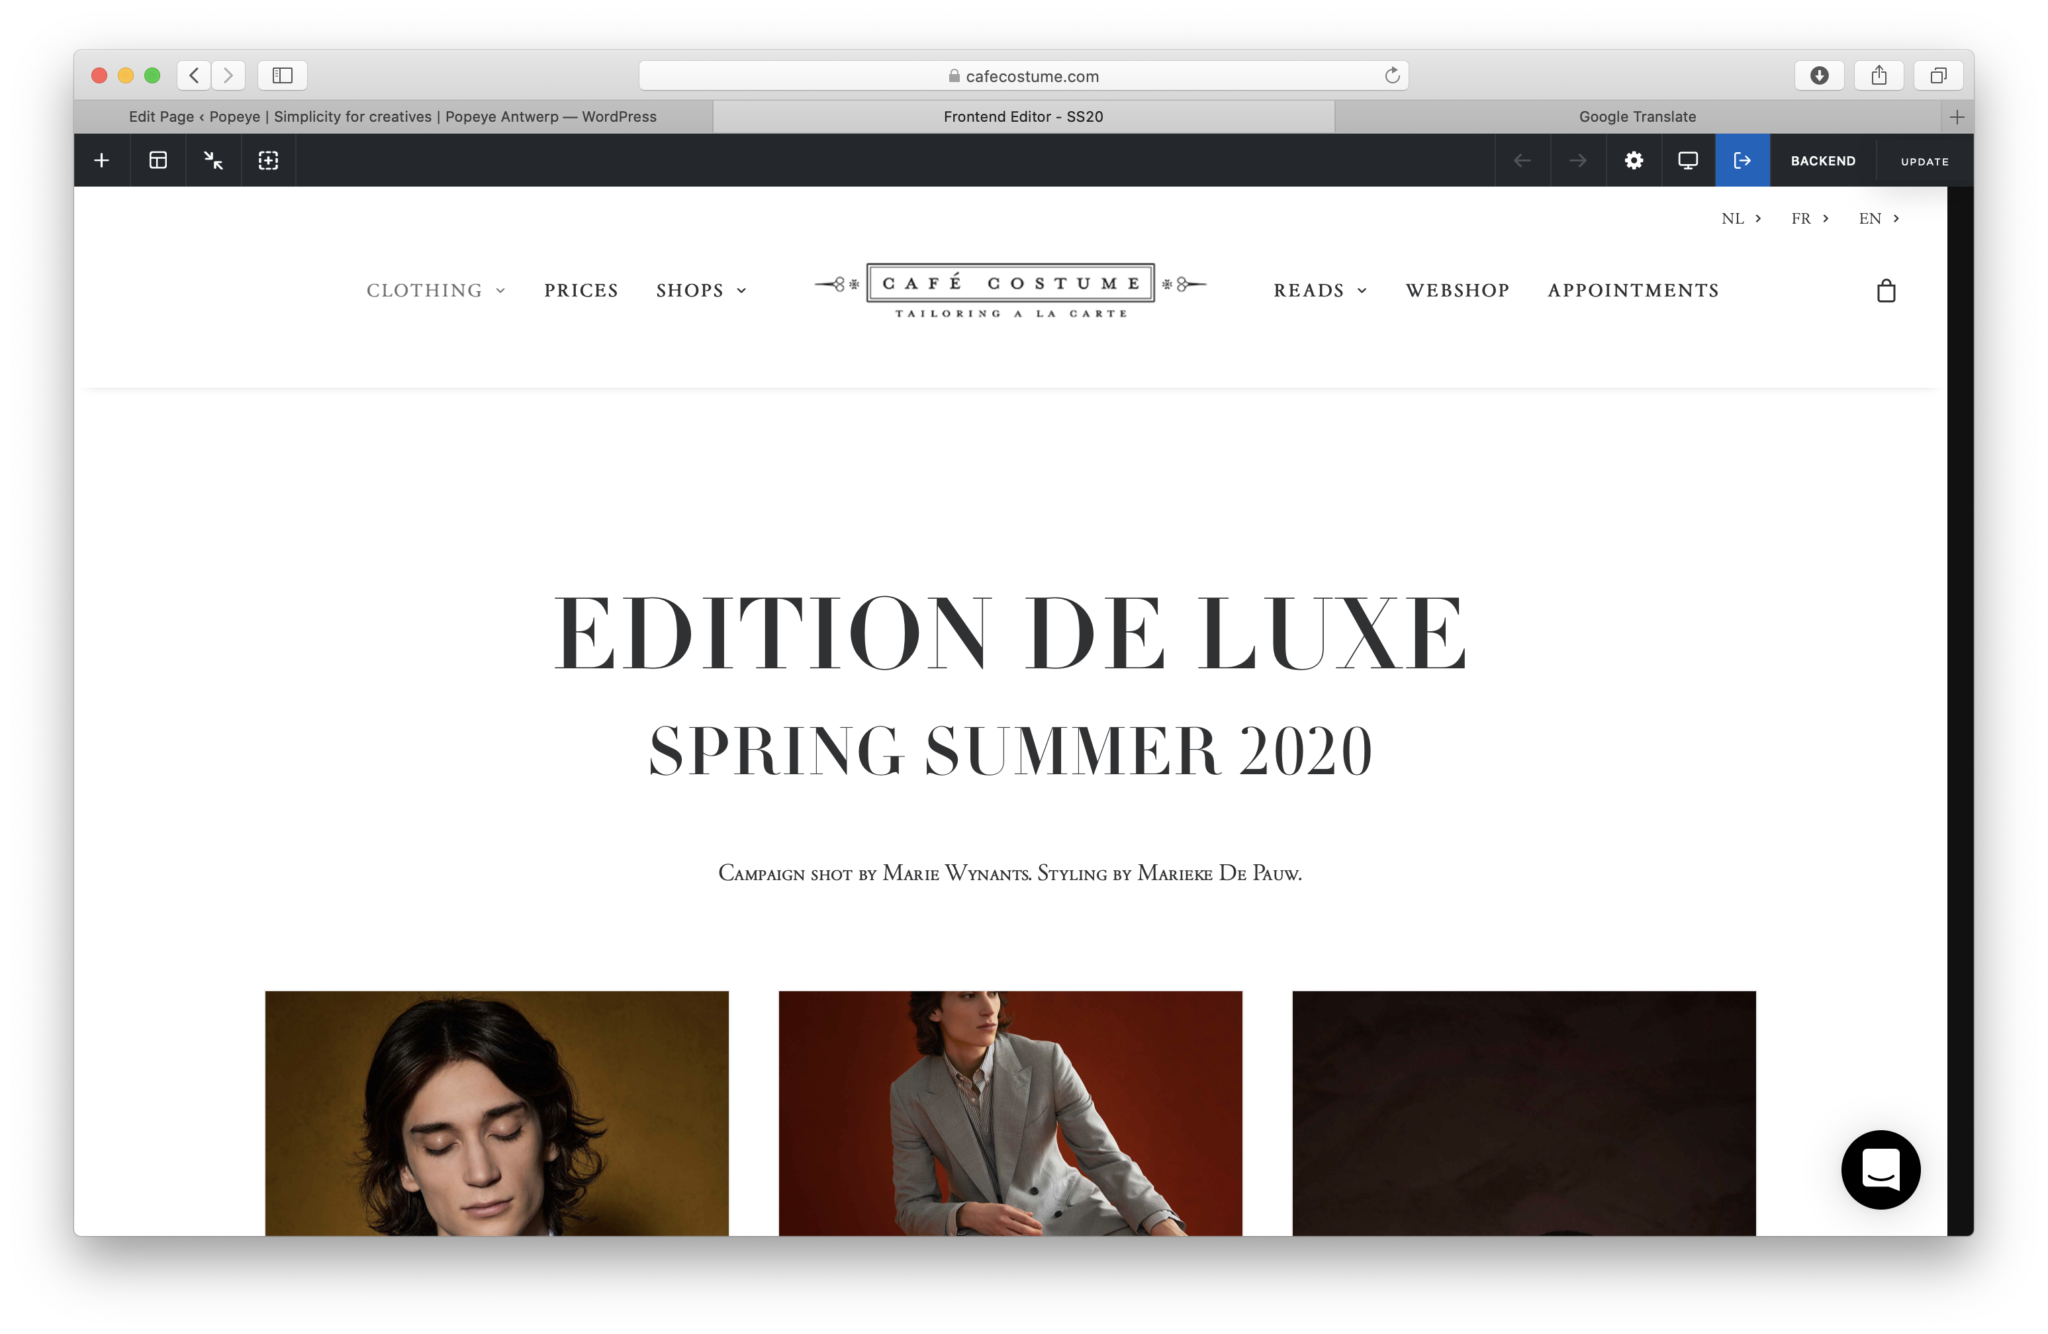
- Next click frontend editor in the bar at the top of your page
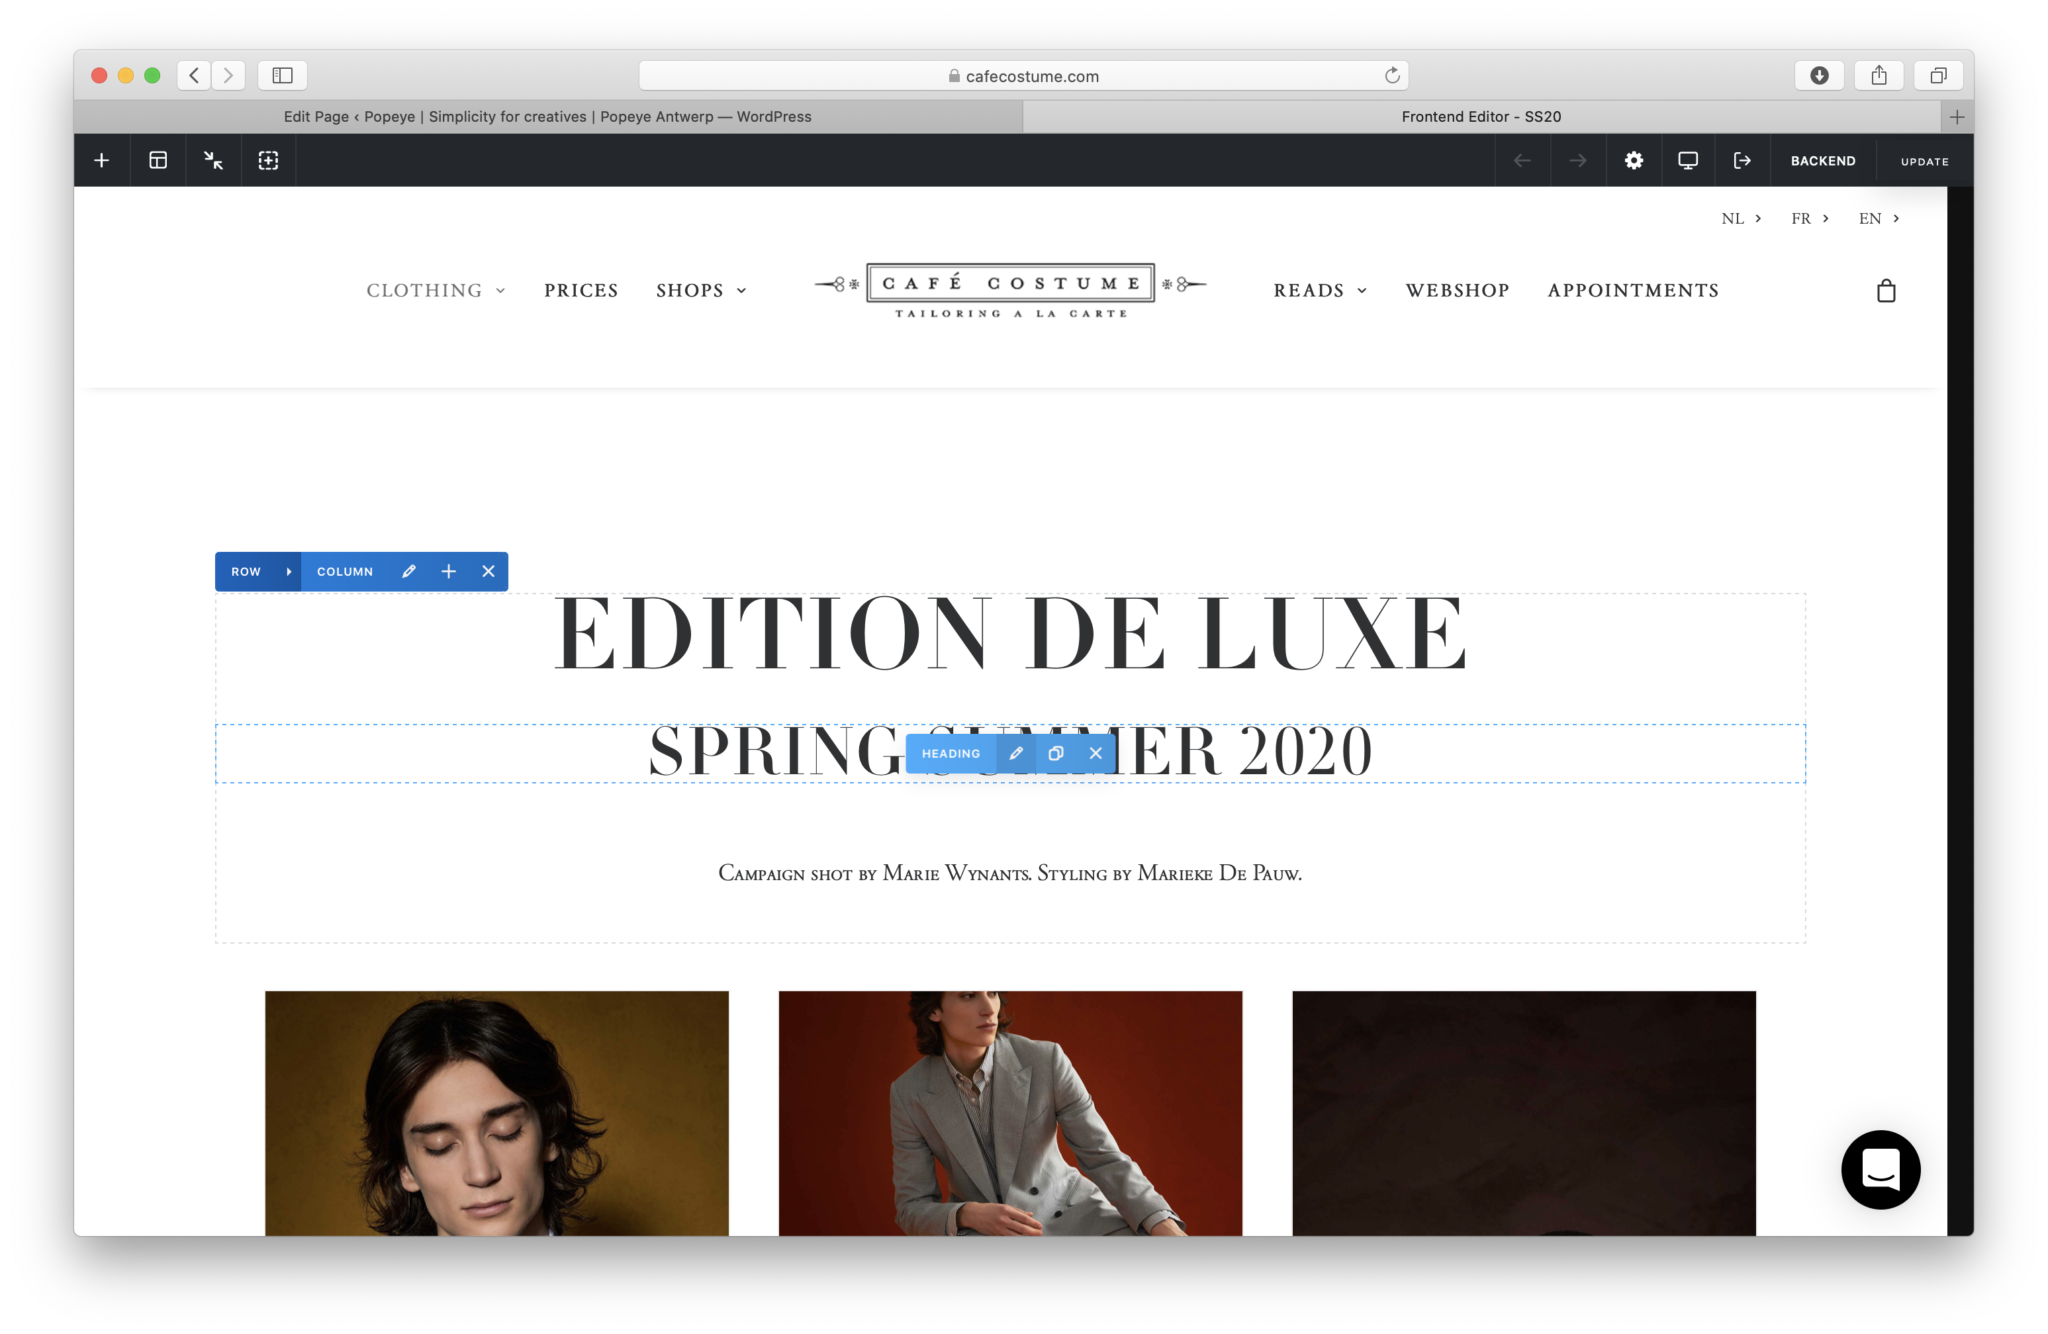
- The frond end editor will open

Once the frontend editor is open you can navigate with your mouse to all elements. Blue frames will show and give you the ability to make changes. Make sure you are editing in the right column or row!
You have made changes and want to save it?
- Click save changes when a window is open
- In the top right corner click ‘update’
- Next click ‘backend’
- In this backend you click again on update to make sure all changes are made
- If no changes are visible? Clear your (WP Rocket) cache! Need help with that? Click here for more information about WP Rocket
If you want to exit the frontend editor click the icon showed in the image below
Tips 'n tricks
Explore with it and you'll get away with it quickly!
Step 07: How do I edit text?
Changing text
— Learn how to easily change text
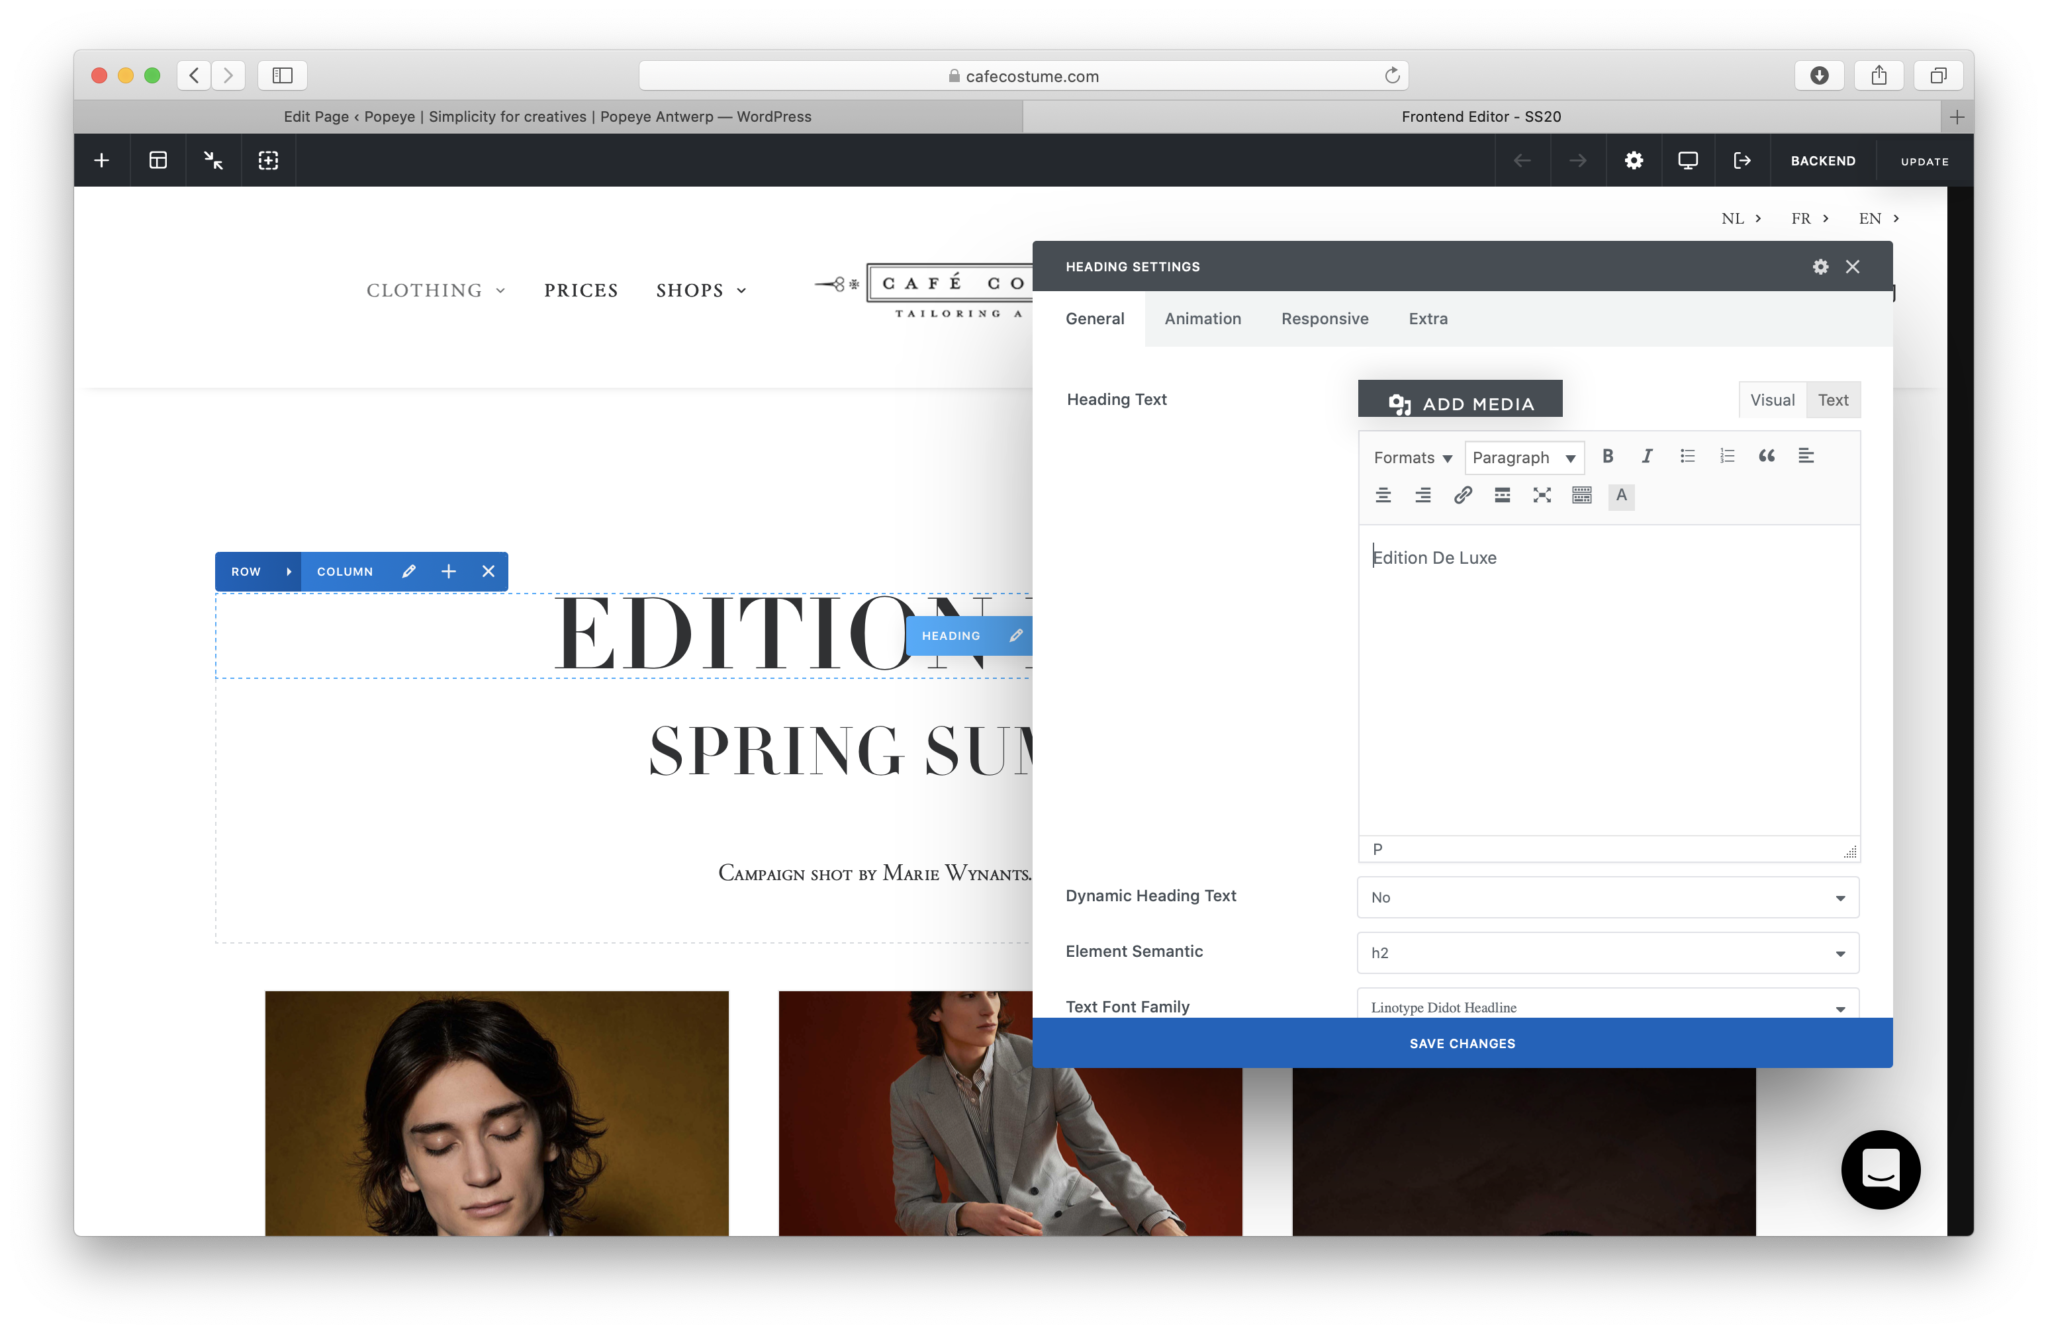
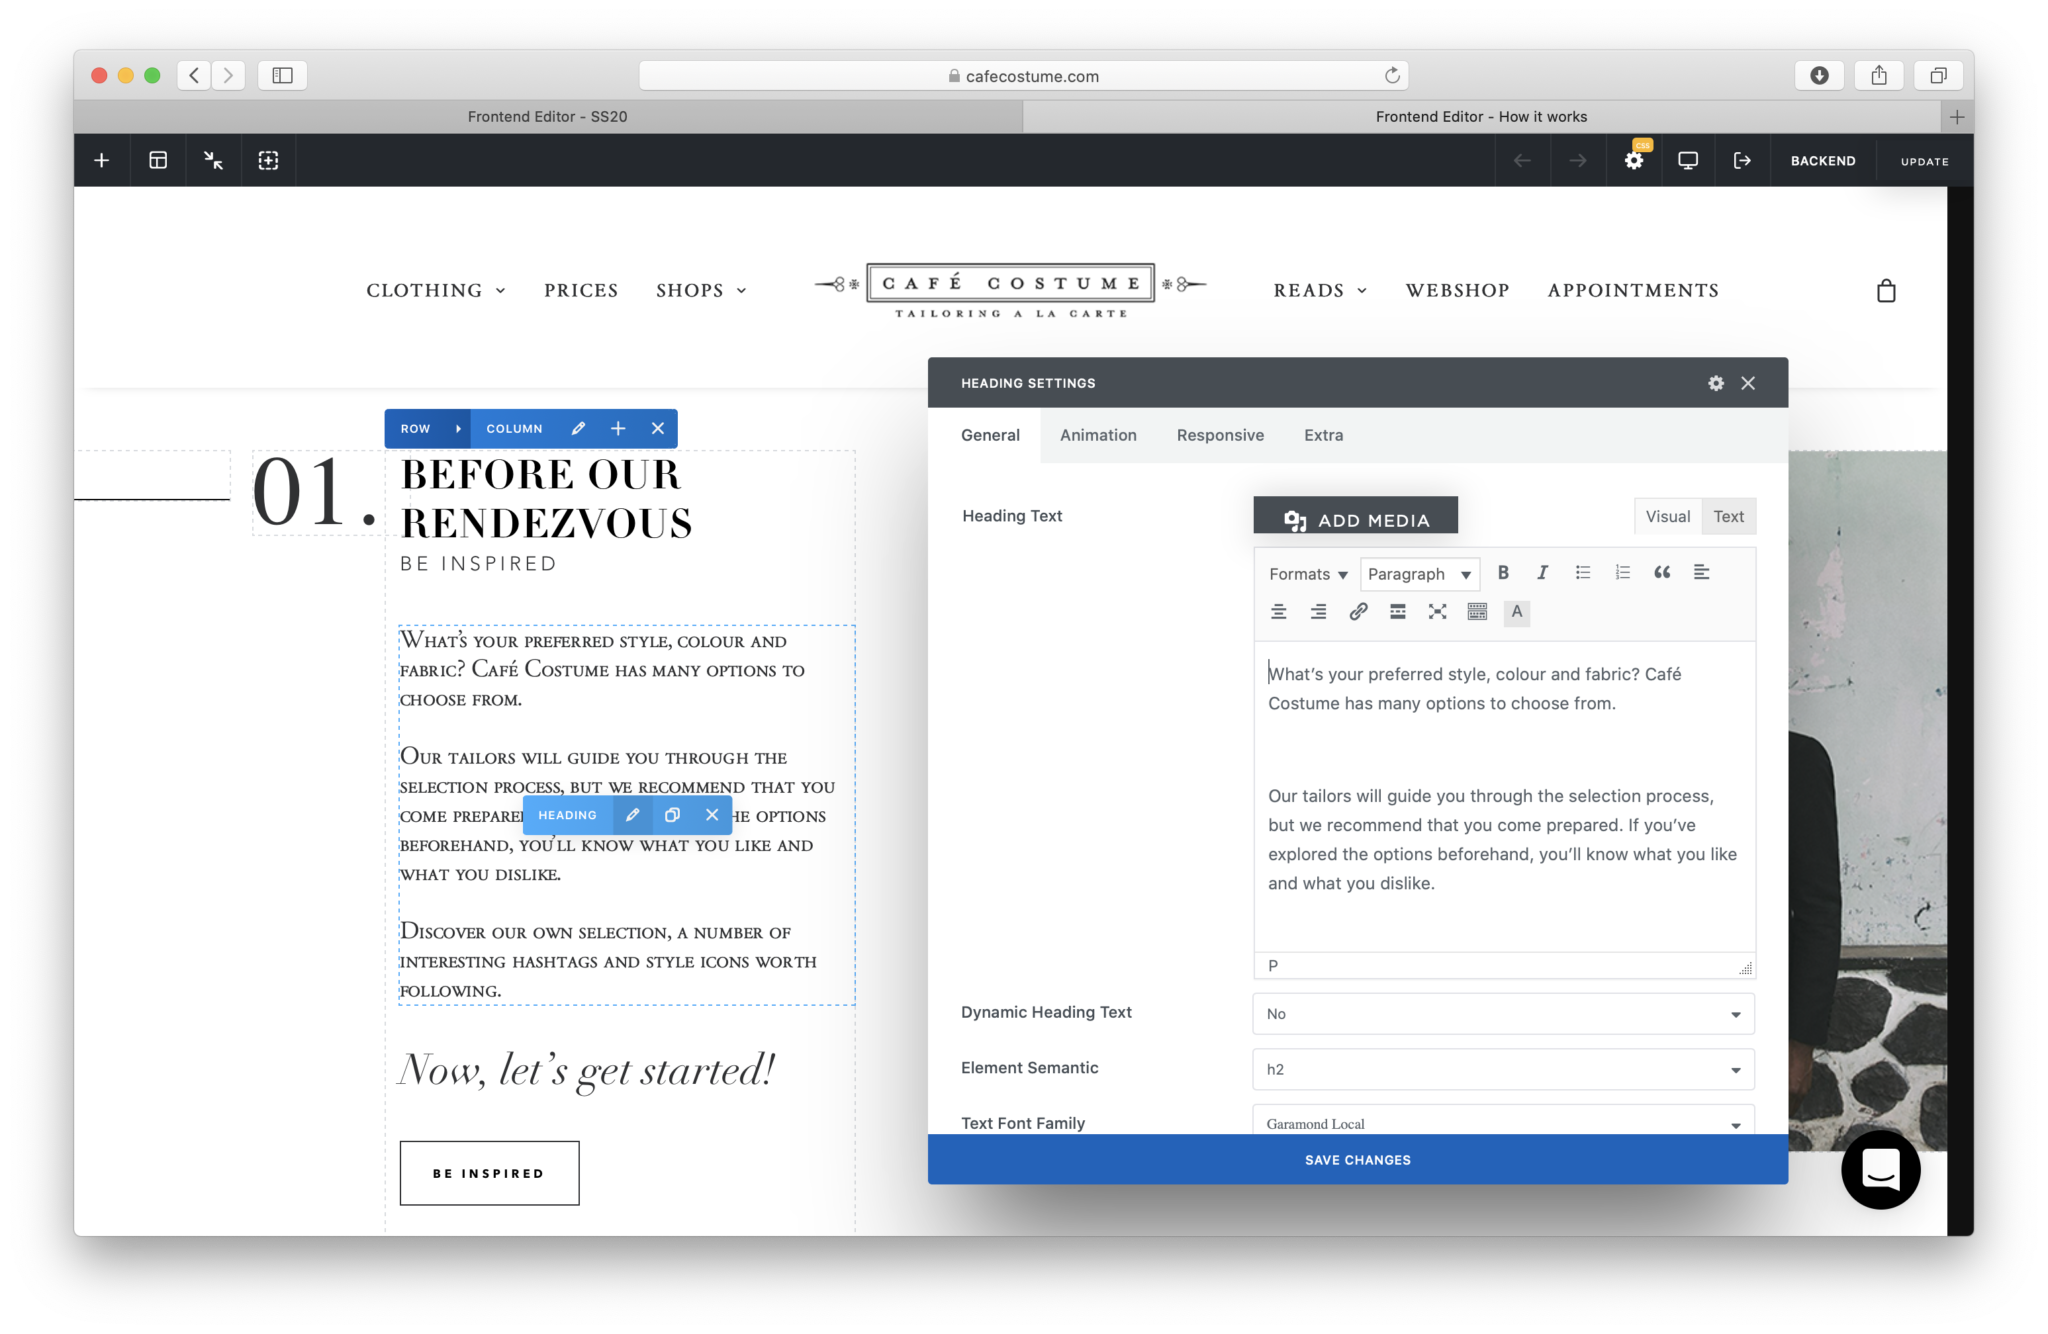
When in frontend, you will be able to navigate to a specific text area you want to edit.
- Click the pen icon
- A new window will open
- Edit text
- Save changes
- Update
Tips 'n tricks
Explore with it and you'll get away with it quickly!
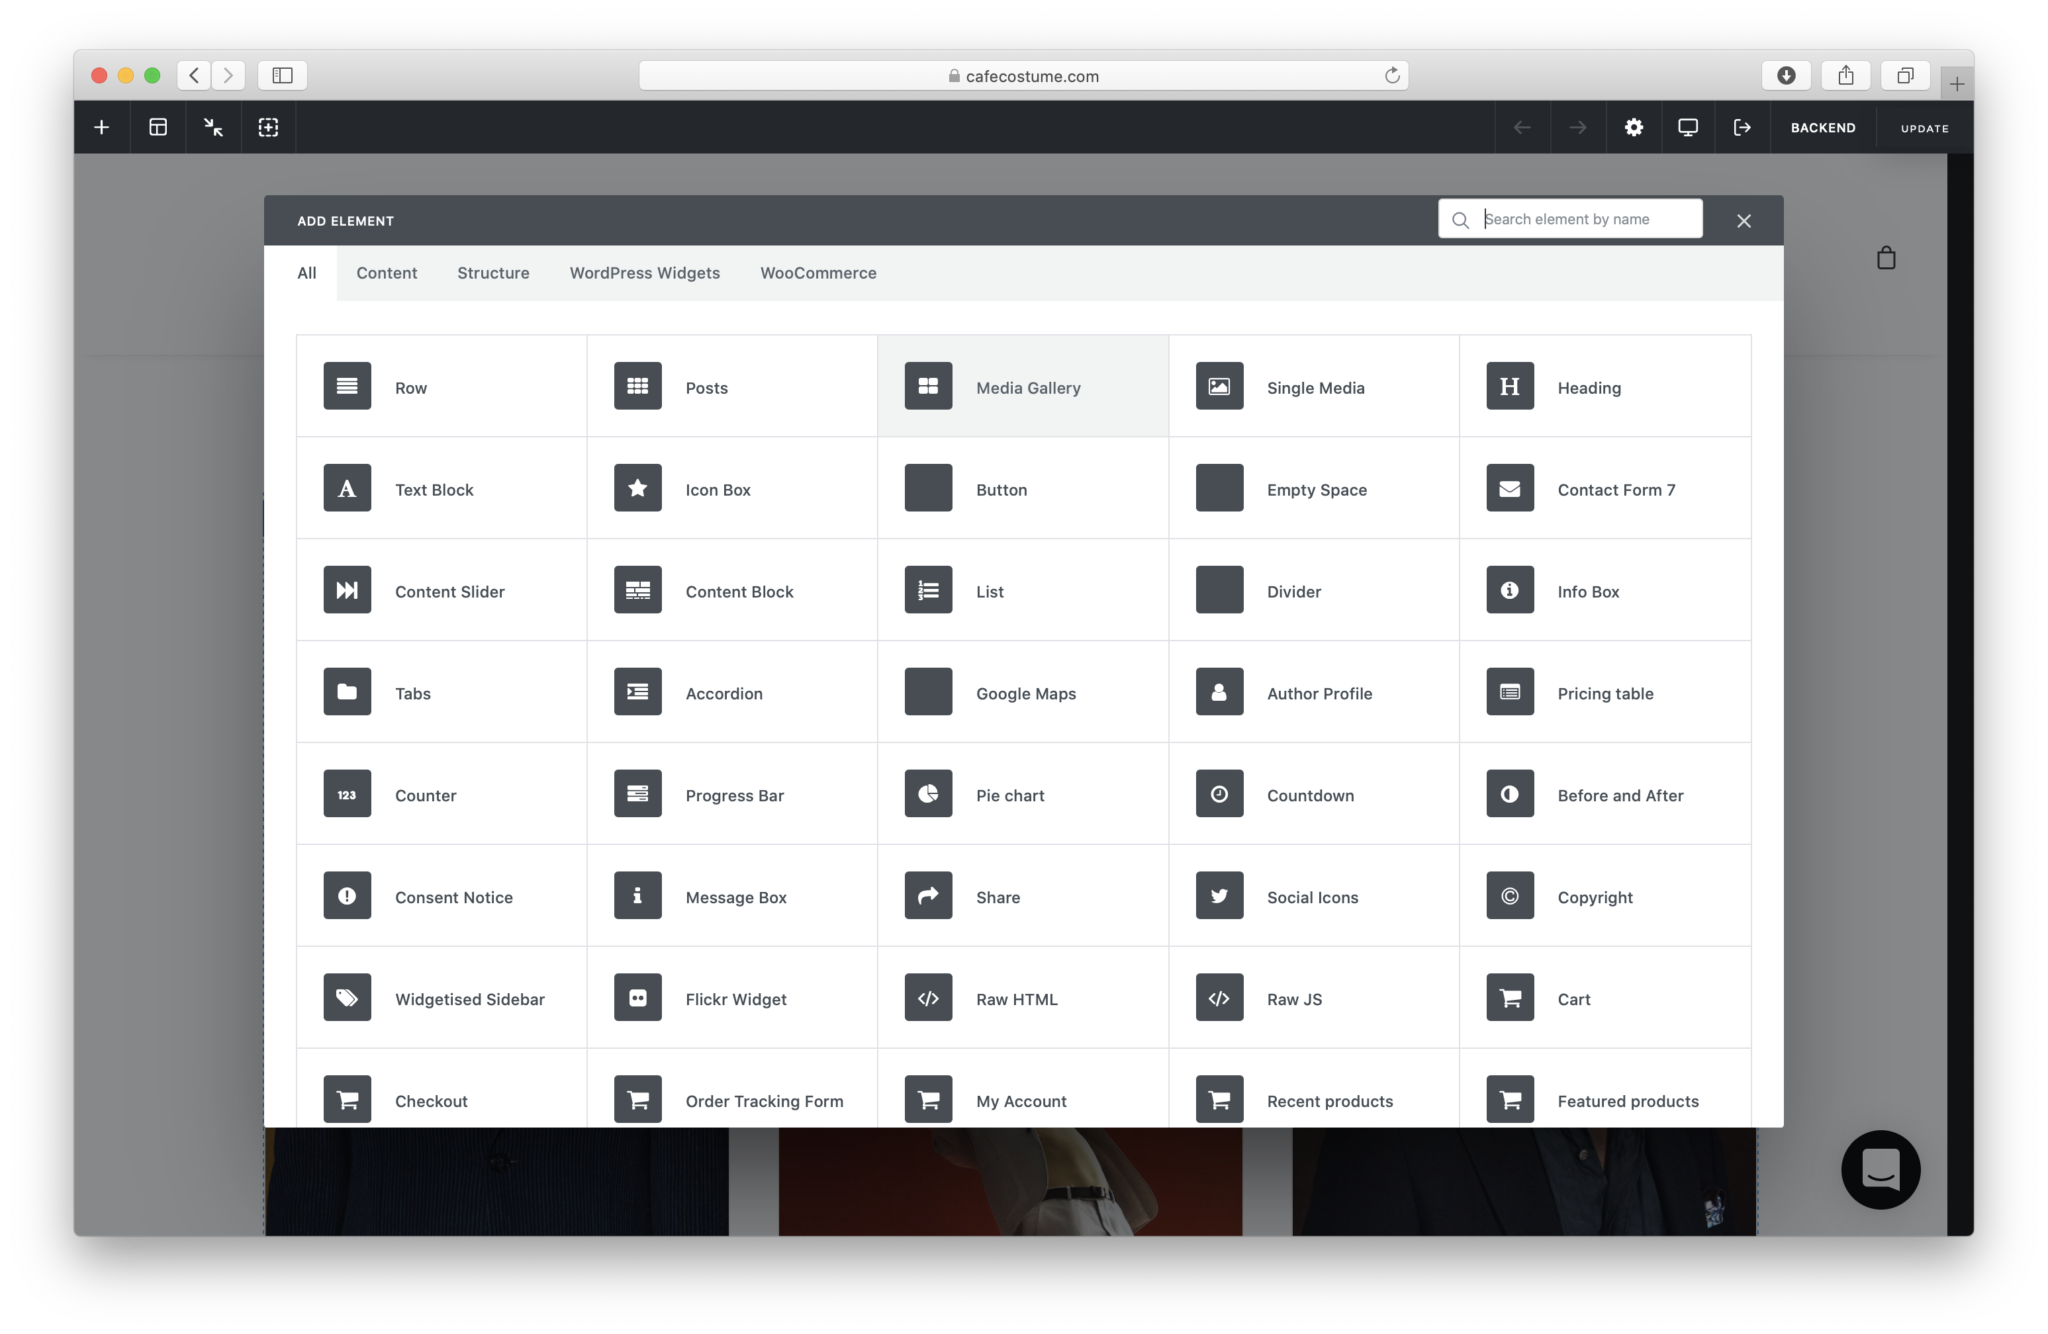
Step 06: How do I edit or change images?
Changing images
— Changing images for a single media or media gallery
When images need to be added or changed navigate with your mouse over the specific element. The blue frames will appear along with blue bars.
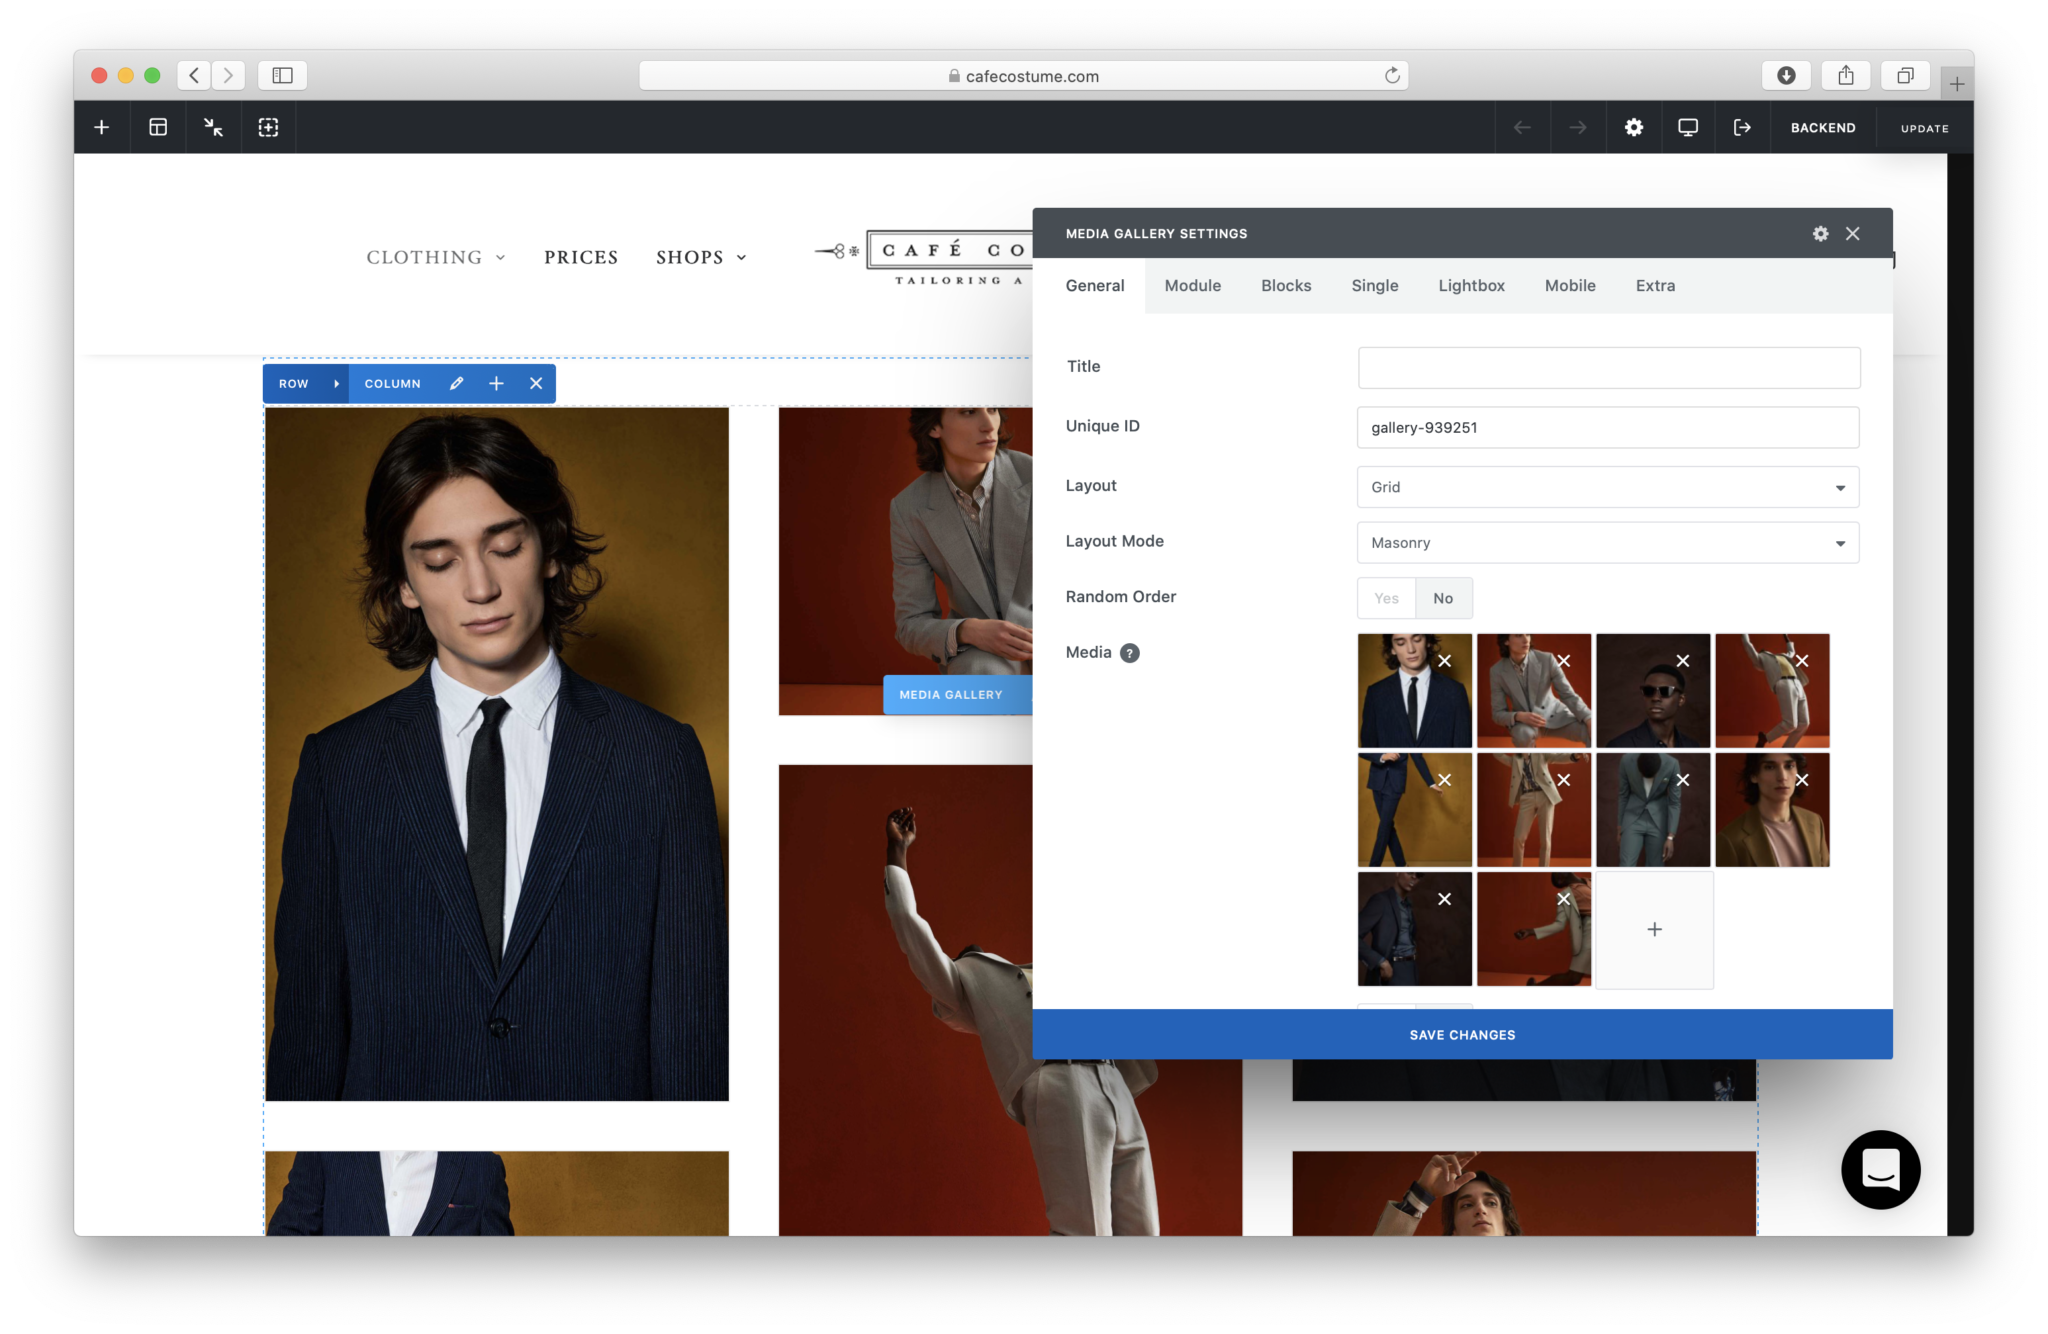
- To change the media gallery’s images click the pen at the blue media gallery bar
- Another window will open where you can add or delete images
- Save changes
- Update
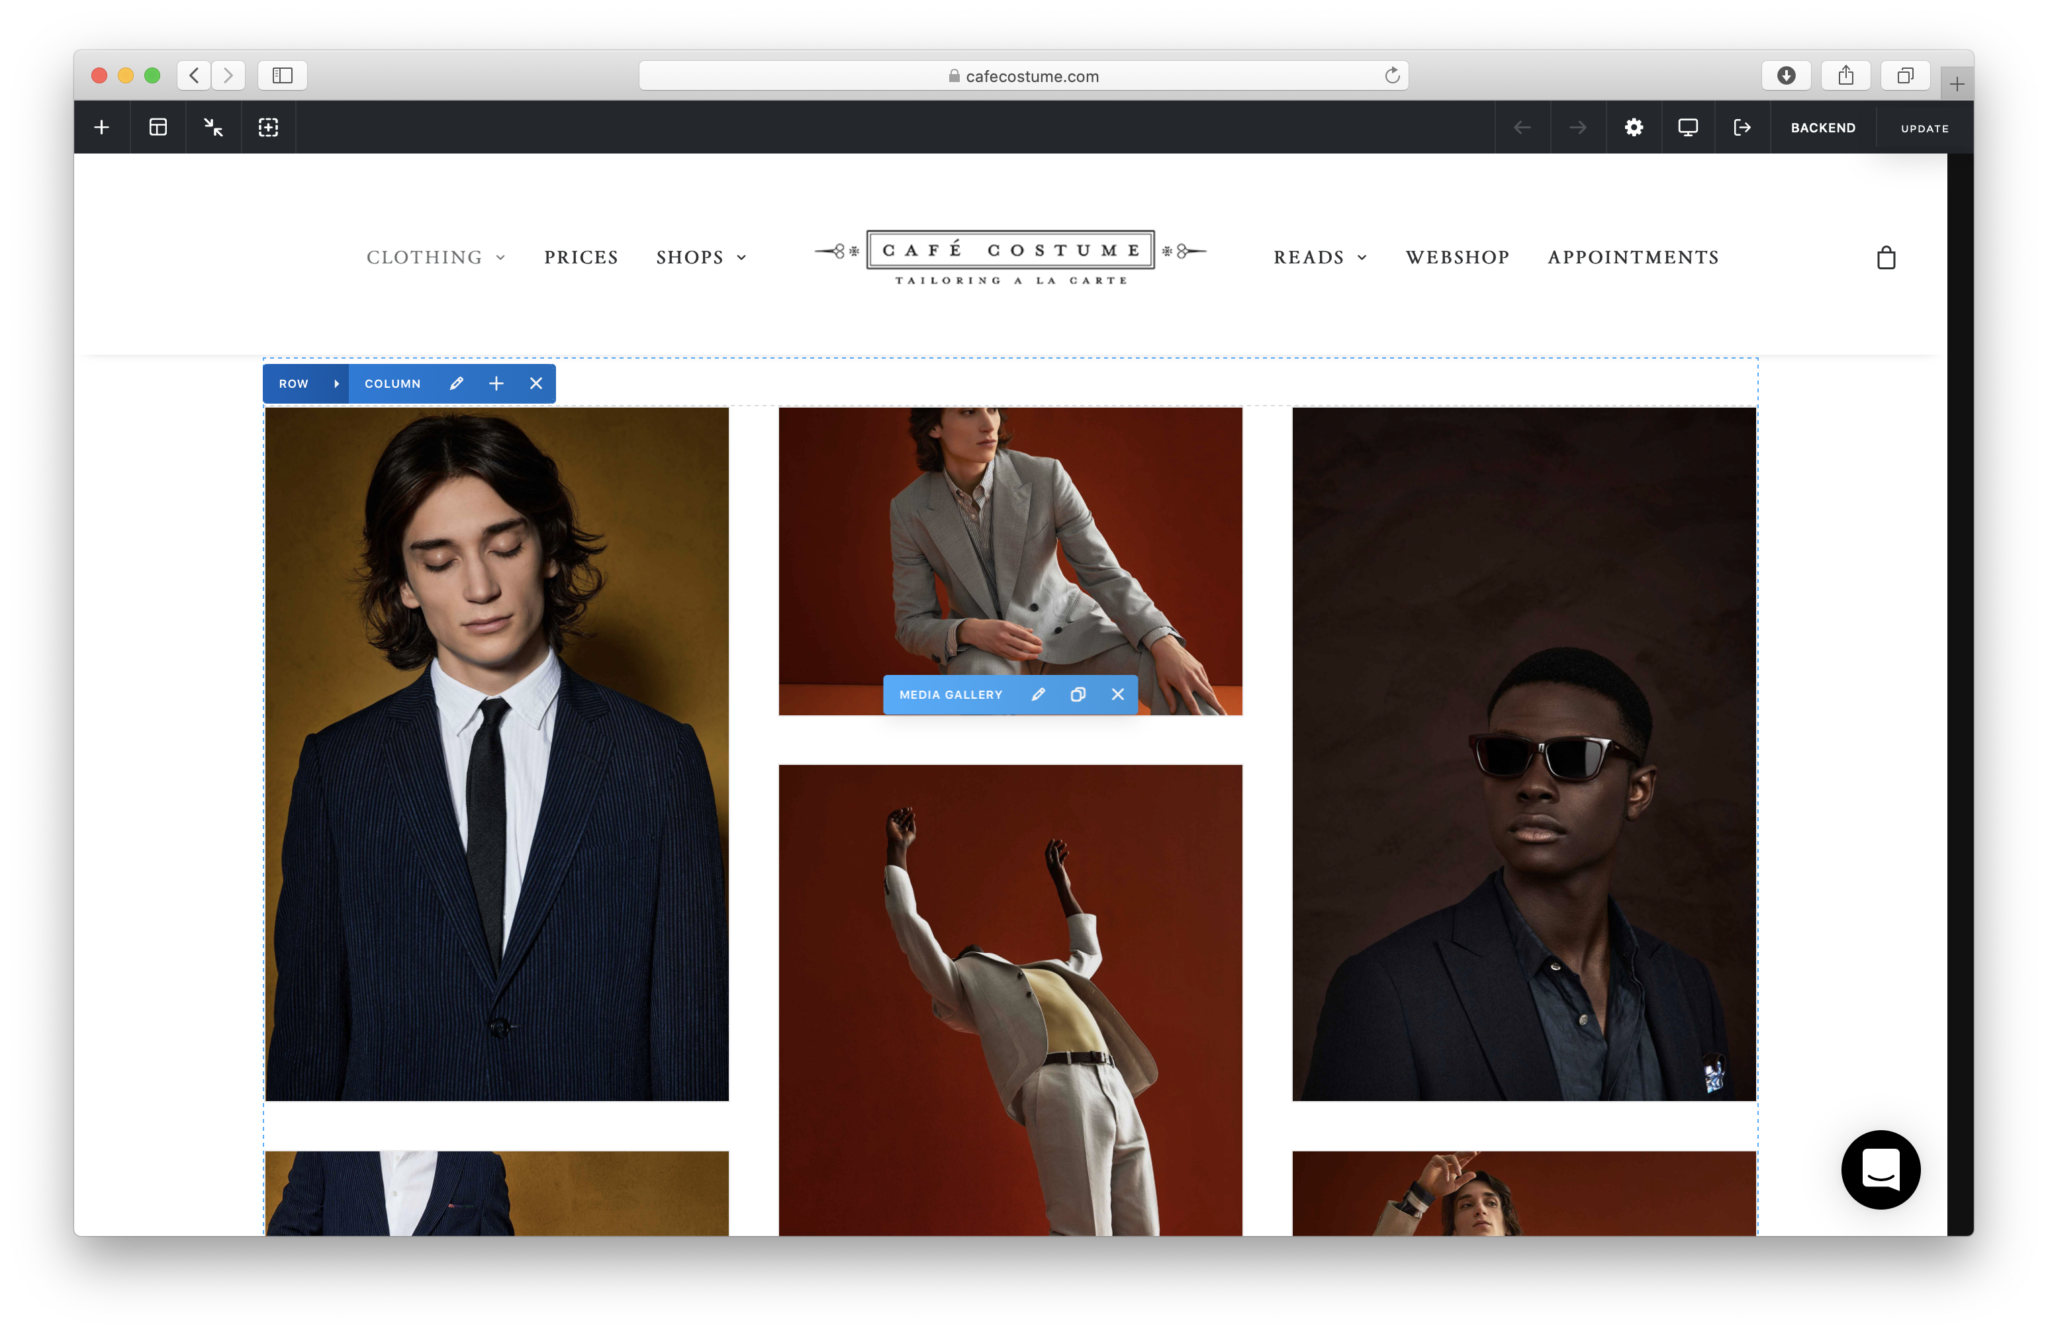
To add a new media gallery you’ll find a + sign at the top left corner.

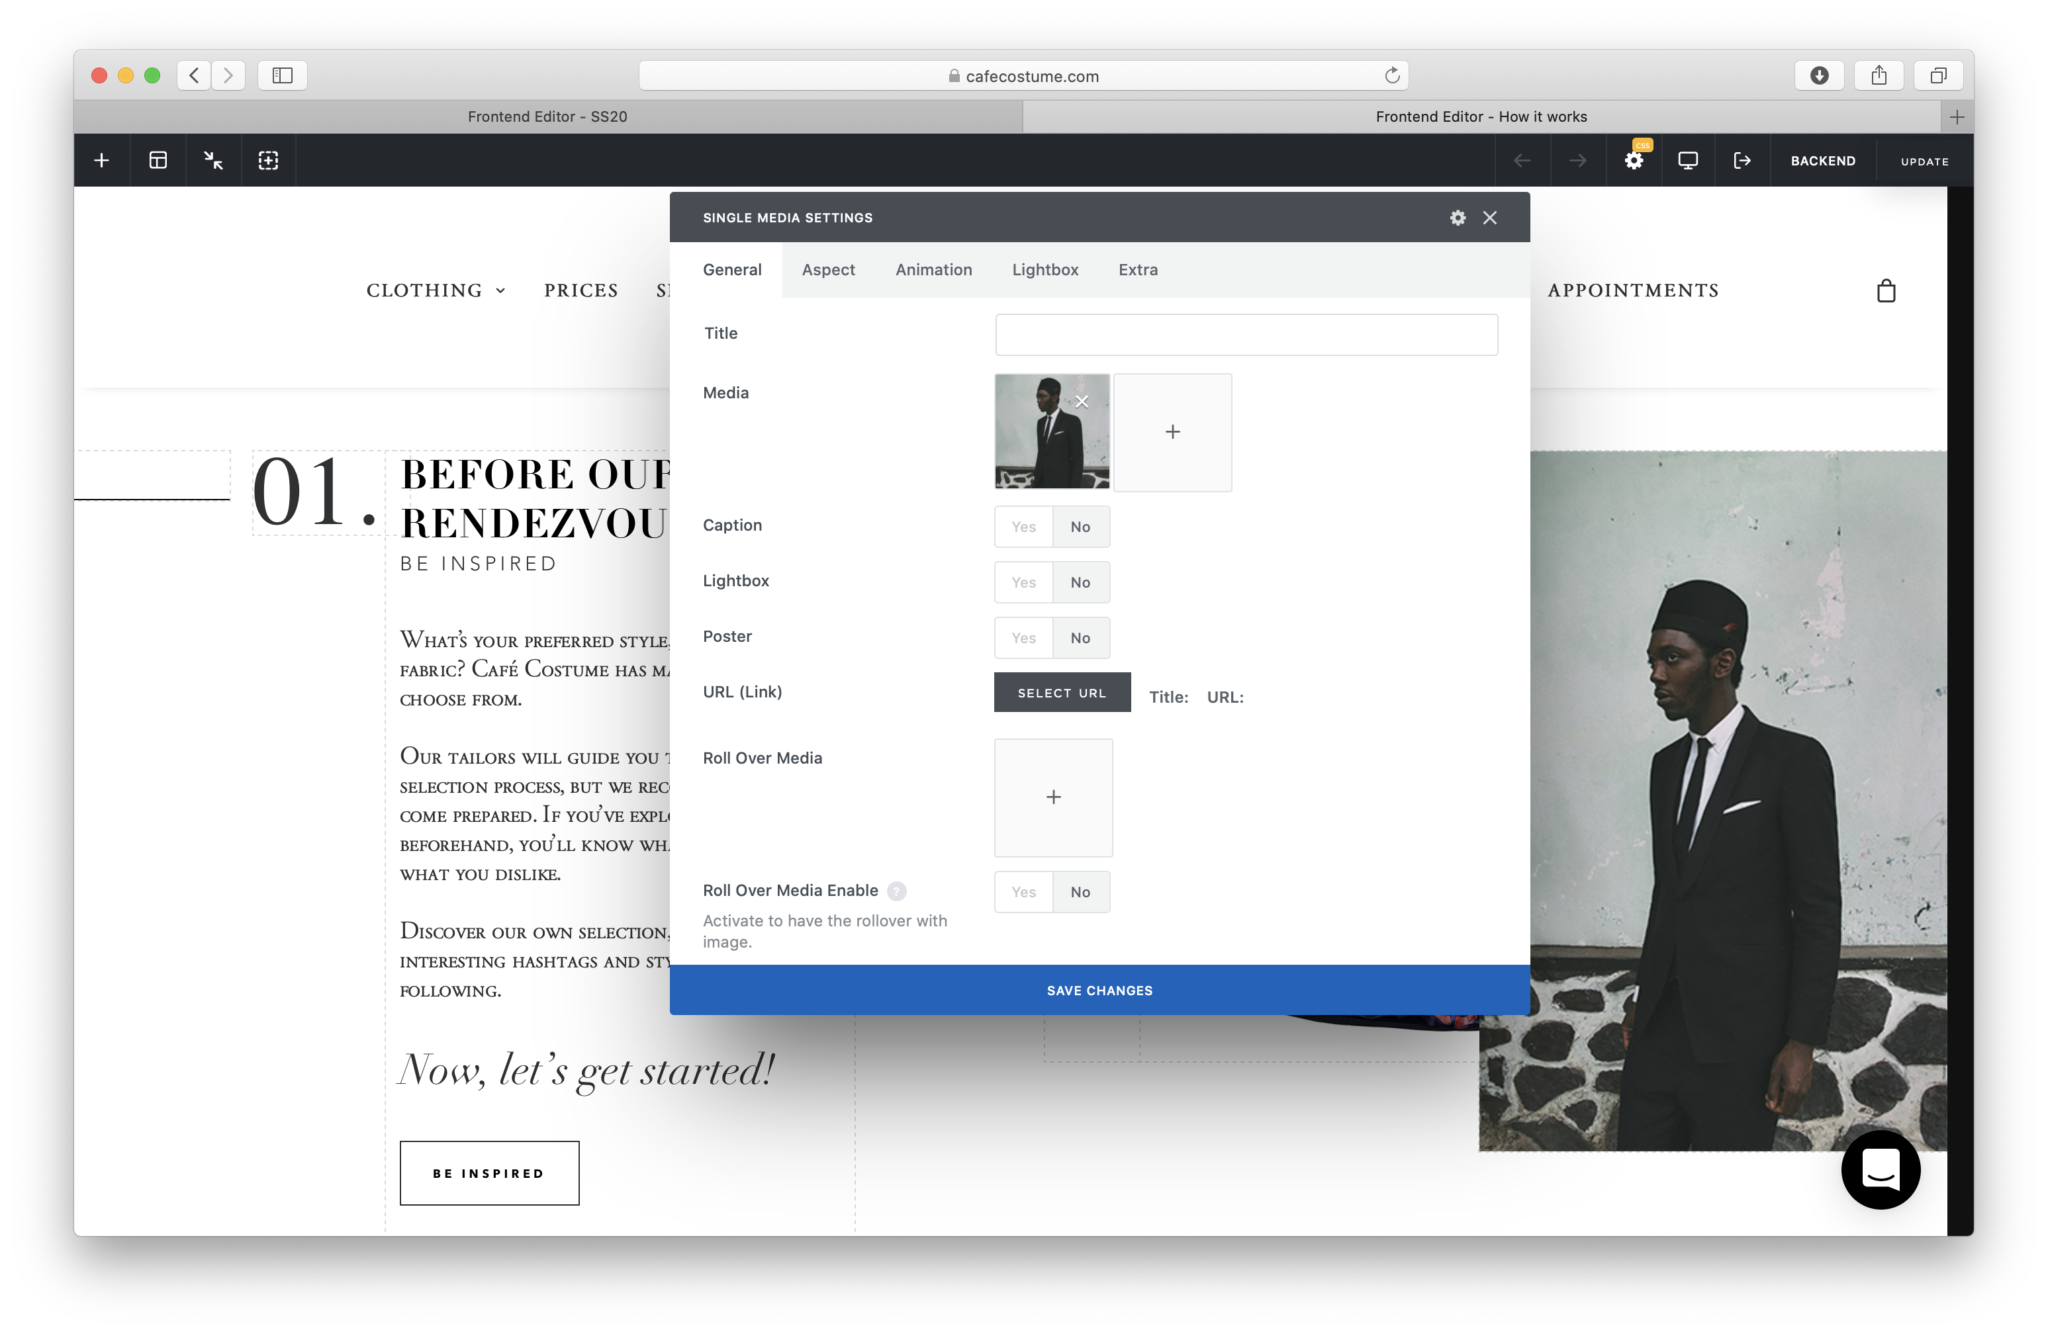
A single media is a little bit different. As the title already mentions you can add just one picture. Also here you can change the single media by clicking the pen icon.

Specify your single media here. Recently we integrated a new feature the roll over media. Turn this option on and upload a second picture. What this does, is when a mouse hovers over the image, the second image will appear.
Tips 'n tricks
Explore with it and you'll get away with it quickly!
Step 04: Sidebar
Sidebar
— The sidebar explained
In the backend a dark sidebar (left) will always show. Information about the different topics are explained below (it’s possible that some features are not relevant for you):
Tips 'n tricks
Explore with it and you'll get away with it quickly!
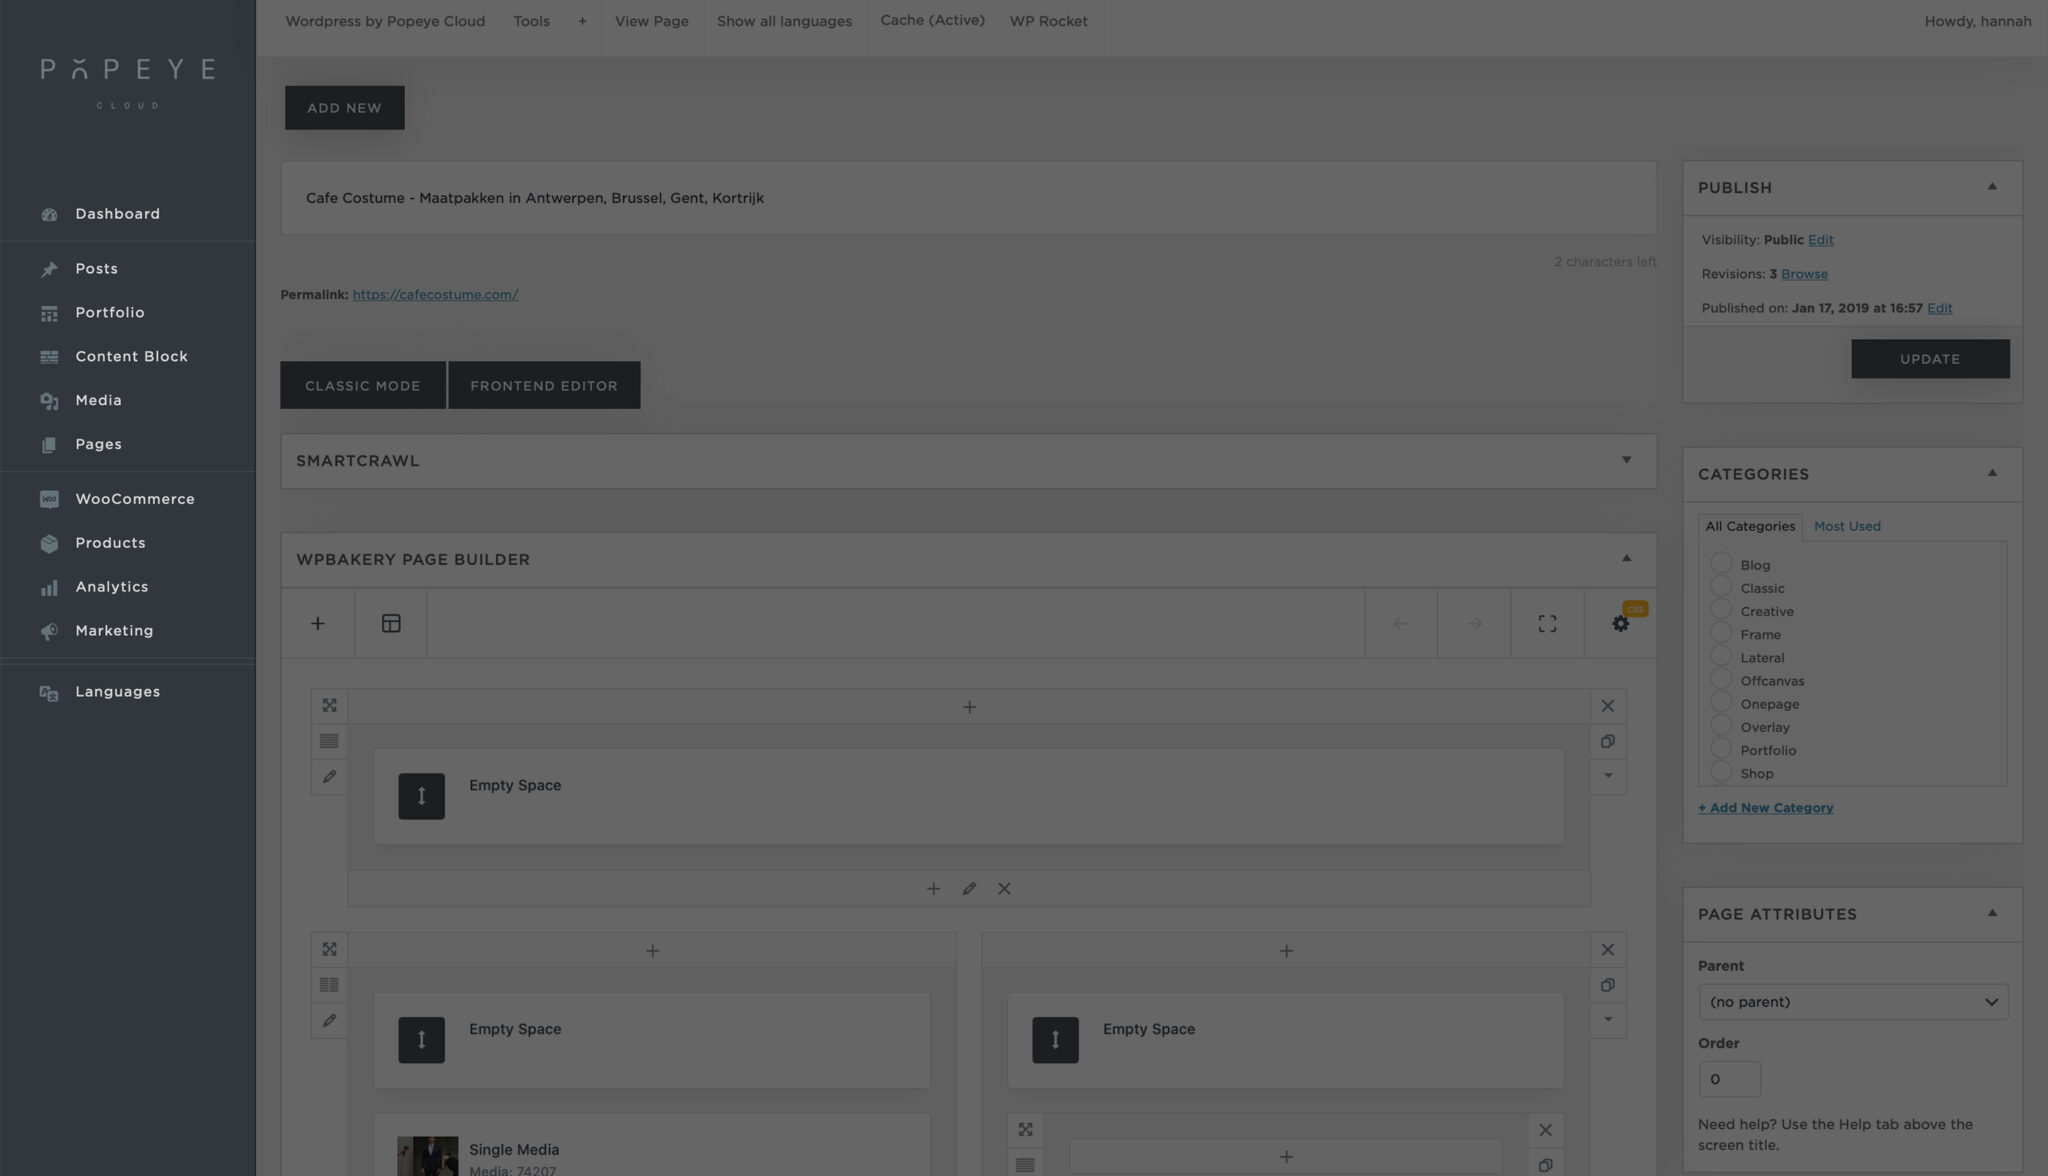
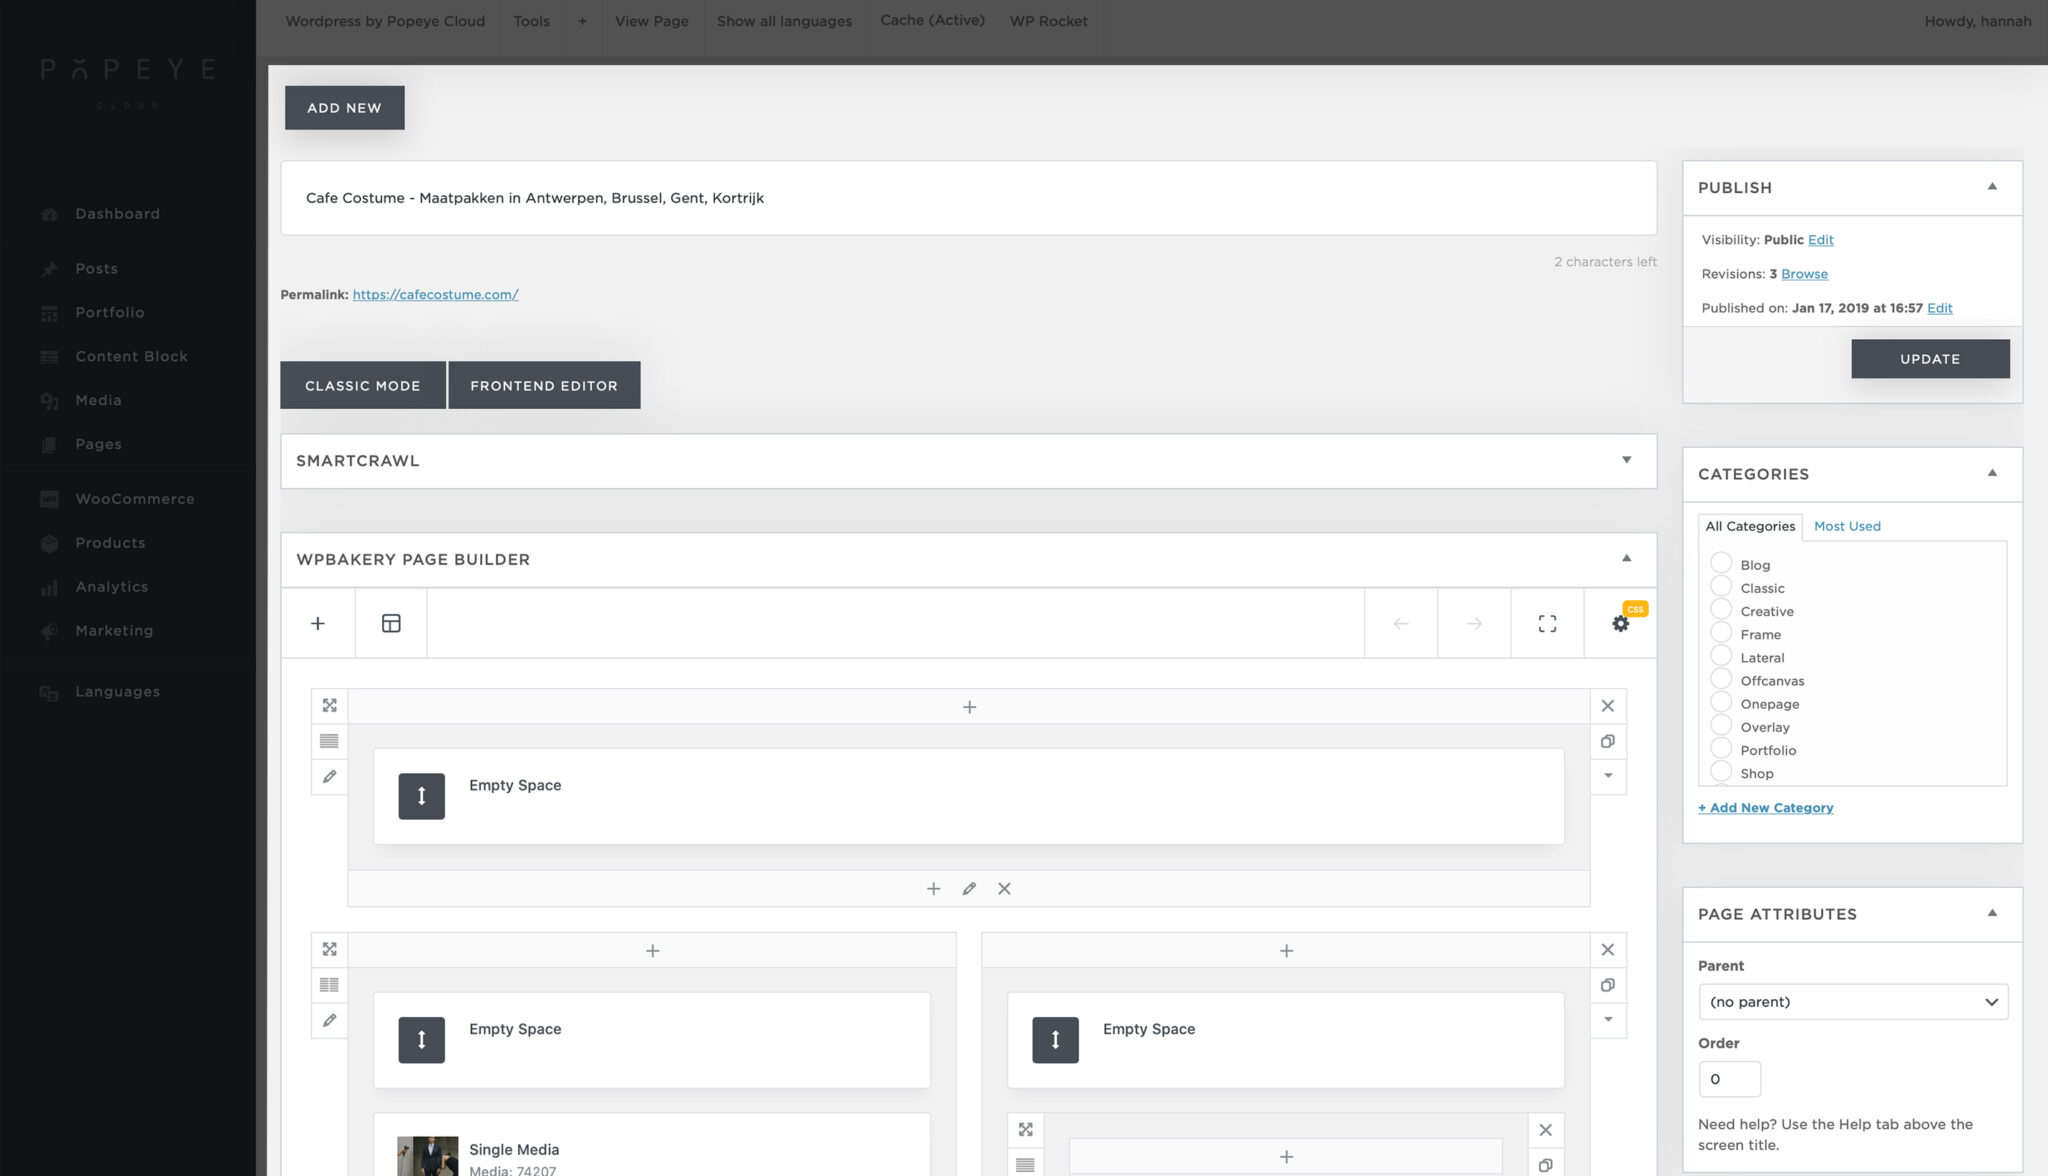
Step 03: Page Editor
Page Editor
— All the page features explained
When you add a new page or edit an existing page this view will appear. A lot of frames are displayed (for example categories). In this article you will find an explanation for every framed feature:
- Categories to specify that page to a certain categorie
- Classic mode vs Backend editor
- Discussions and Comments are (not) allowed for visitors
- Featured Images
- Google Optimization (Smartcrawl)
- Media
- Page Options
- Page Title
- Permalink
- The Page Builder
Tips 'n tricks
Explore with it and you'll get away with it quickly!
Step 02: Dashboard
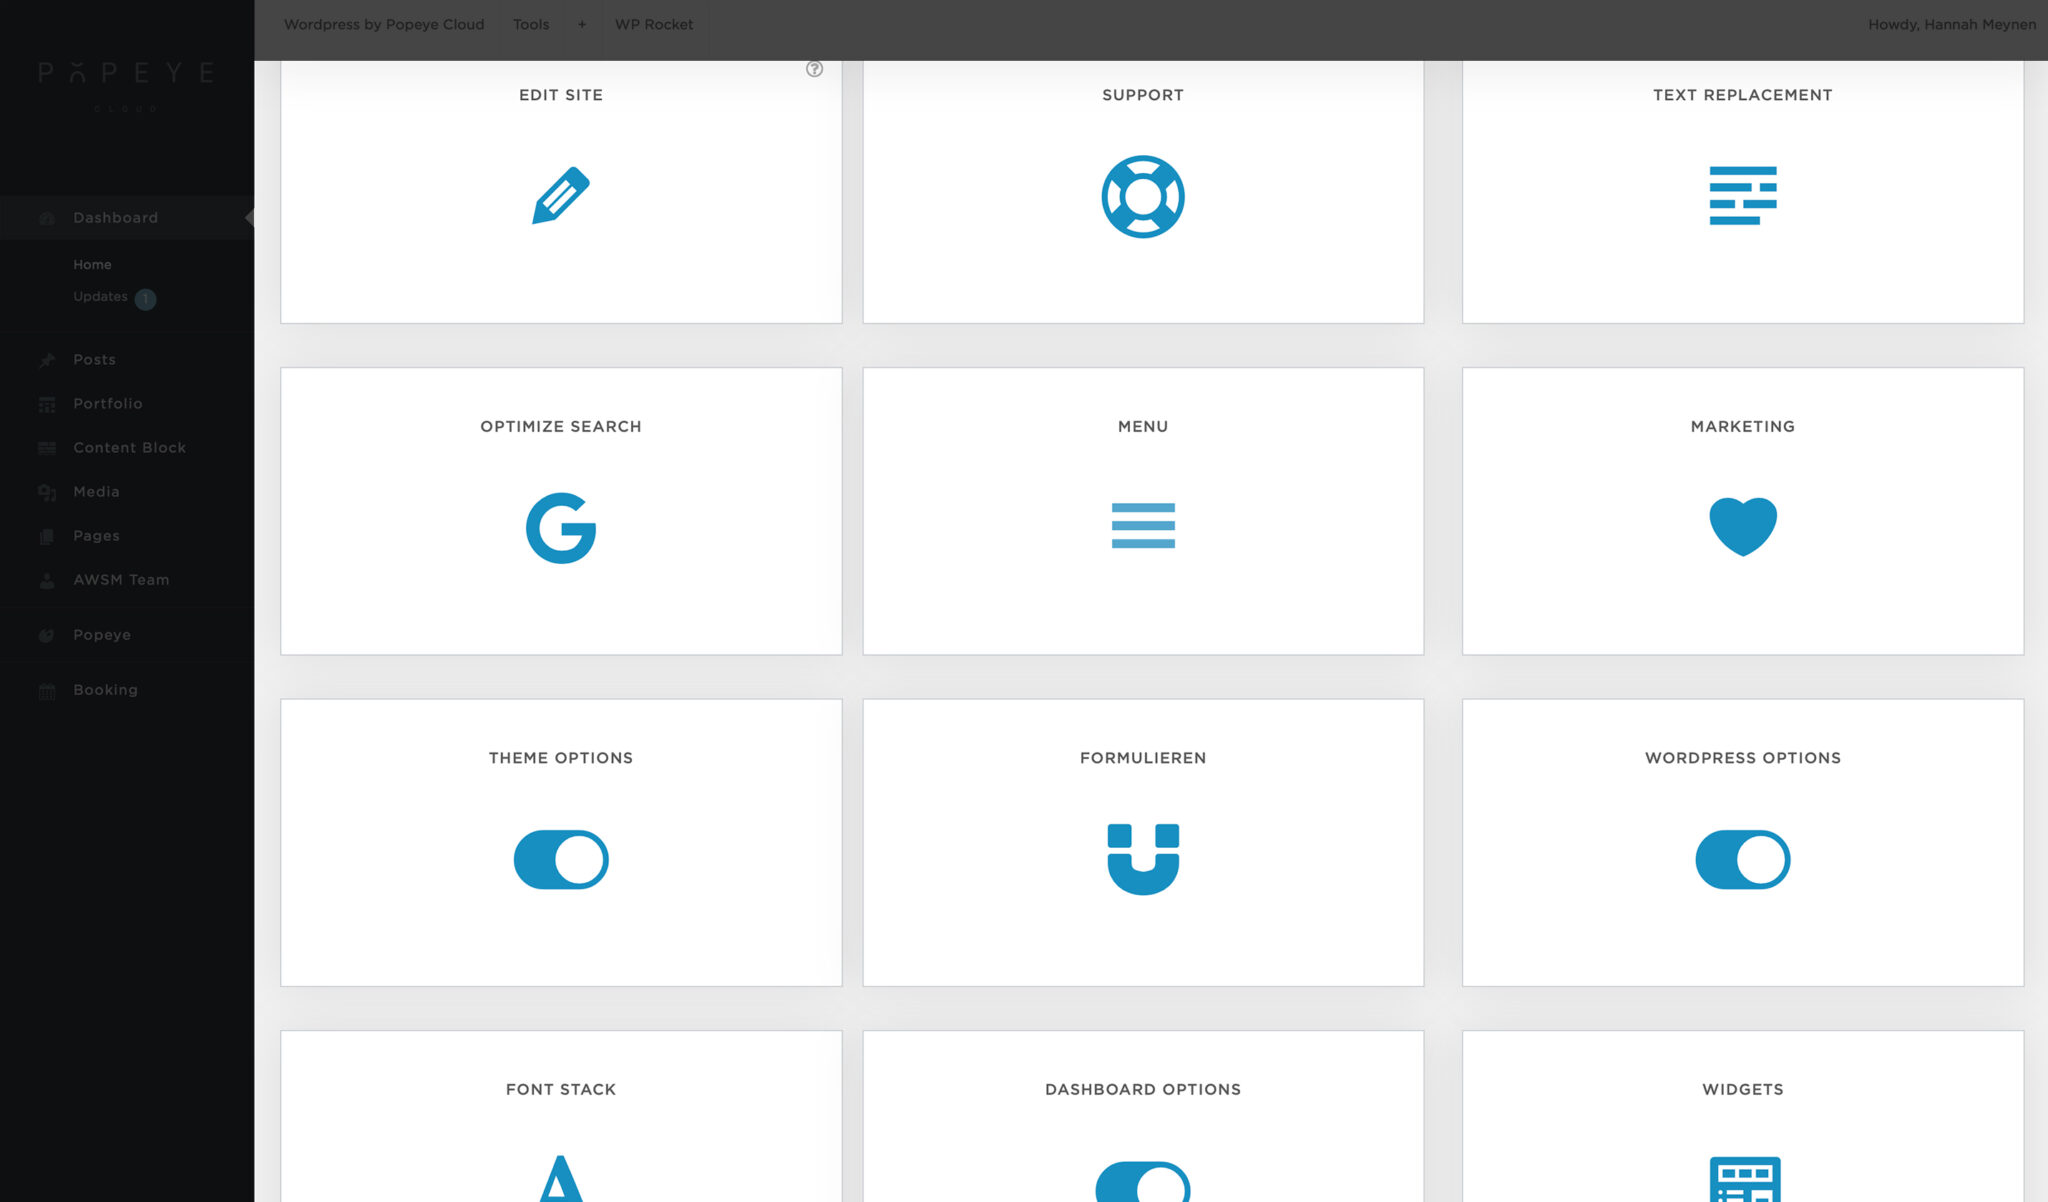
Dashboard features
— All the dashboard features explained
After you logged in your dashboard will appear. All items are explained in different articles.
Click the title for more information:
- Add product
- Backups
- Dashboard Options
- Font Stack
- Forms
- Google Optimalisation
- Image Compression
- Marketing
- Menu
- Performance
- Products Stock
- Sales Reports
- Security
- Support
- Support Access
- Theme Options
- Tracking Codes
- Users
- Verified Plugins
- Widgets
- Wordpress Options
Tips 'n tricks
Explore with it and you'll get away with it quickly!