
Product attributes
Attributes not only assist in the organization and display of products but are also crucial for creating variable products. Each variation is defined by the different attributes you assign it such as color or size. In this way, not only do attributes help define the products themselves, they can enhance the product selection process, allowing customers to find and select products that meet their specific needs or preferences. Attributes consist of a name, and terms. The terms are the different options that are available for that specific attribute.For example if the attribute is “Size”, the terms might be “XXL”, “XL”, “L”, “M”, “S”, “XS” etc. You can filter and display products based on attributes that you’ve assigned them. In this way you can select a specific attribute and display products that contain it. Or you can use attributes as a filtering mechanism. For example: If you’re selling clothing, two logical attributes are “color” and “size”, so people can search across categories for a color that fits their style and type and clothing available in their size.
How to add attributes?
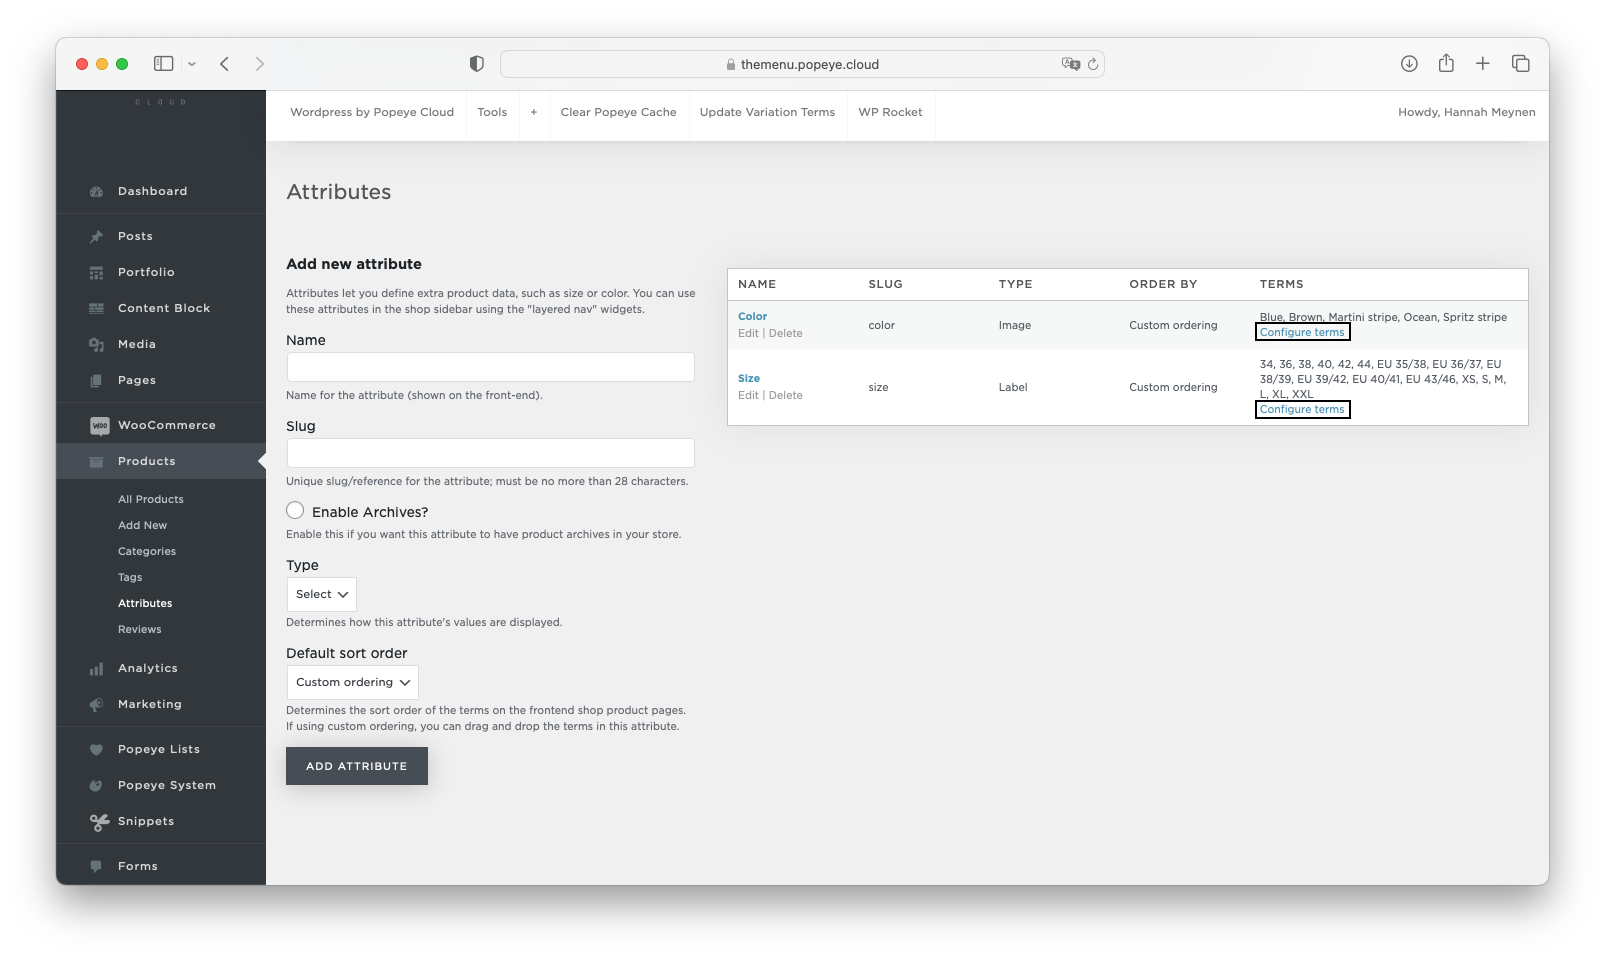
1. Navigate to Products > Attributes.2. In the “Add new attribute” form, Add a Name for example color or size.3. Add a Slug; (optional); this is the URL-friendly version of the name.4. Select a Default sort order. Choose between:
“Name”, (sort alphabetically) “Name (numeric)”, (if the values are numbers) “Term ID” or; “Custom ordering” (standard selected) where you decide by dragging and dropping the terms in the list when configuring the terms (see below). For variable products, the sorting order of the attributes affects the sorting order of the dropdown selector(s) on the product page. 6. Select Add attribute. It will now appear in the right column.

7. Click now configure terms to add sizes or color names, if you already have some terms you can also add new terms here.
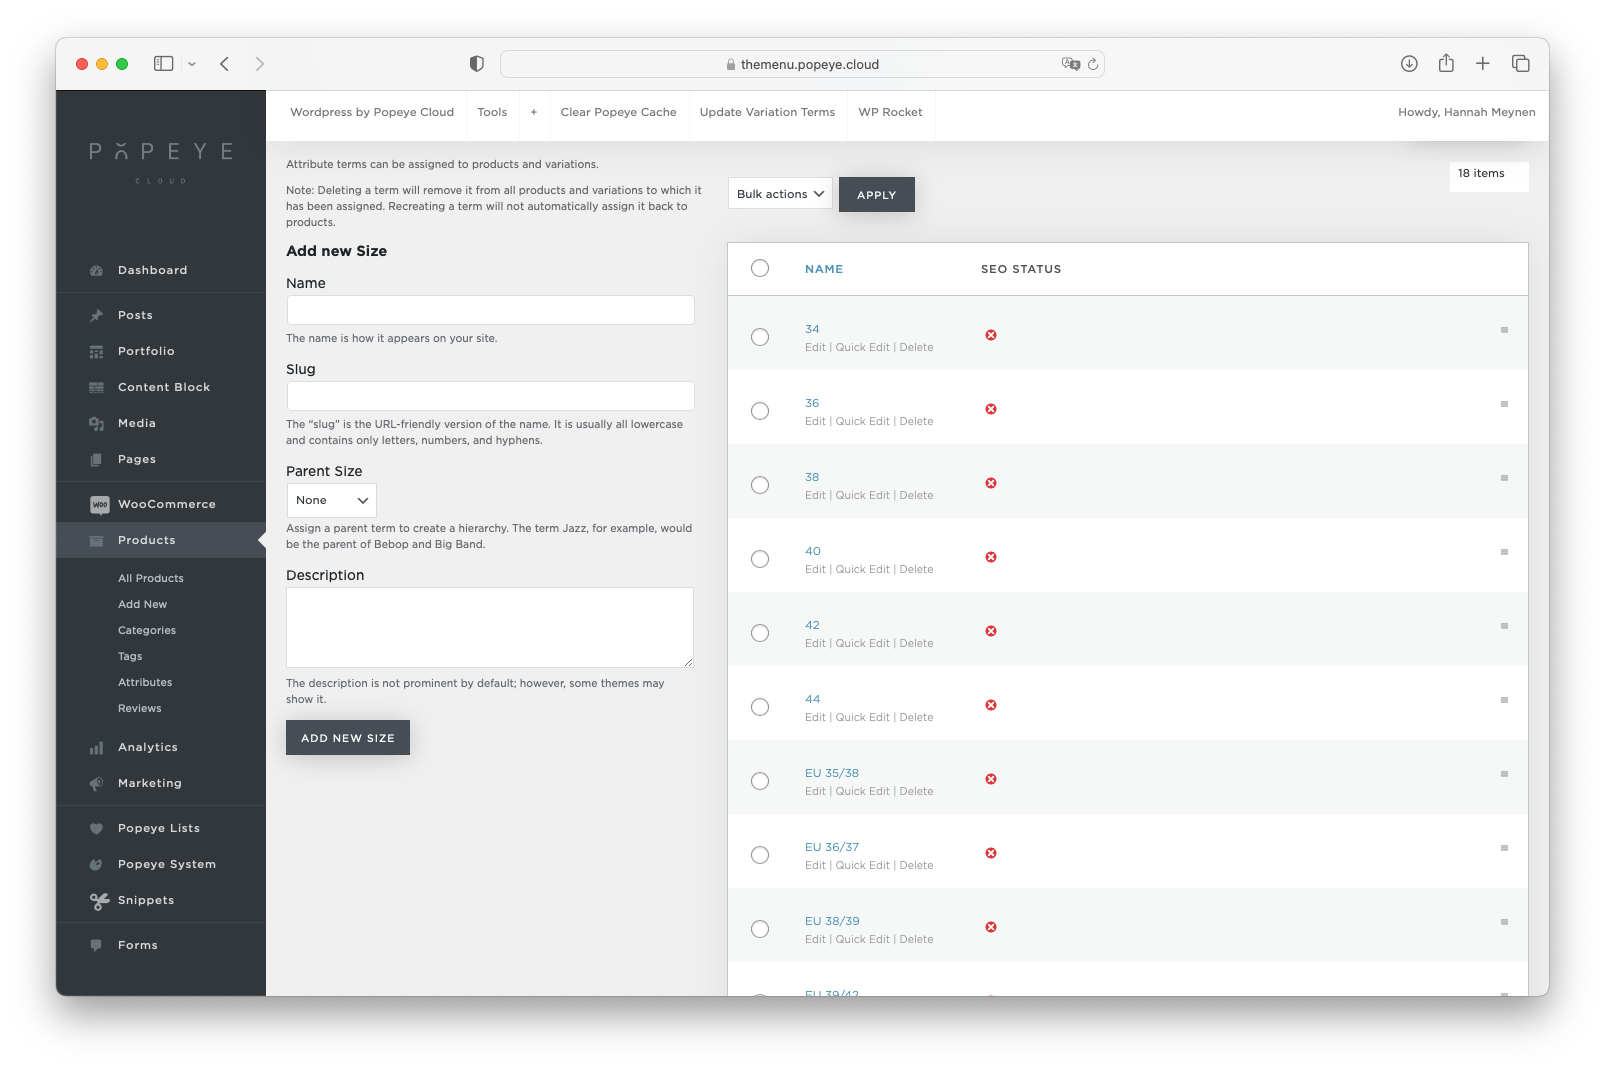
8. Now you can add as many terms as you like in under attribute group "size". Type a name and click the ADD NEW SIZE button. It will then appear in the right column.
9. Same thing for the colors attribute group, add a new name and add the color so it appears in the right column.10. If you need to add a color swatch image read down below.

Add a custom color swatch image for the color attributes
You do the exact same steps however additionally you're going to add a thumbnail. Which is a screenshot of the respective color you want to show in the shop detail as color swatch. Such image is ideally a jpeg and not bigger than size 30x30 pixels.

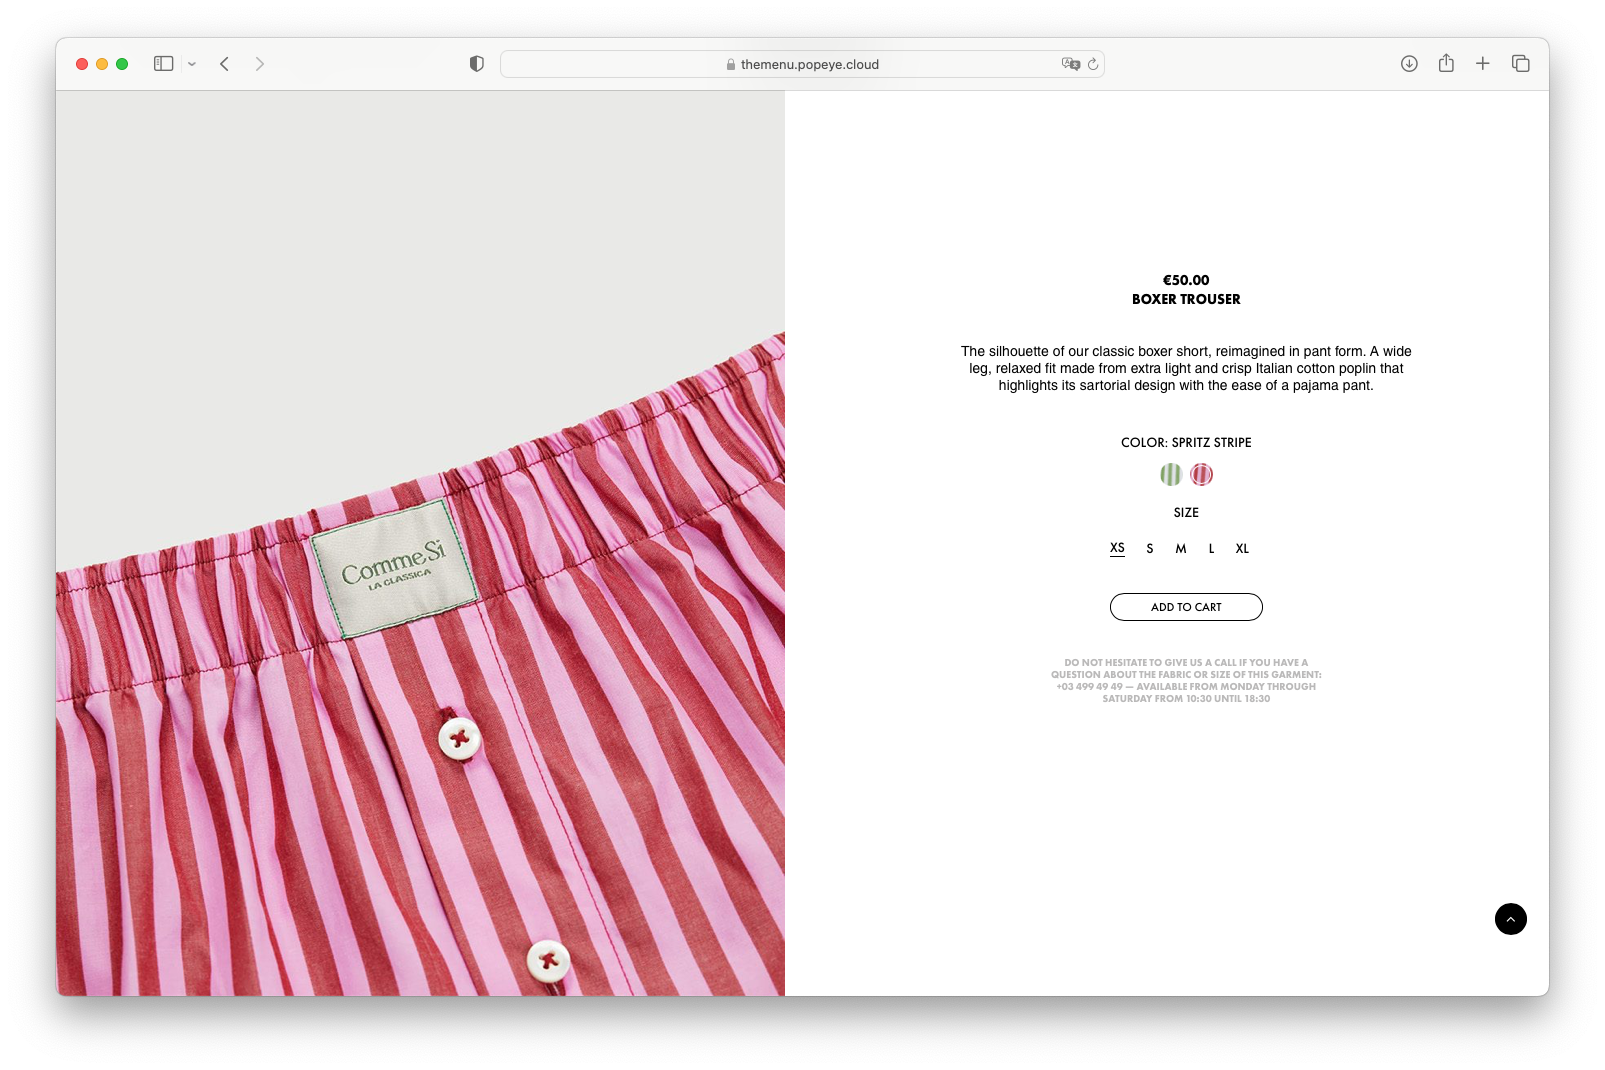
Results for example on a shop detail and shop overview page: