
How to install GA4 on your website to measure and report all your data
— As of July 1, the standard Google Analytics tool will disappear. Therefore it is important to switch as soon as possible to GA4. Switching to Google Analytics 4 (GA4) is an important step for companies looking to improve their analytics and tracking capabilities. GA4 offers new features and a more advanced approach to data analysis. In this text, we will discuss the steps you need to take to set up GA4 and how to take advantage of the new features it offers.
GA4
To implement GA4, you need to start by creating a new GA4 account. Go to the Google Analytics website and follow the instructions to create a new account. Here you will be assigned a unique measurement ID that you will need later.
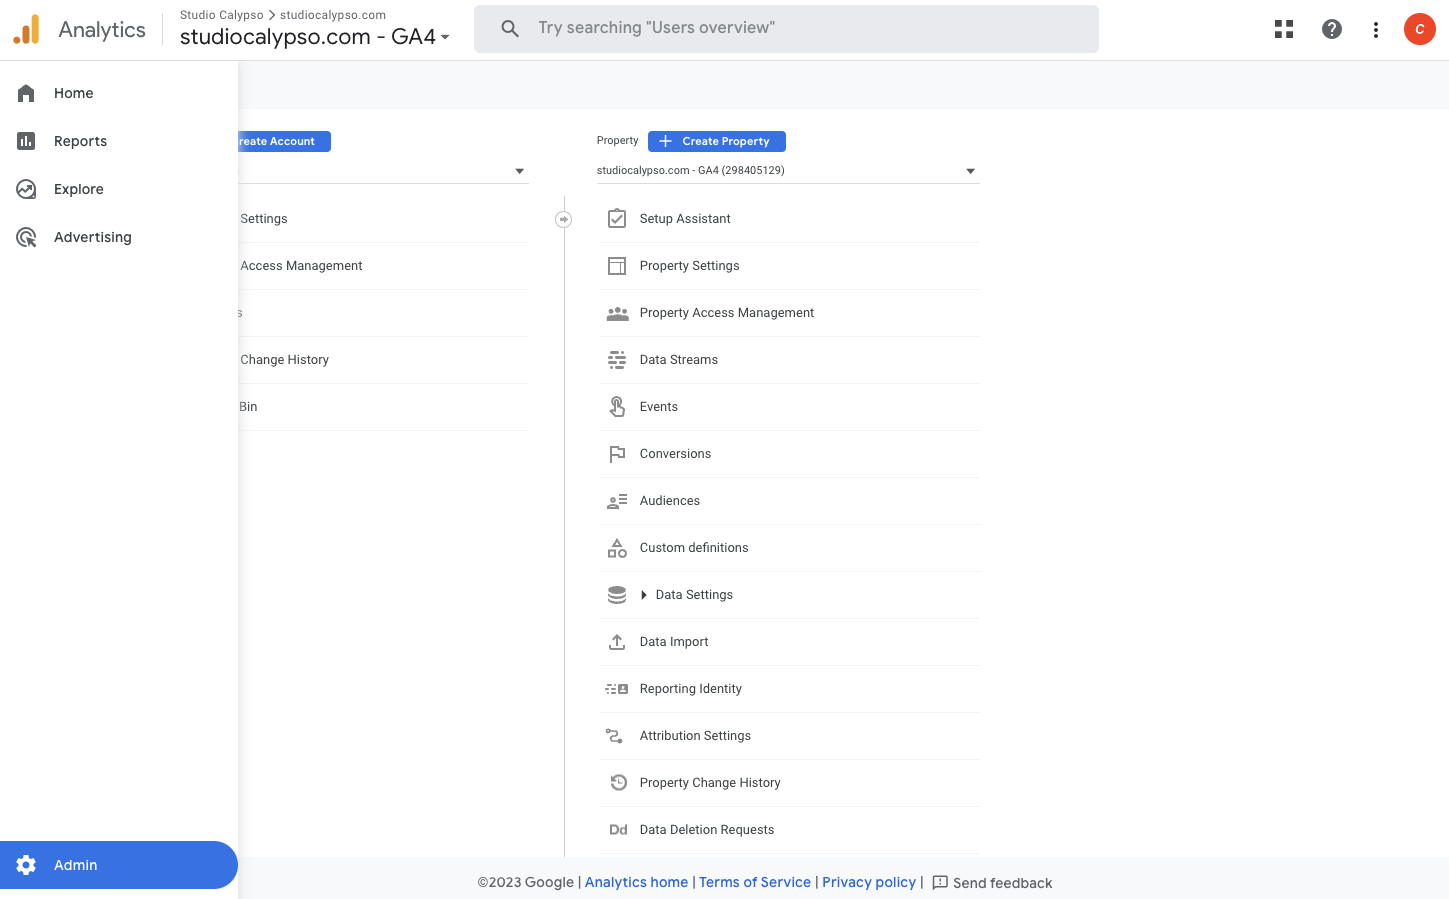
- Go to Google Analytics
- Go to admin at the bottom left > Click create account
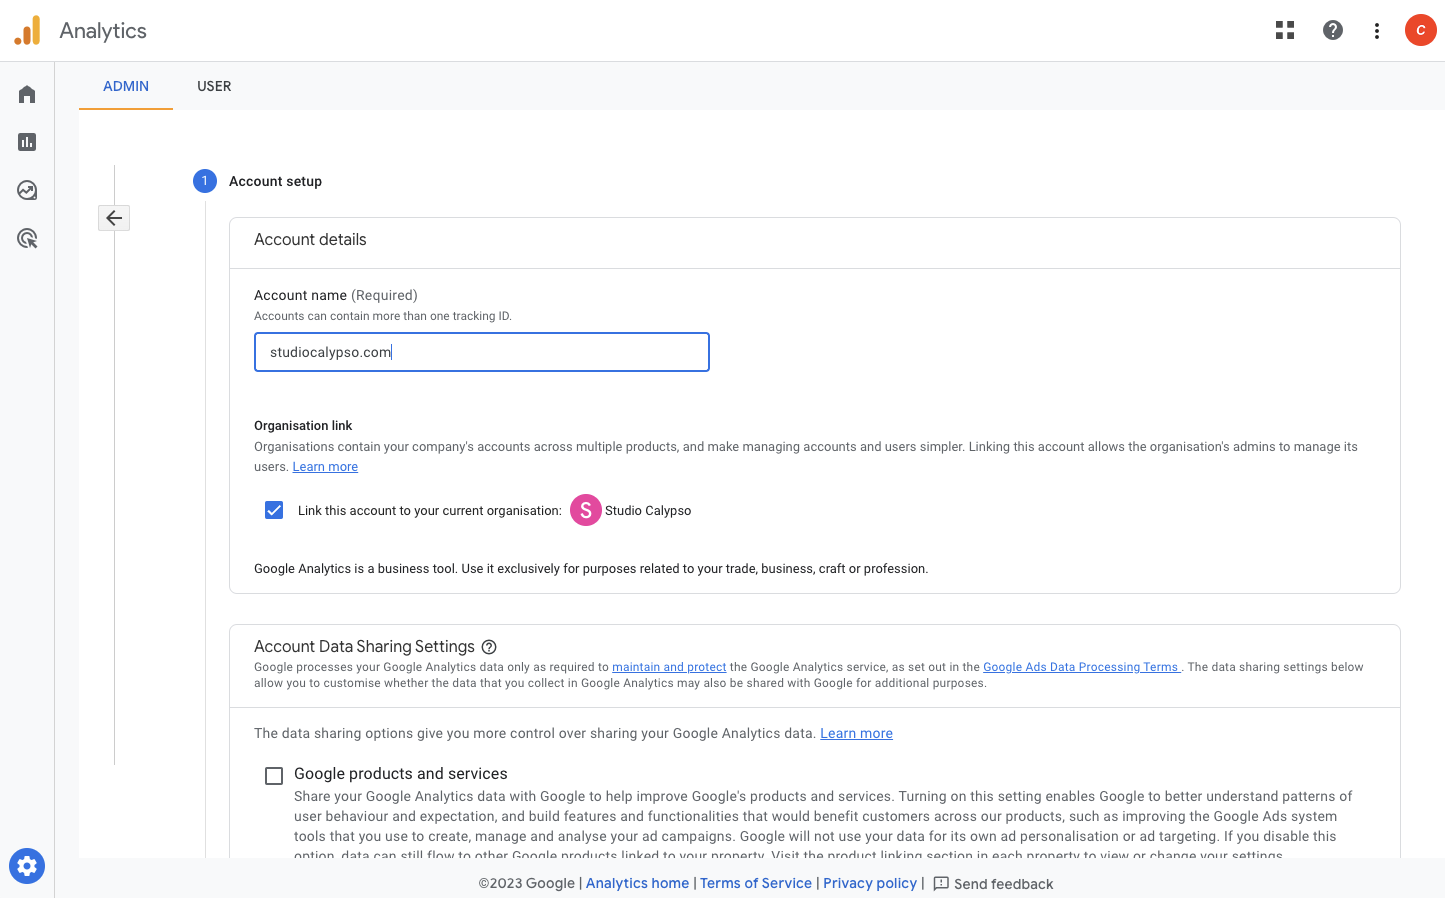
Account setup
- Fill in an account name, this is equal to your website domain name
- Check ‘link this account to your current organisation’
- Press next
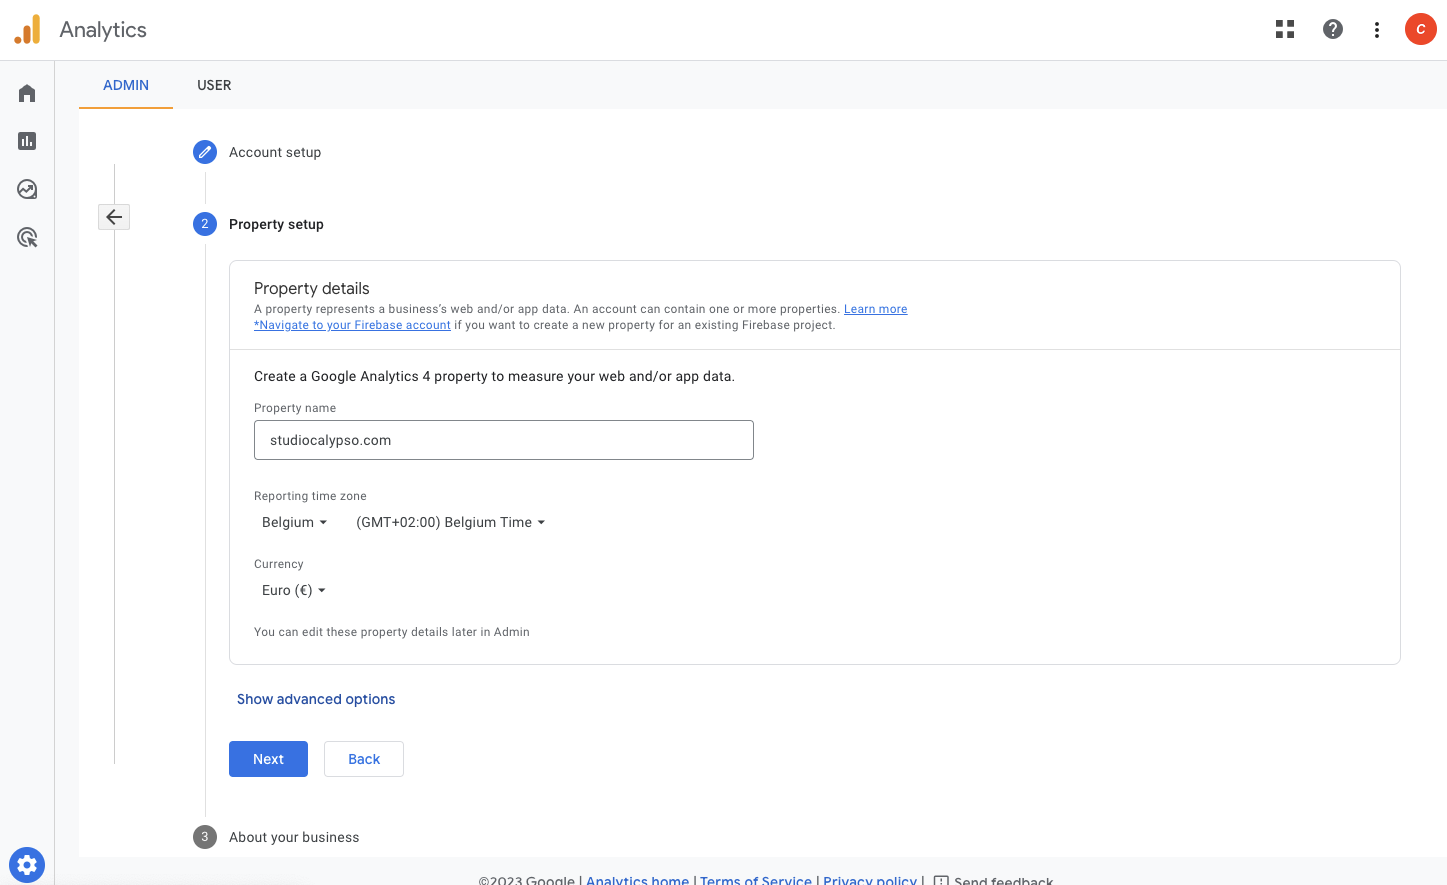
Property setup
- Fill in property name, this is equal to your website domain name
- Change the time zone and currency
- Press next
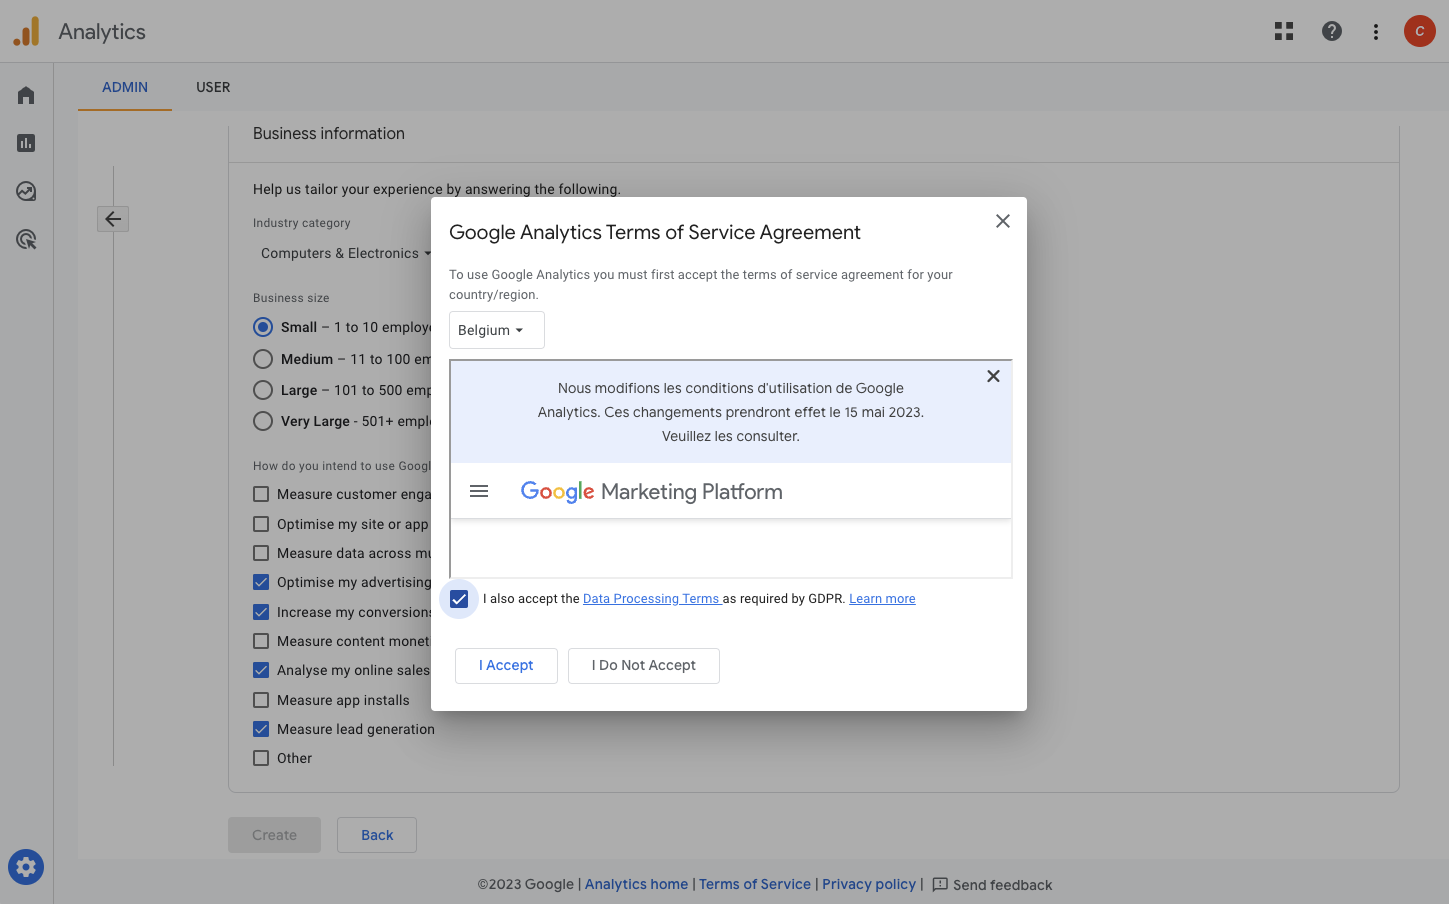
About your business
- Select an industry category
- Select the business size
- Tick all the boxes how you intend to use GA
- Create
Change the country/region to the correct one (ex Belgium)
Check the box ‘I accept the Data Processing Terms…’ > I accept
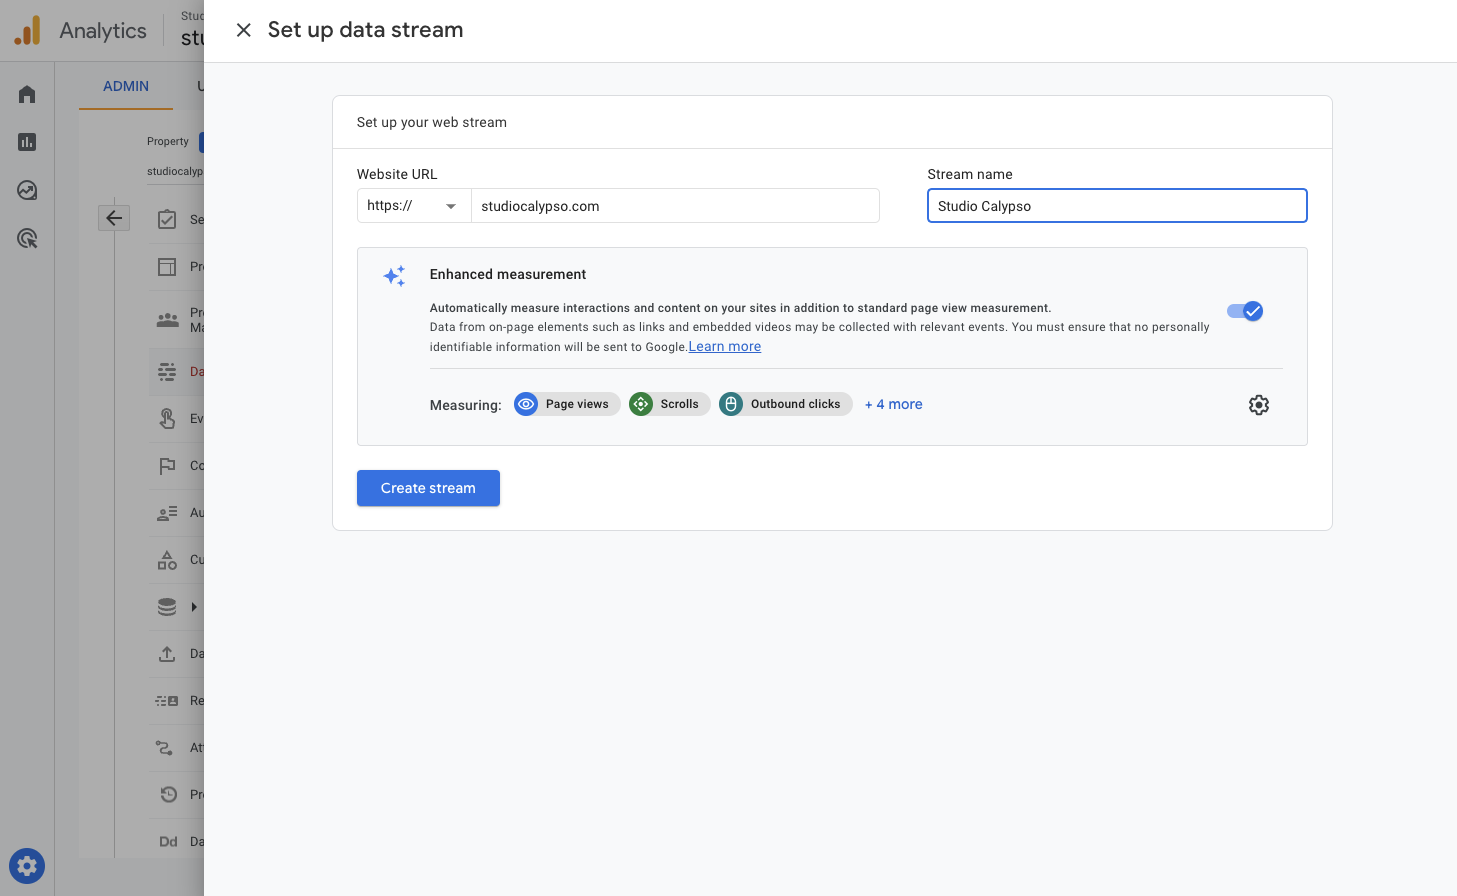
Web stream
Set up your web stream
- Fill in the website url
- Fill in the stream name
- Create stream
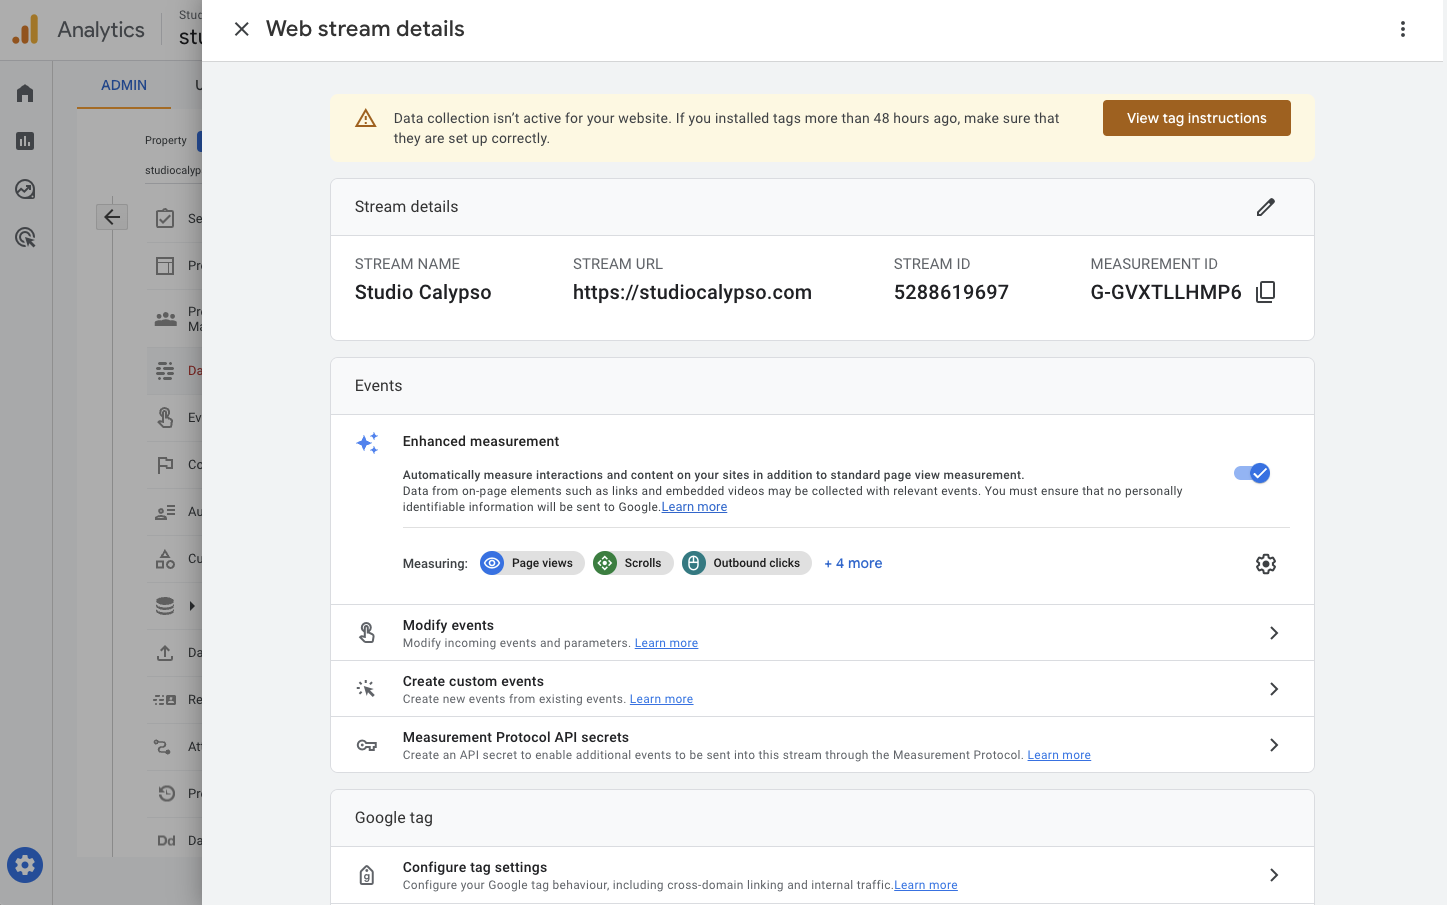
Web stream details
- Copy the measurement ID
We are now going to paste this ID into the website as tracking code.
Install the tracking id
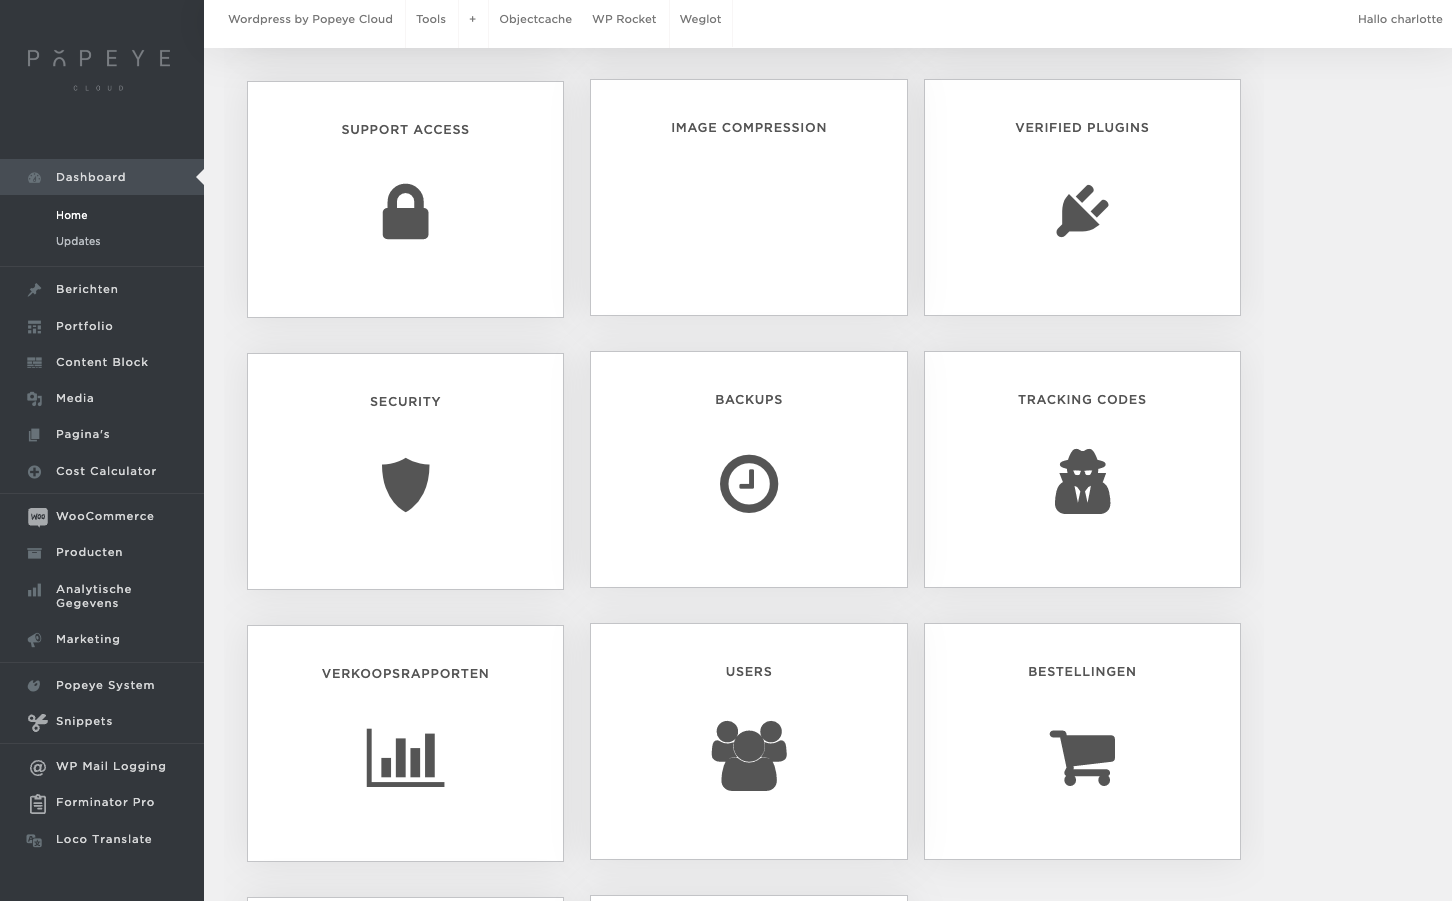
Go to your website.
On your dashboard you will find tracking codes
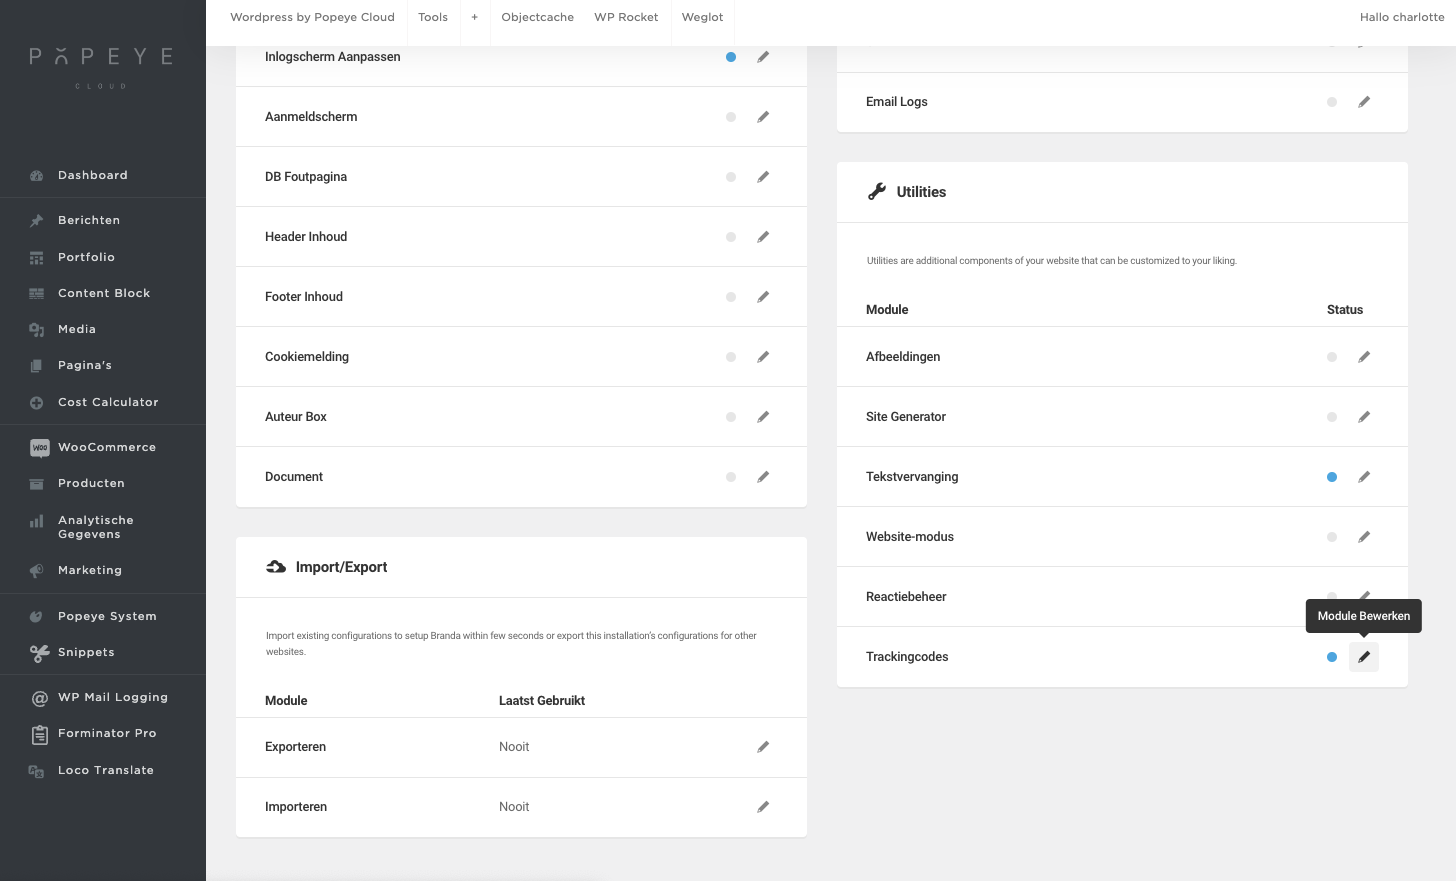
Utilities
- Scroll down to utilities
- Open the tracking codes with the pen
- Click ‘+ add tracking code’
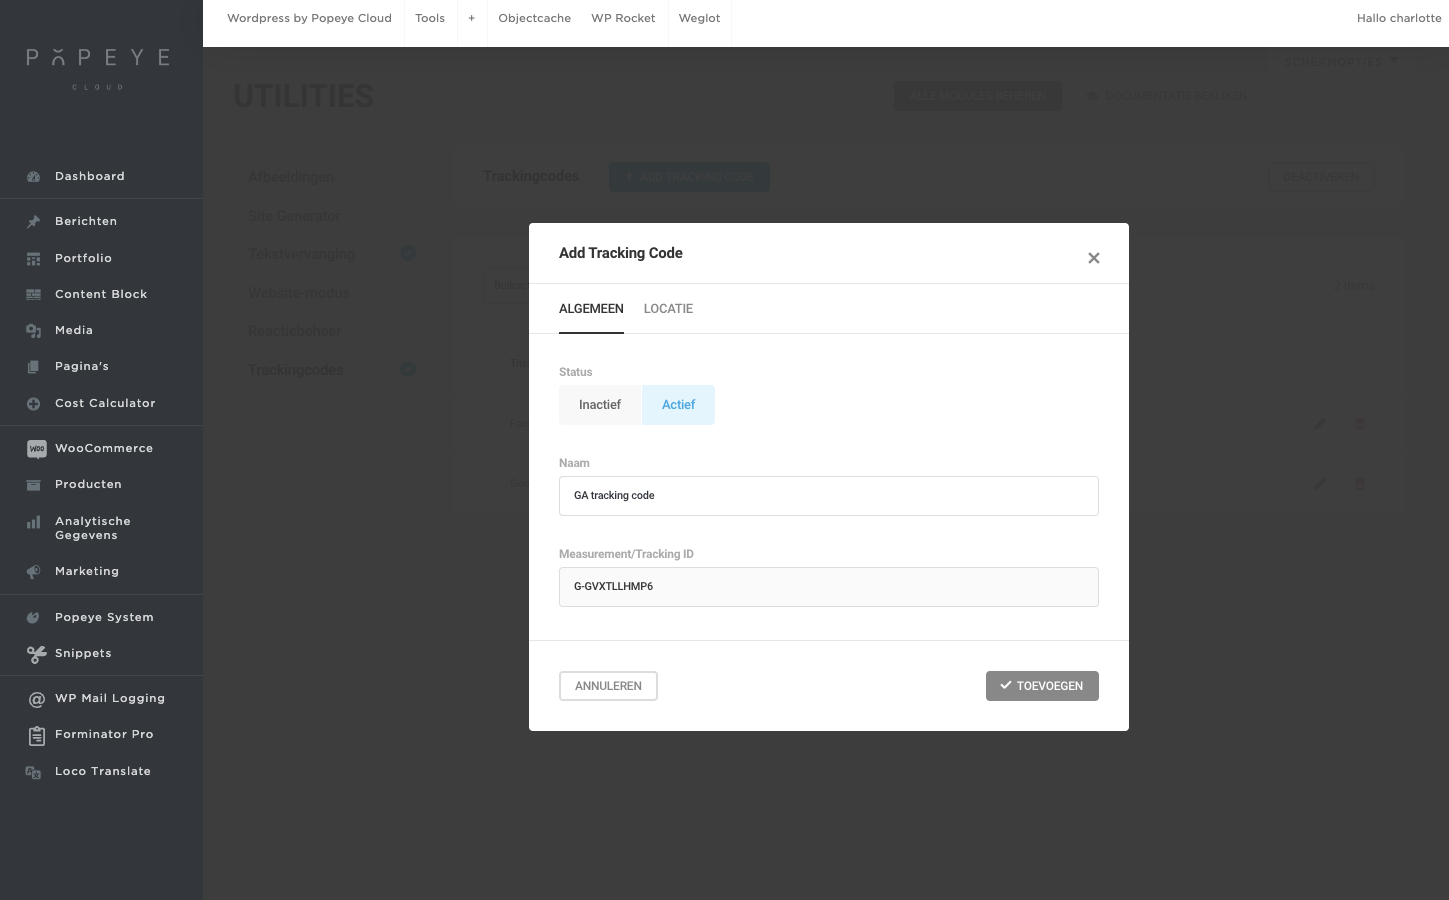
Add tracking code
- Status : Actief
- Name : ex. GA tracking code
- Measurement tracking ID : paste your code here
- Click ‘add’
Now your website is linked to your google analytics code. Once everything is set up and data starts flowing in, you can get started with reporting and insights. Navigate through the reports and dashboards in the new GA4 features.