

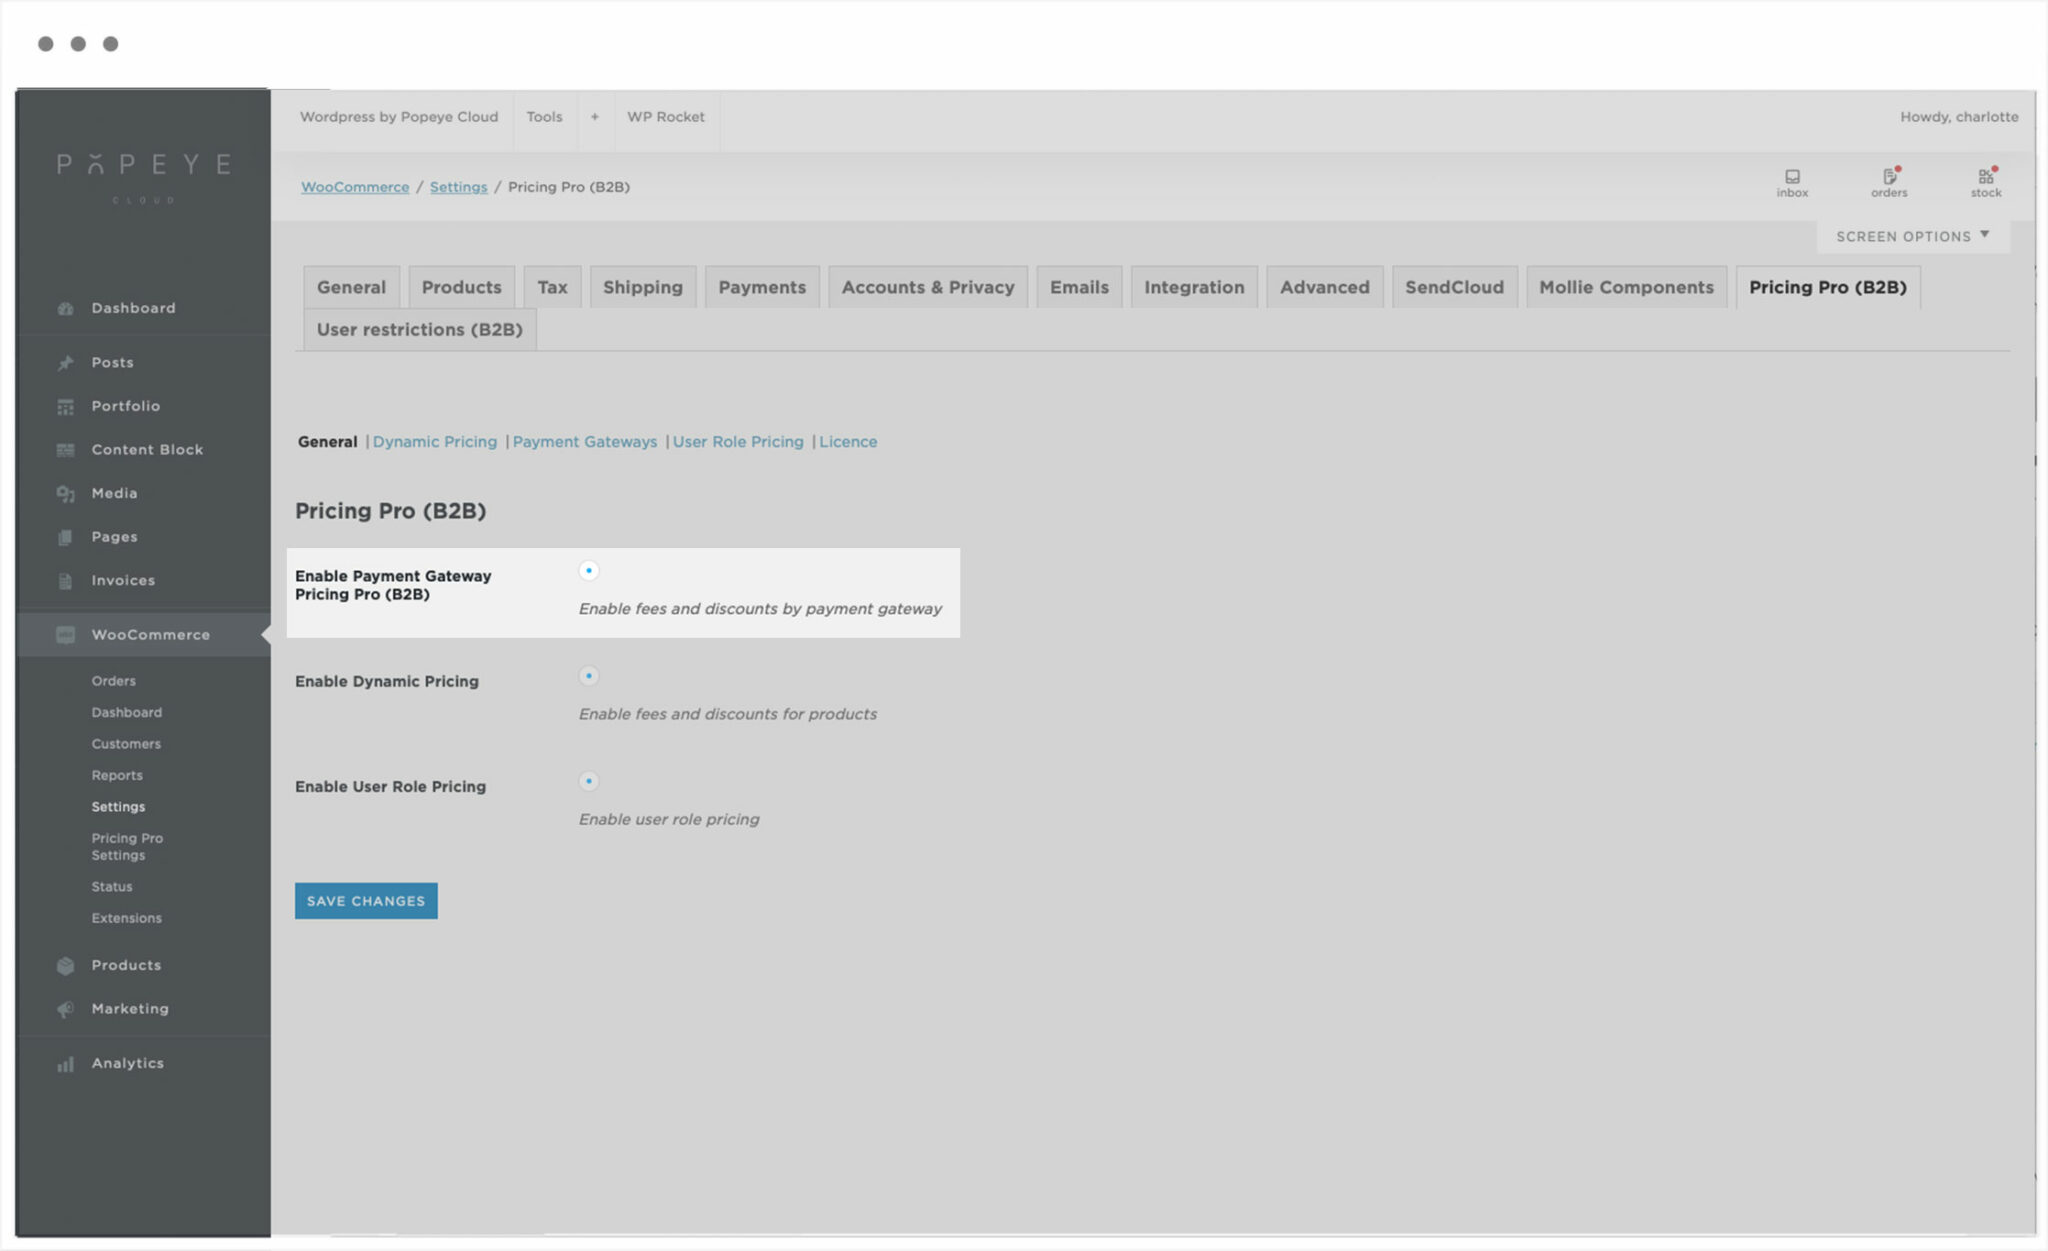
Set fees and discounts depending on the payment gateway
— Enable Payment Gateway Pricing Pro (B2B)
Payment Gateway
To set an additional fee or discount depending on the payment gateway chosen by your customer, go to WooCommerce > Settings > Pricing Pro (B2B) and ensure that the ‘Enable Payment Gateway Fees and Discounts’ option is selected.
Click on the ‘Payment Gateways’ menu item under the main tabs. You should see all the active payment gateways on your site listed below the page title.

Select the payment gateway where you’d like to create a fee or discount.
Label
In ‘Label’ enter the text that you’d like to use to denote the extra charge
Type
Choose the type of fee or discount in the ‘Type’ dropdown. The options are:
- Fixed discount
- Fixed fee
- Percentage discount
- Percentage fee
- Disabled
Amount
Enter the amount of the fee or discount in the ‘Amount’ field
Include shipping costs
Decide whether to include shipping costs in the cart total. (Note that this is mainly relevant if you’re charging a percentage rather than a fixed fee and/or if you are setting minimum or maximum values for the cart)
Minimum cart amount
Minimum cart amount
Maximum cart amount
In ‘Maximum cart amount’, you can enter a maximum total for the cart above which no charges will be applied.
Minimum fee/discount amount
Enter a figure here to define the minimum value of the fee or discount
Apply tax
Check ‘Apply tax’ if you would like tax to be applied to the extra charge
Tax class
Select the ‘Tax class’