
Appointments
Getting started: Adding an Employee
After the plugin is installed, the 'Booking' menu will show up in your Popeye for WordPress admin sidebar.
The first thing to do is to create an Employee. Employees are those who provide services to the customers (e.g. trainers, doctors, etc.). Each employee can provide an individually list of services, can have their own working schedule, and have other settings.
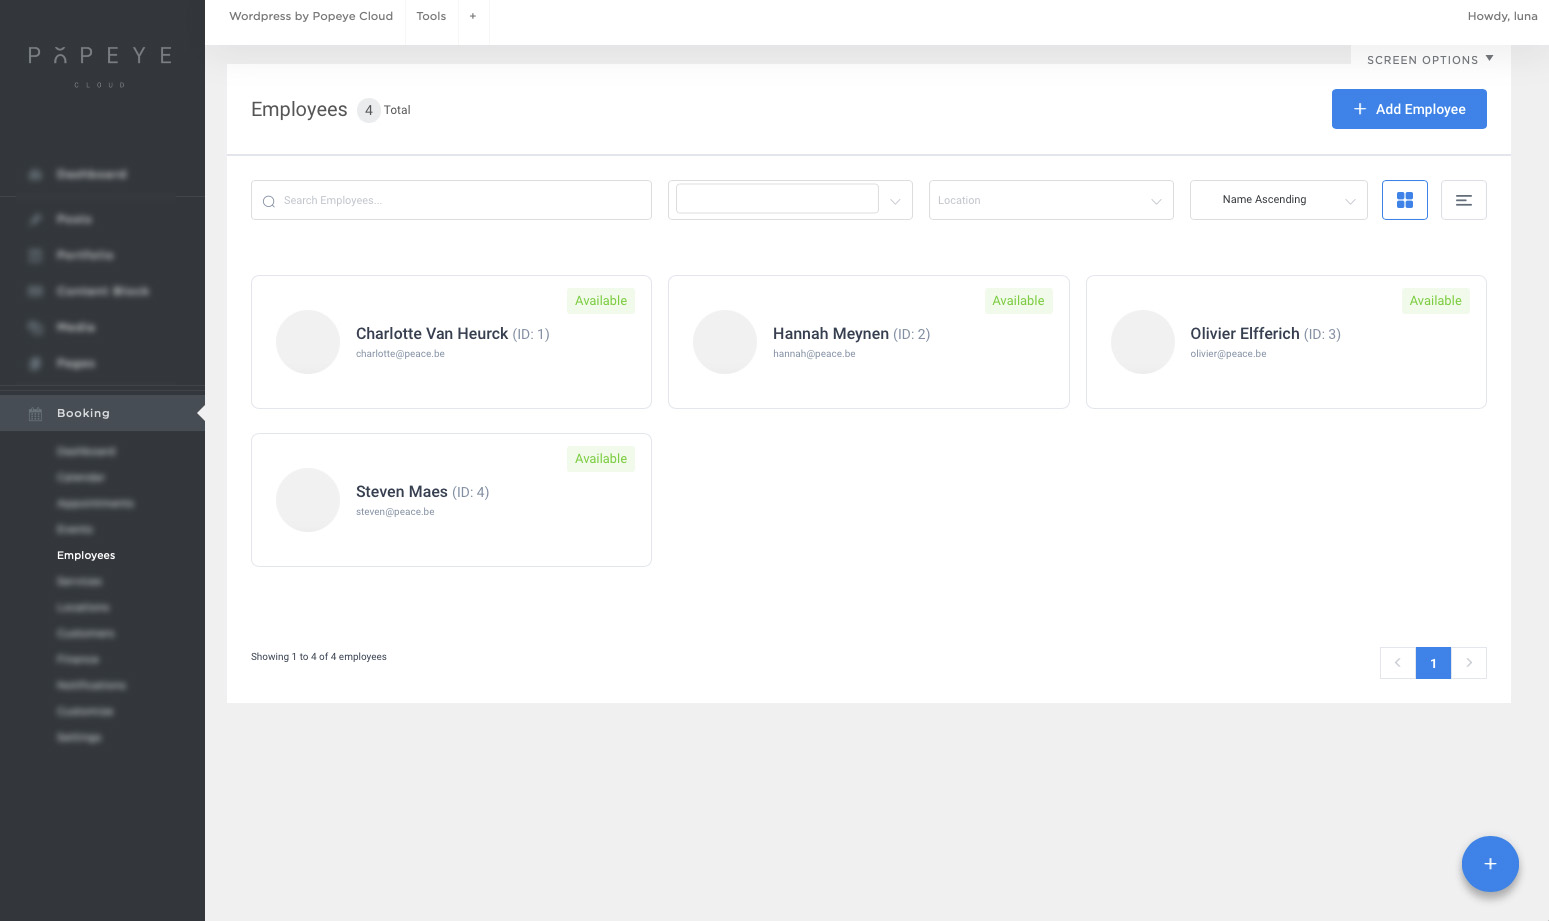
To add an employee, go to the 'bookings' sidebar and click on 'employees', then click on the “Add Employee” button in the top right of the screen
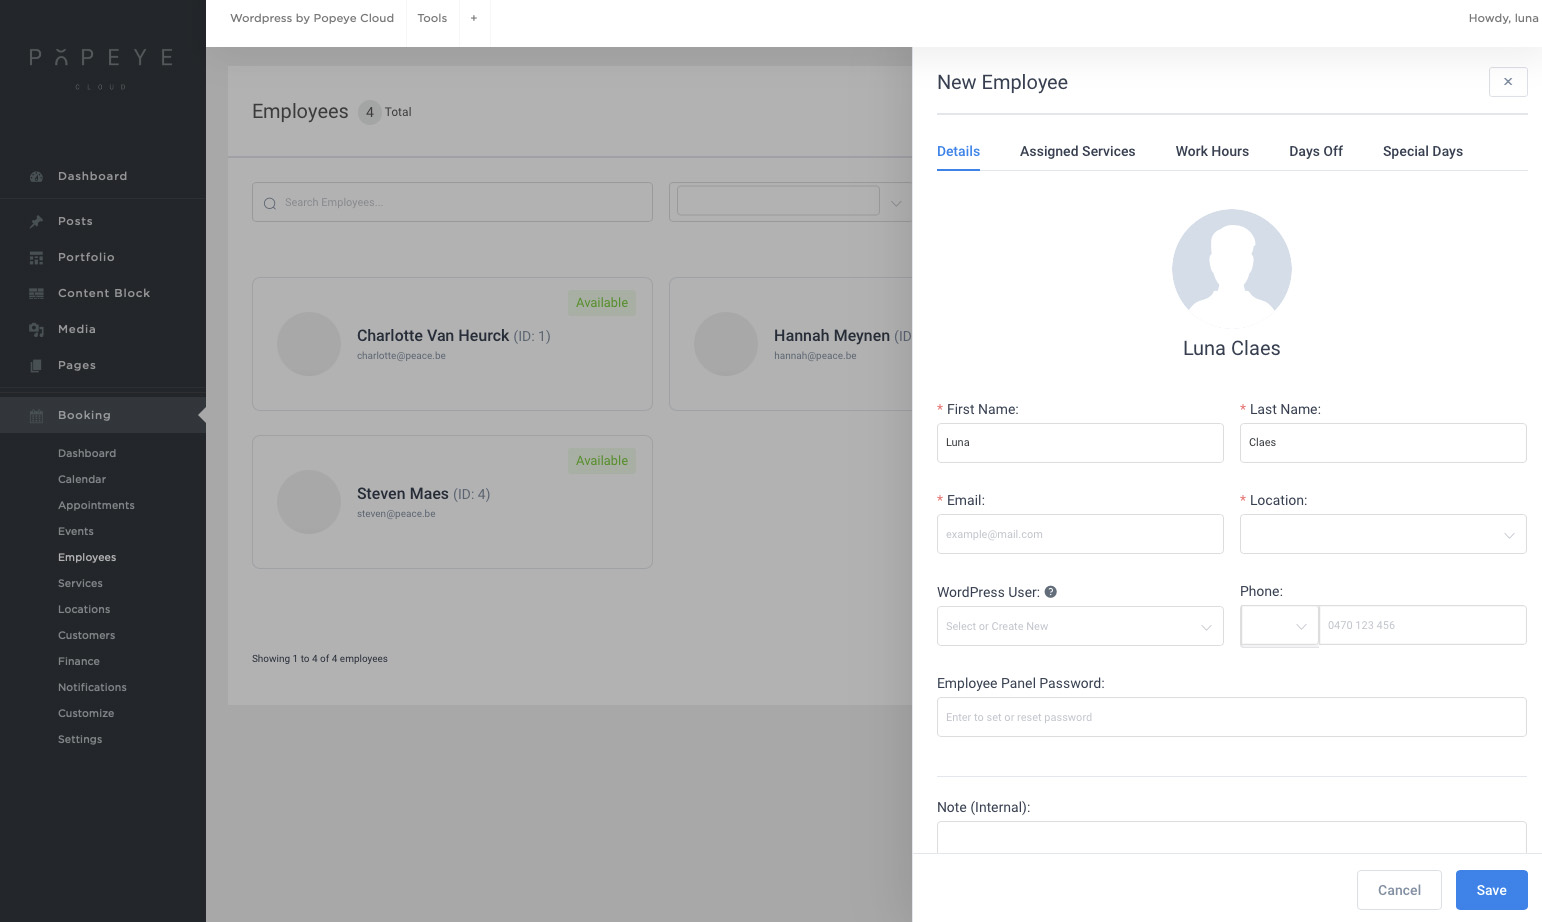
A sidebar will appear where you can define your employee’s primary details (first and last name and email) and other details (photo, related WordPress user, phone, notes, etc.) are optional.
In the 'Assigned Services' tab, tick the checkbox of a service to assign a newly created employee to this service.
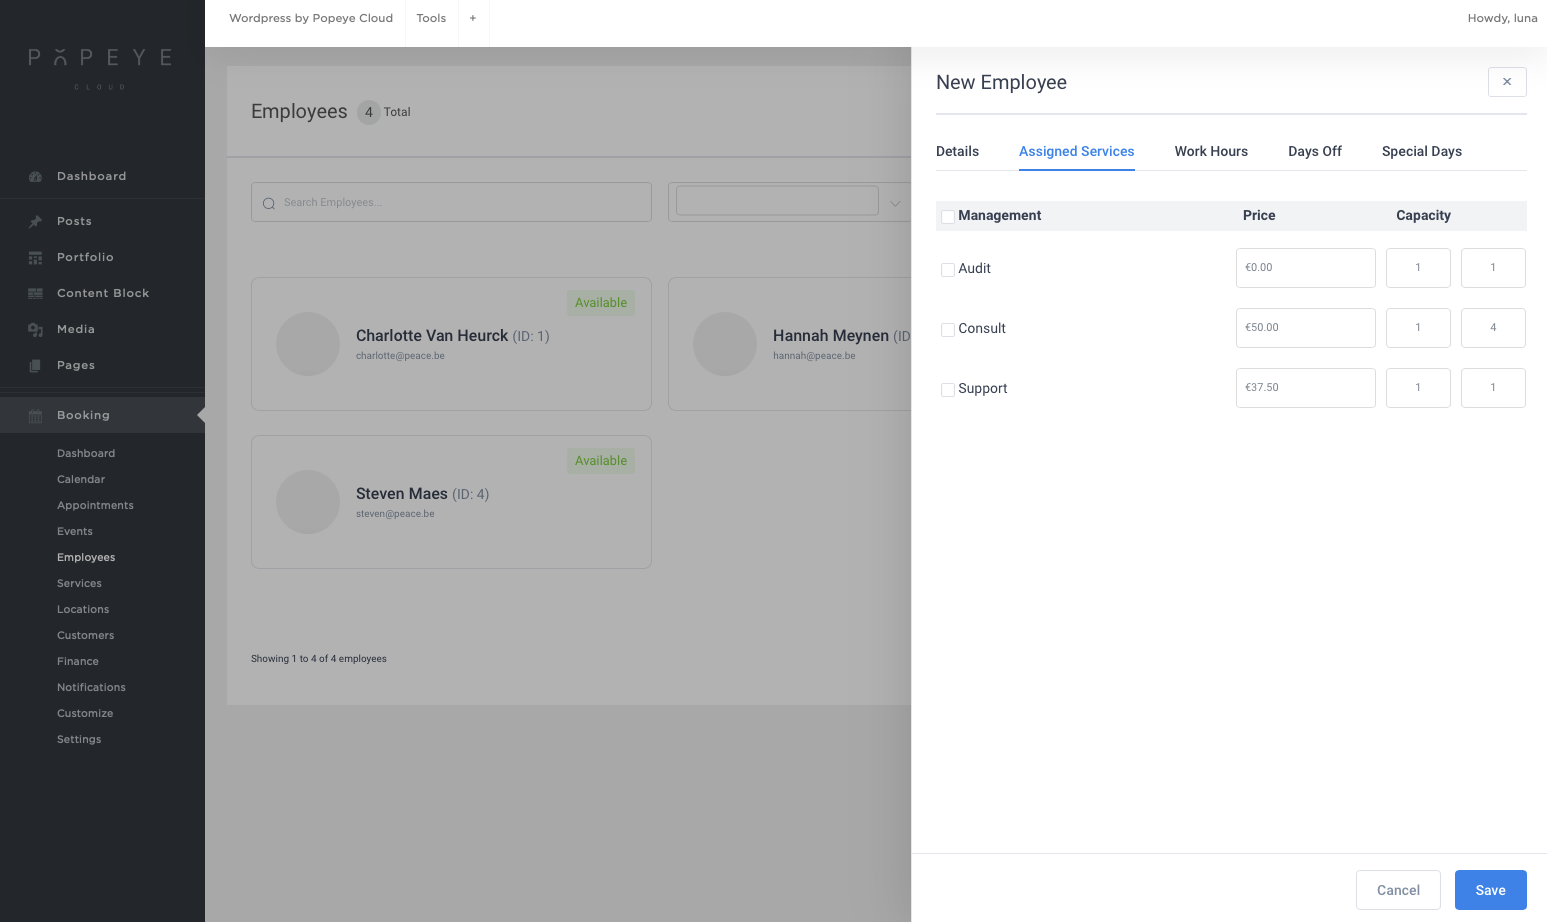
In the 'Work Hours', 'Days Off' or 'Special Days' tabs, you can play around with other employee settings (individual service price and capacity, individual working hours and breaks, individual days off).
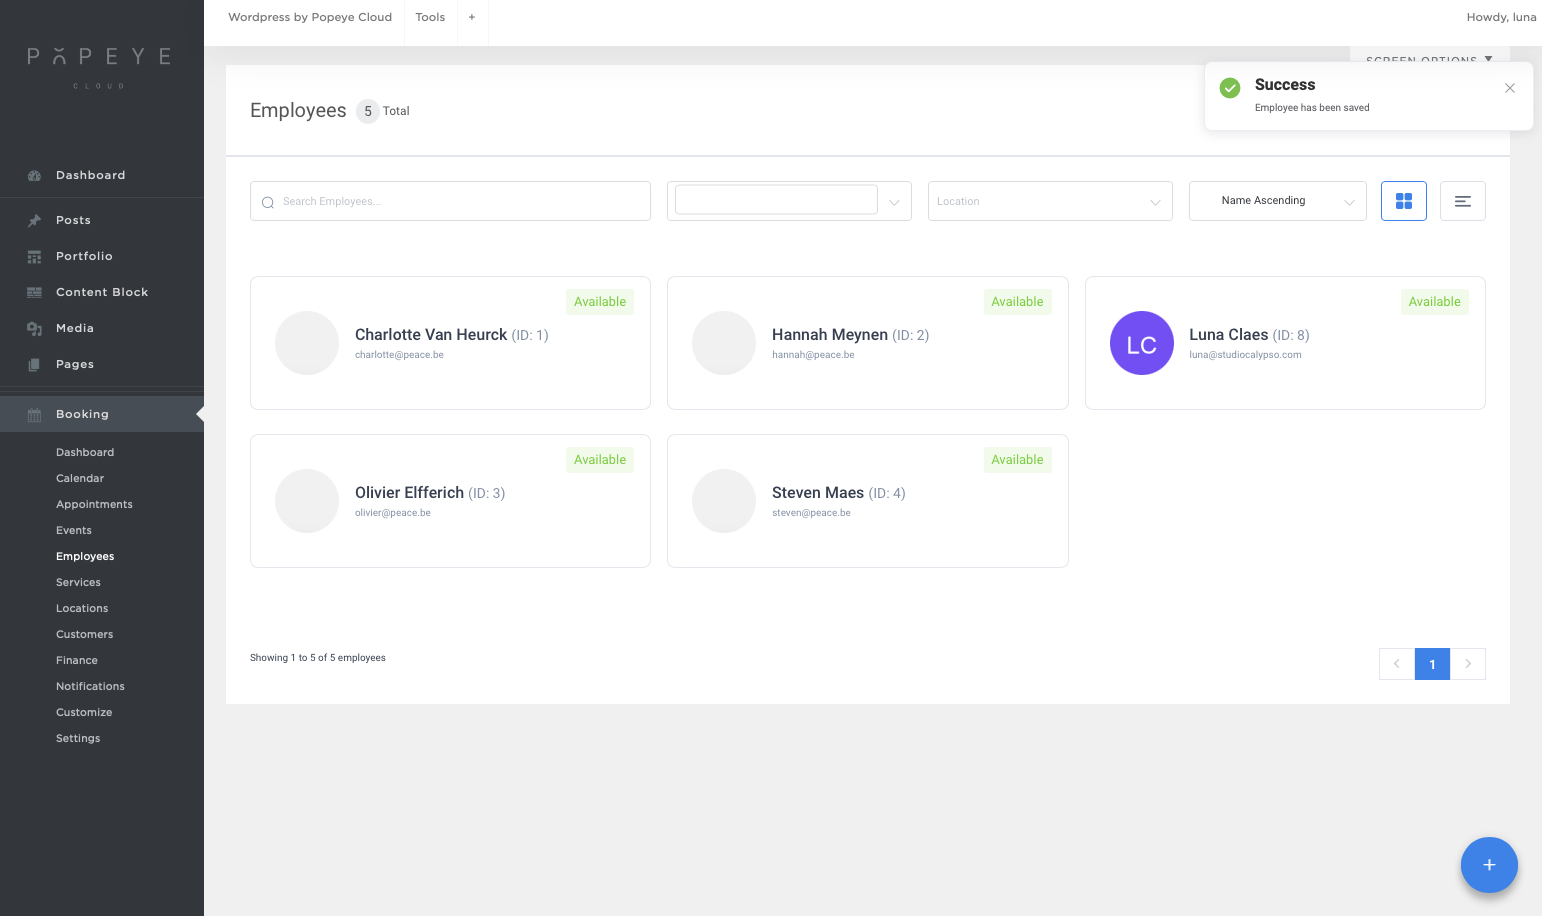
Once you’ve configured an employee click the 'Save' button in the bottom right of the dialog. The employee should appear in the list:
Adding a service
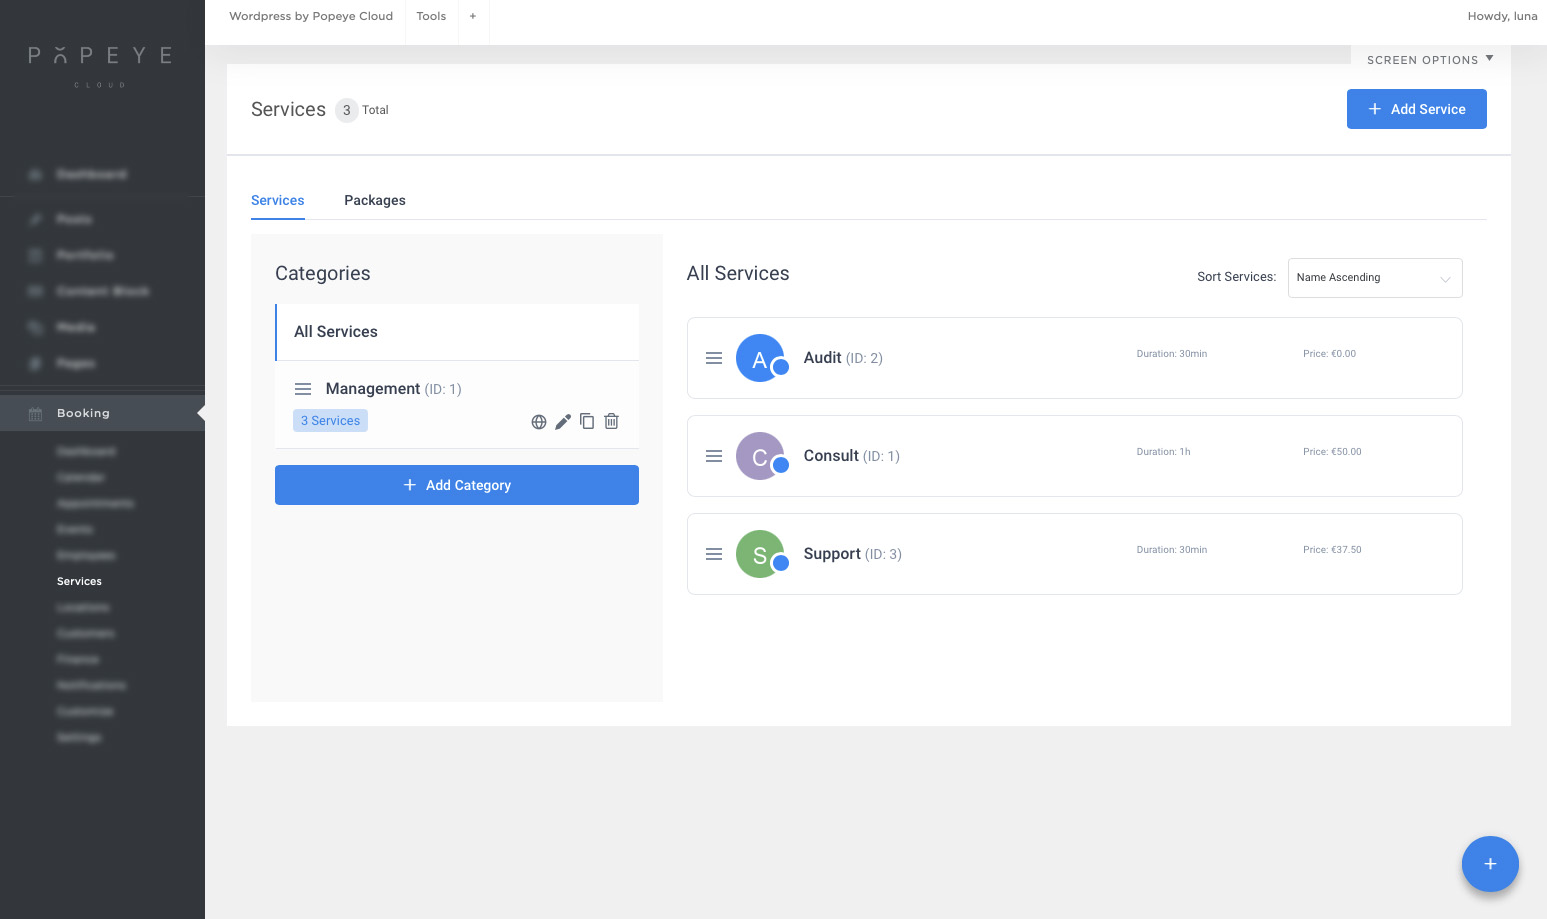
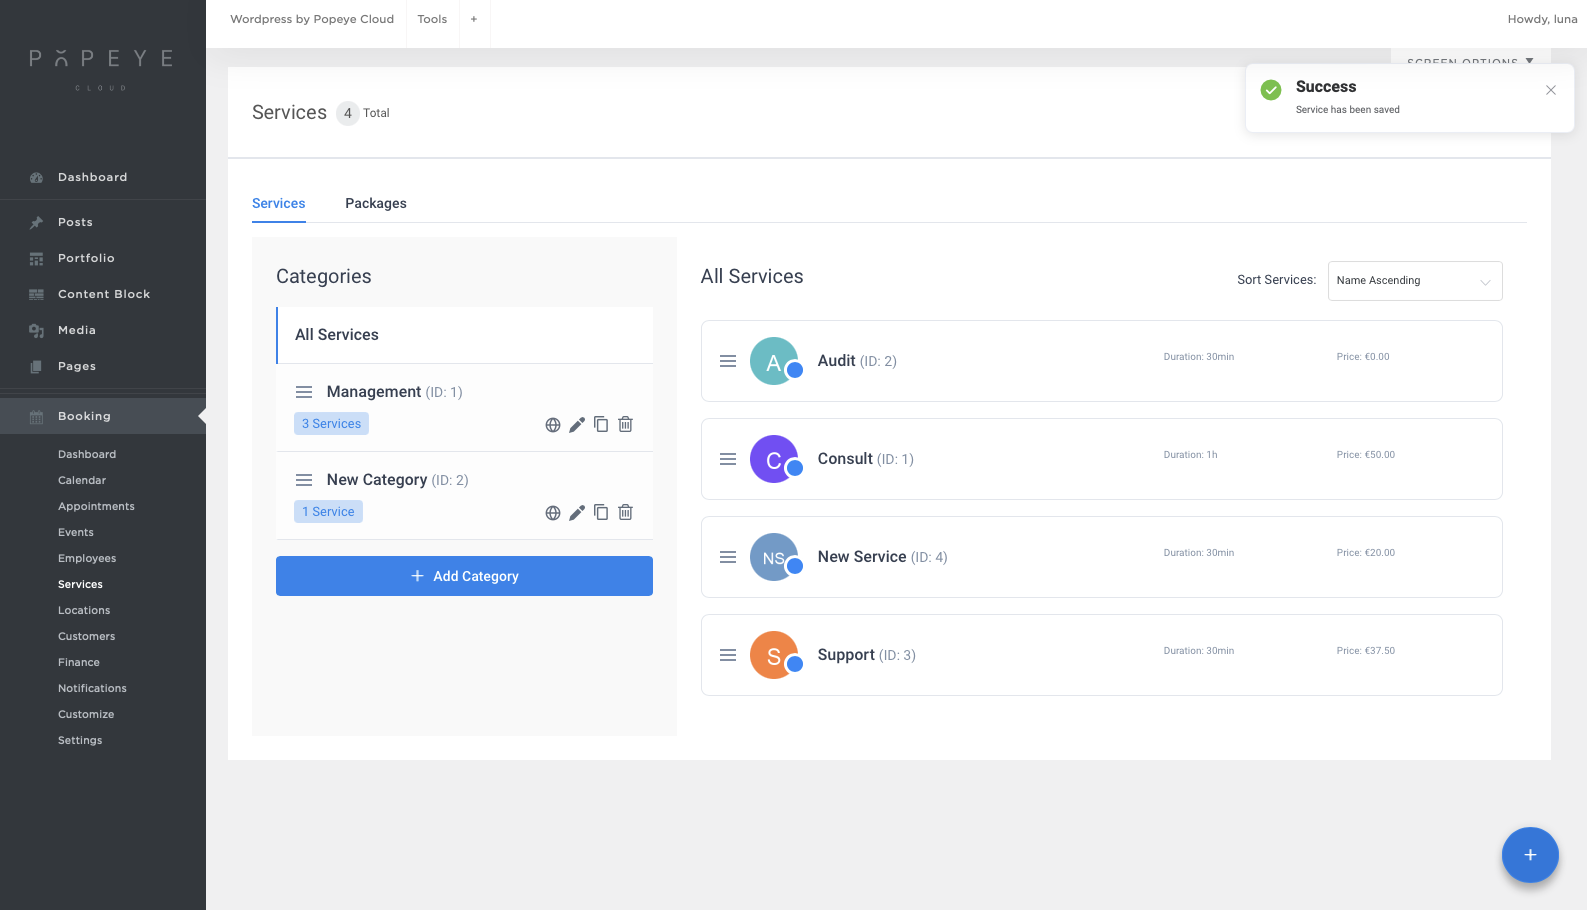
After creating the employee, you need to create a service, i.e. the activity that customers will book through your website.To add a service, go to the 'Booking' menu in your sidebar and open 'Services'.
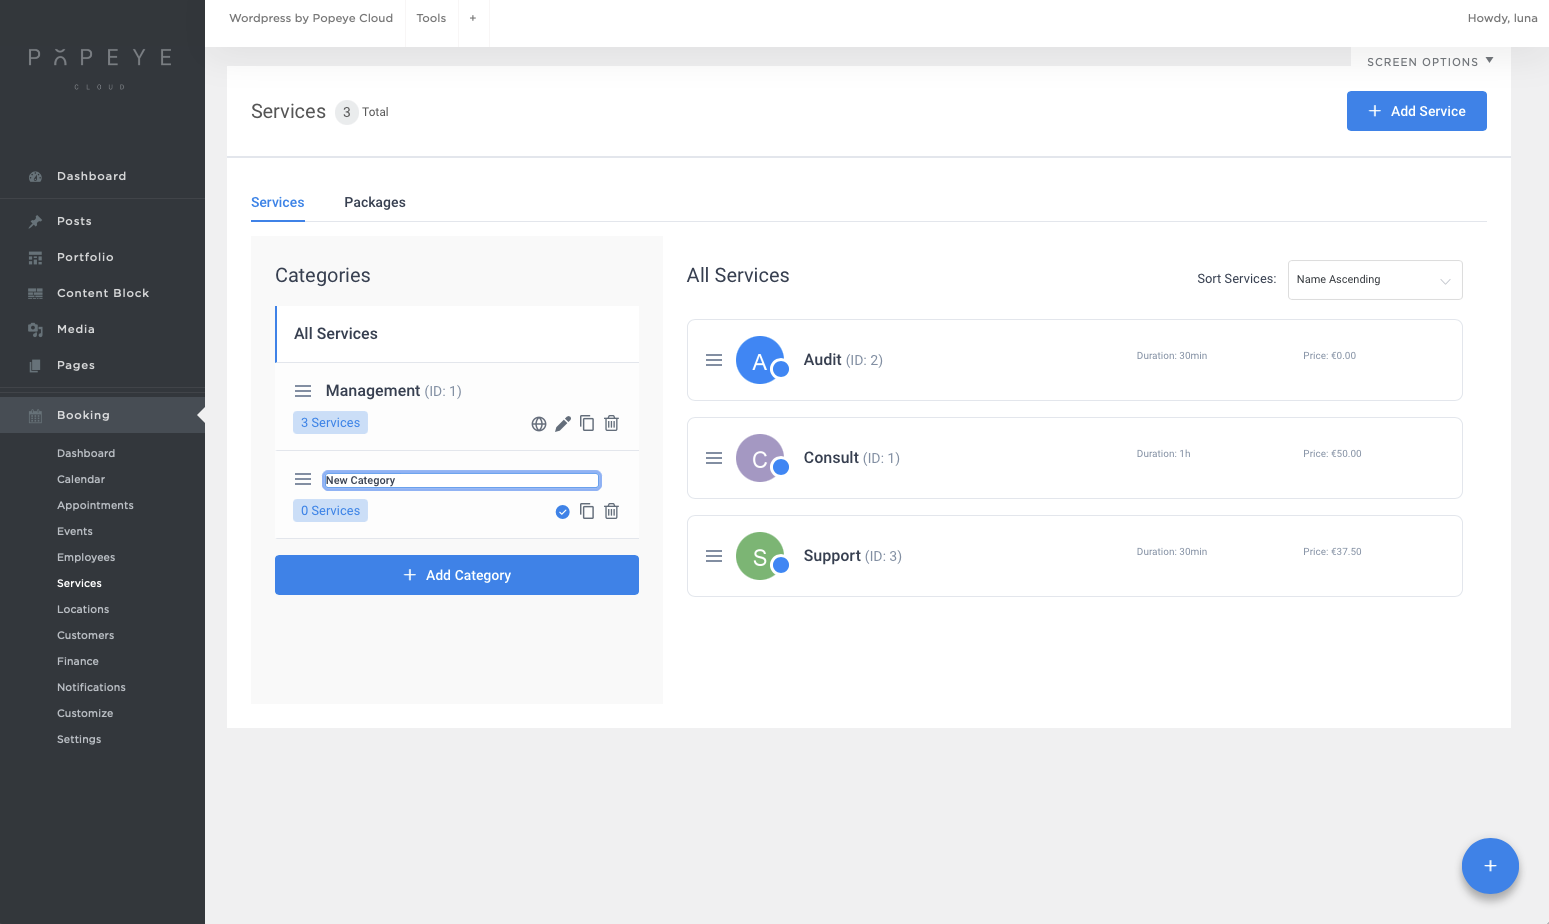
First we are going to make a category click on 'add Category' in the Category panel. Give a name to this new category and press the enter key on your keyboard to apply this new category.
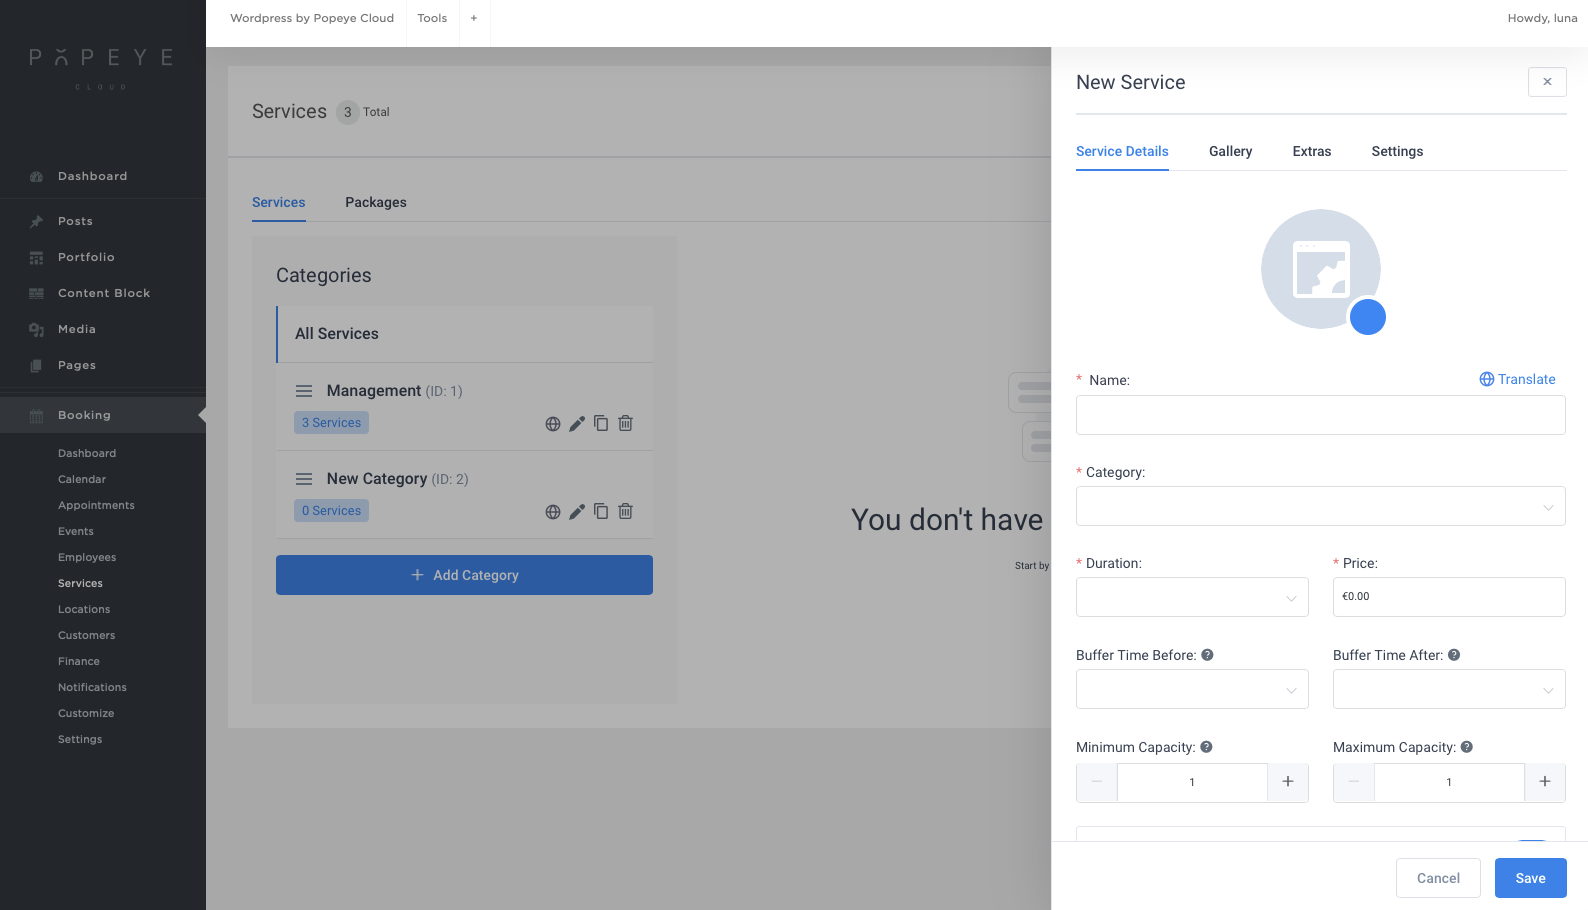
Once the category is added, you can click on the “Add Service” button in the top right of the screen.
A sidebar appears in which you can provide the service details. Mandatory parameters are the following: name, category, duration, employee, and price. If you wish, you can specify additional parameters (service picture and gallery, buffer time, capacity, etc.).
Once the service is saved, it should appear in the list.
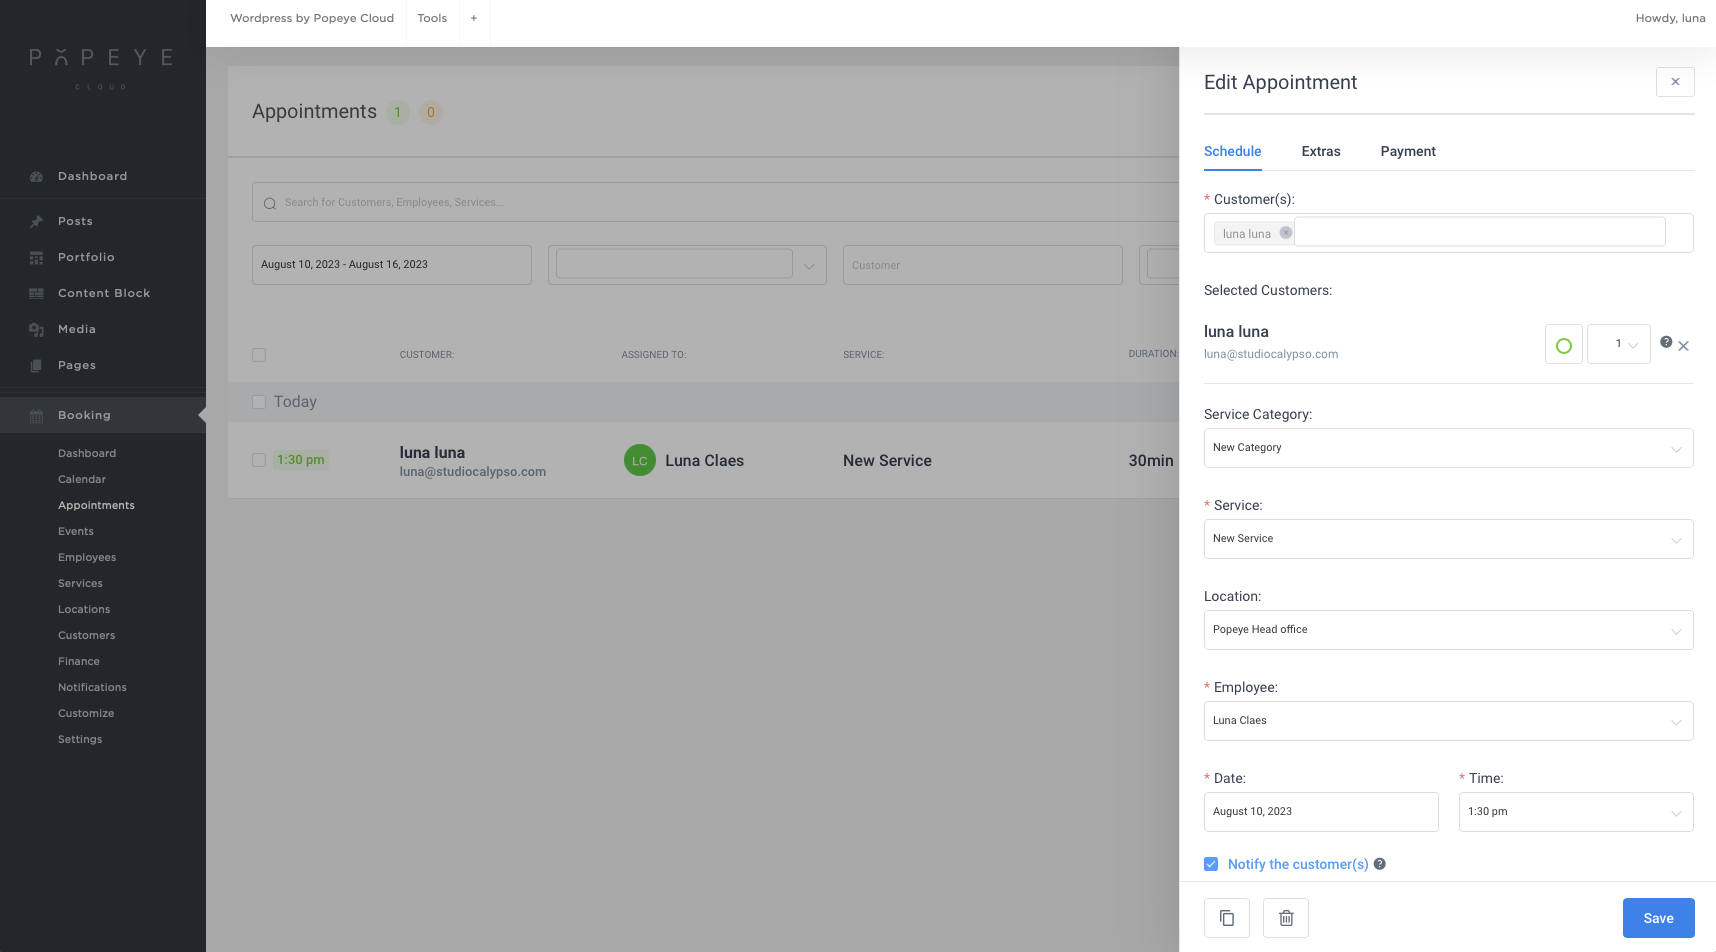
Managing Appointments
Once you have an appointment booked from the front-end you can manage it from your admin panel. In the sidebar 'booking' menu go to 'Appointments'. Here you can see al the booked appointments.
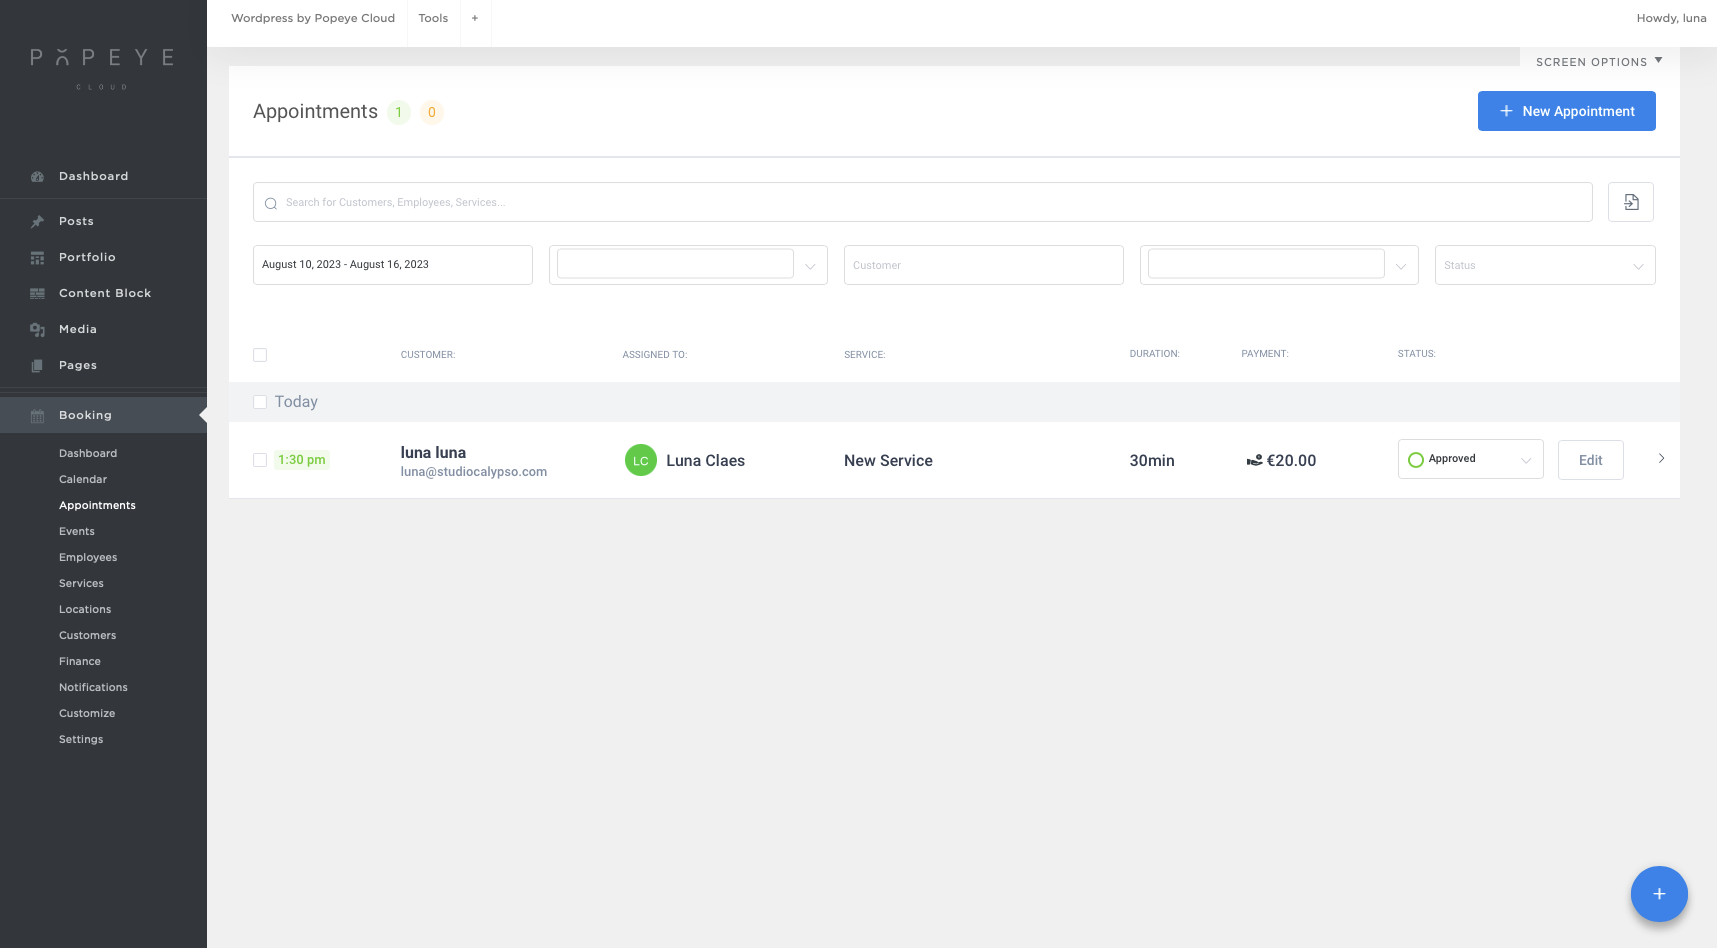
Once you have an appointment booked from the front-end you can manage it from your admin panel. In the sidebar 'booking' menu go to 'Appointments'. Here you can see al the booked appointments.