
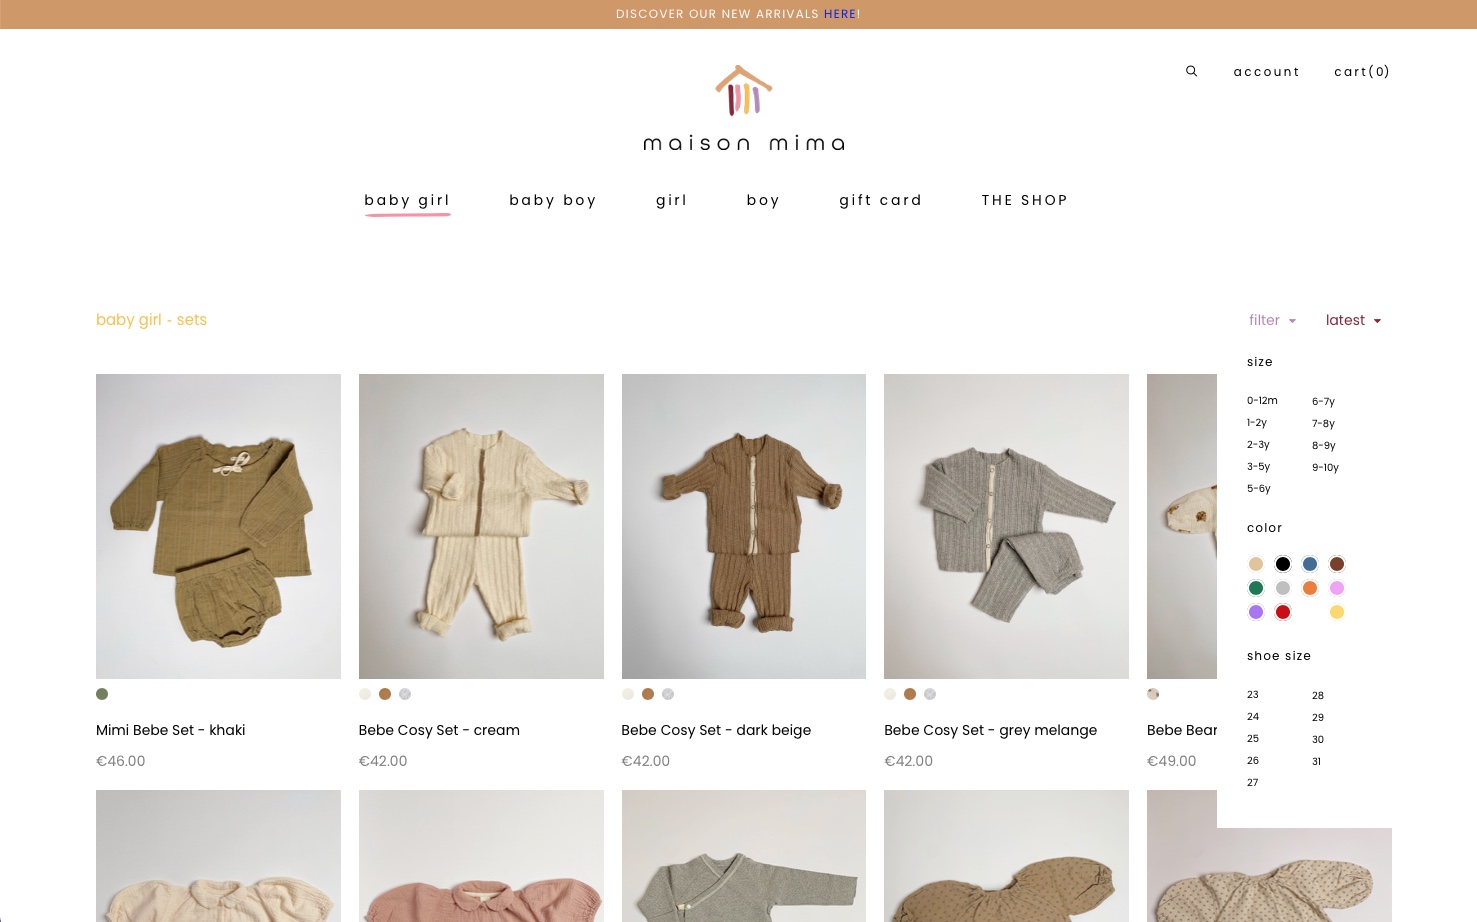
Display of variations
Variations can be used for the shop overview, shop detail and shop filter
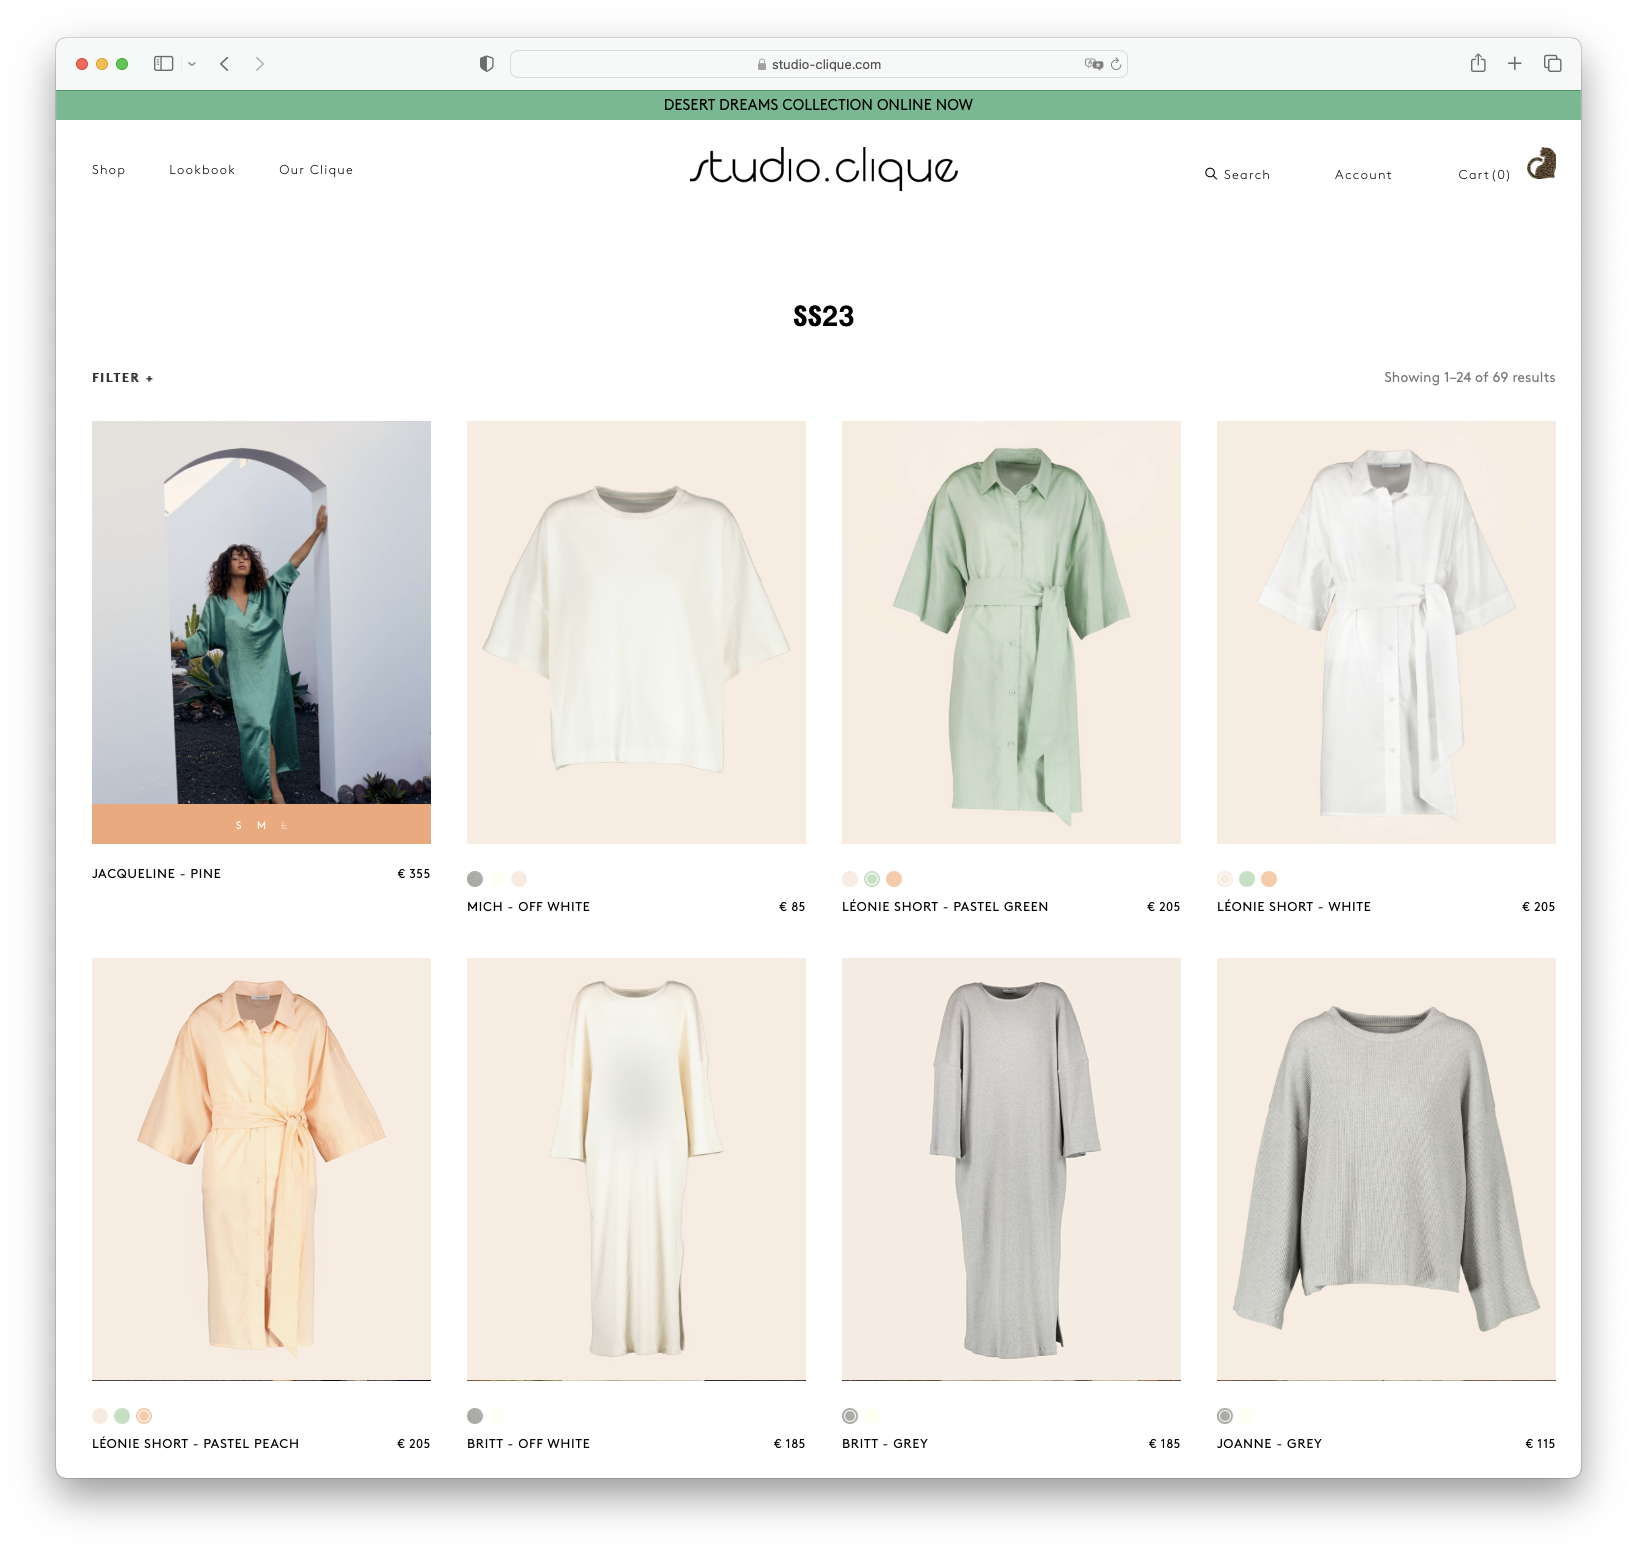
Variations for shop overview
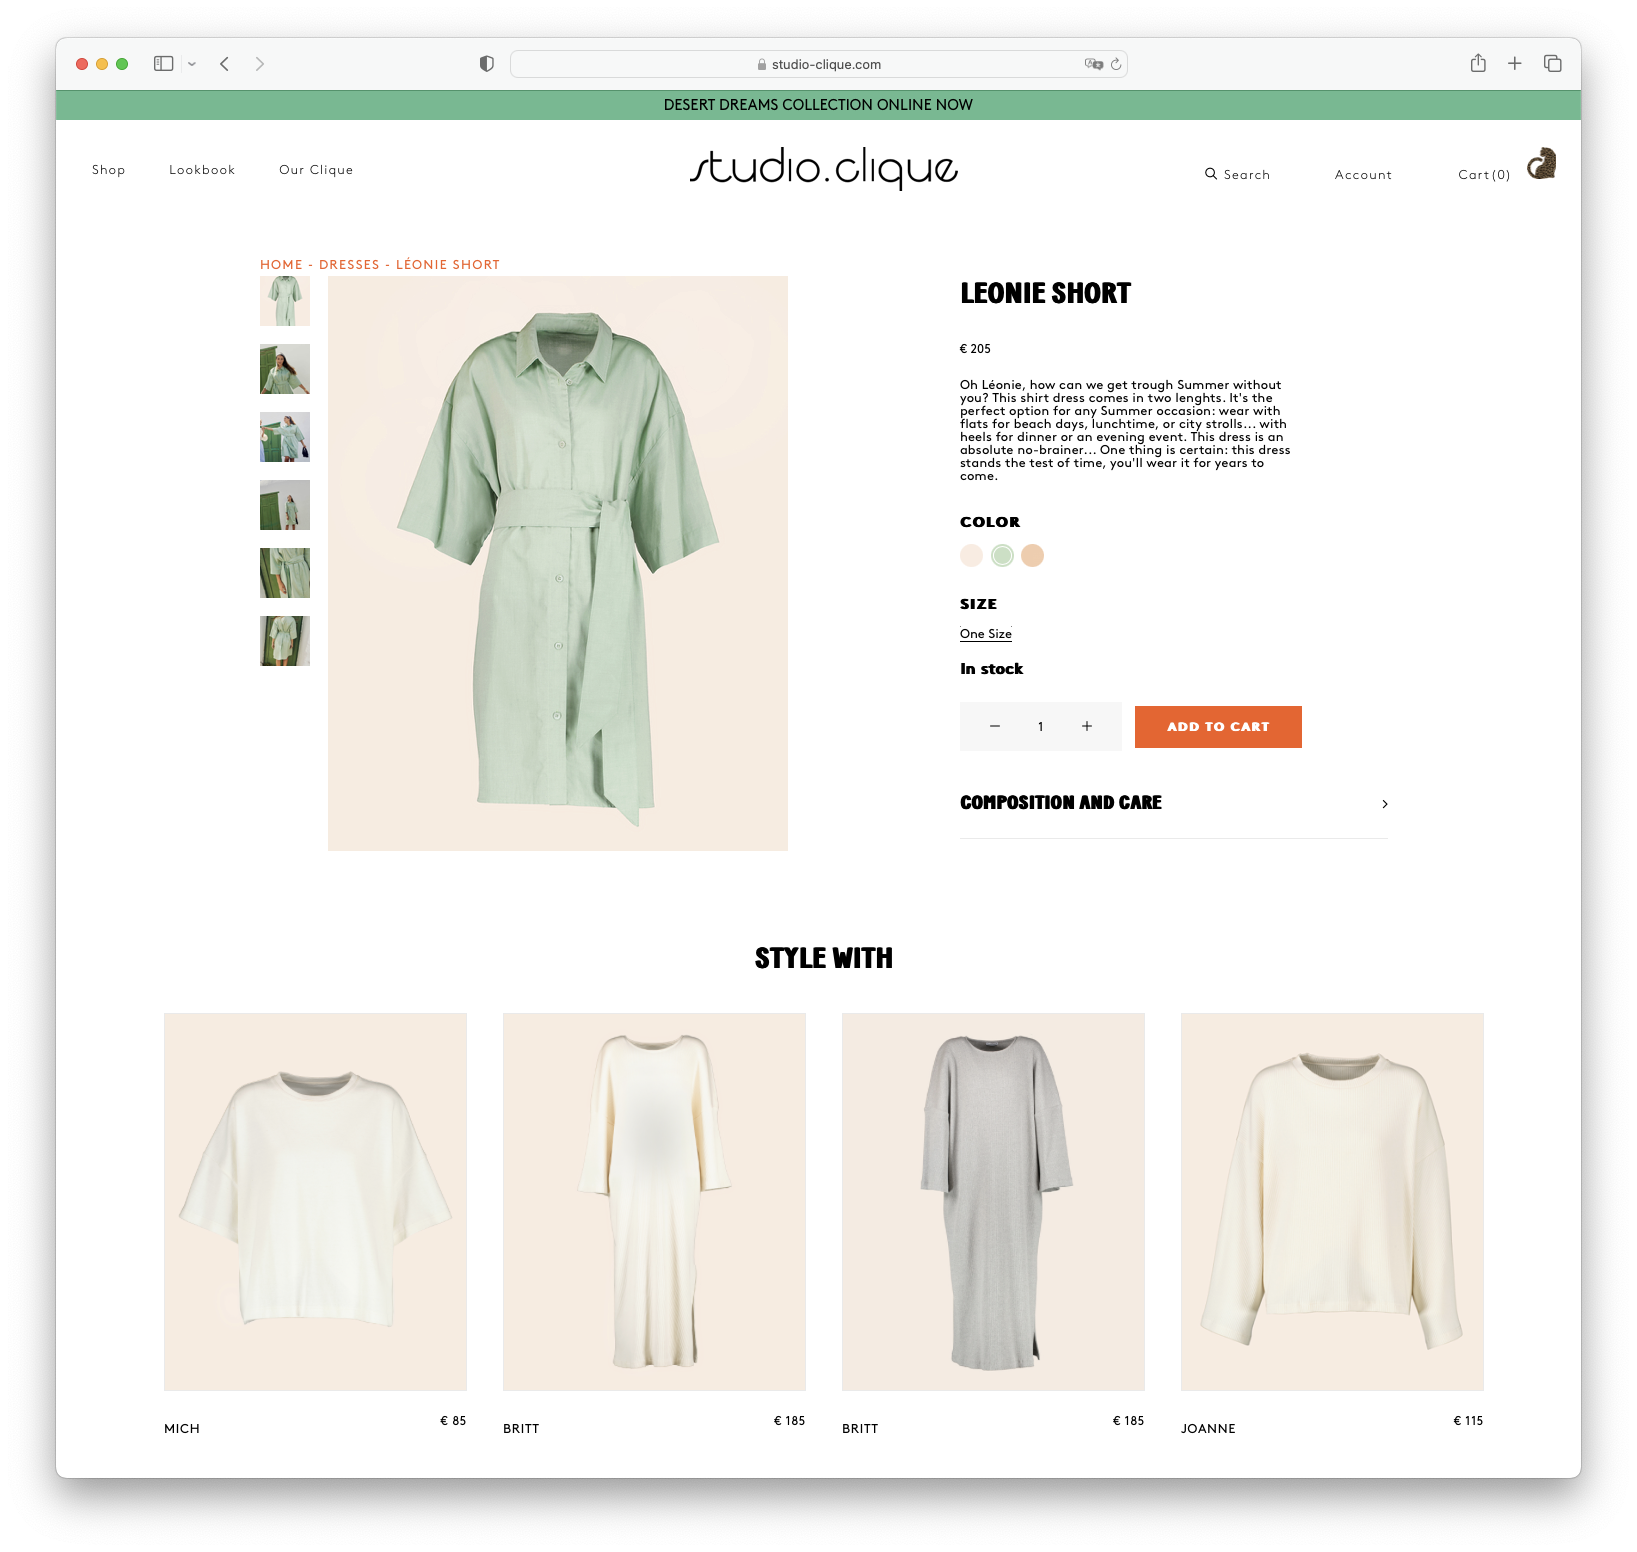
Variations for shop detail
Adding attributes groupes
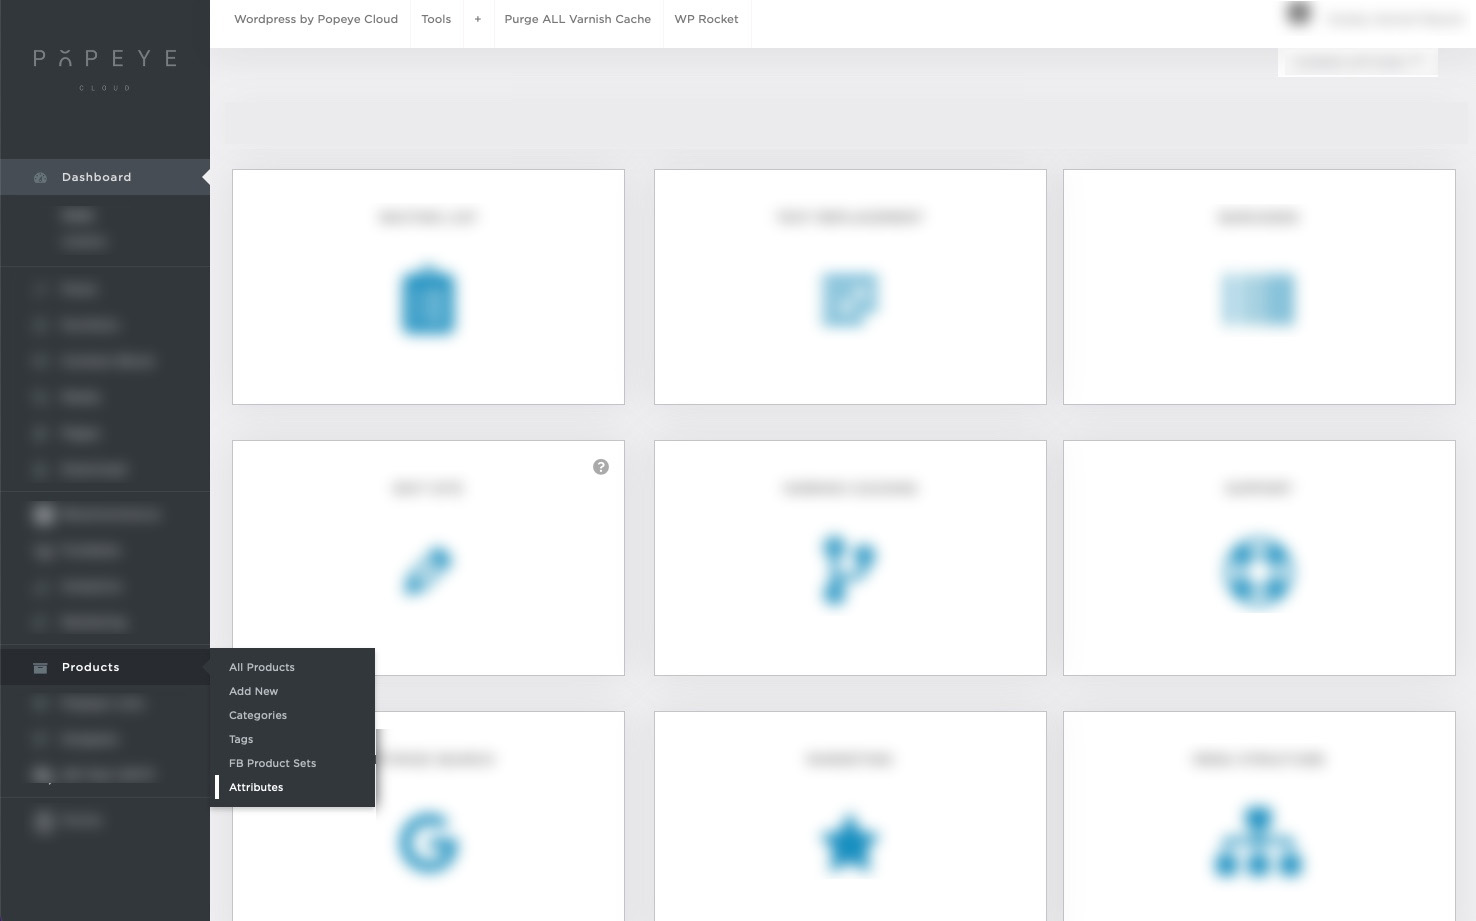
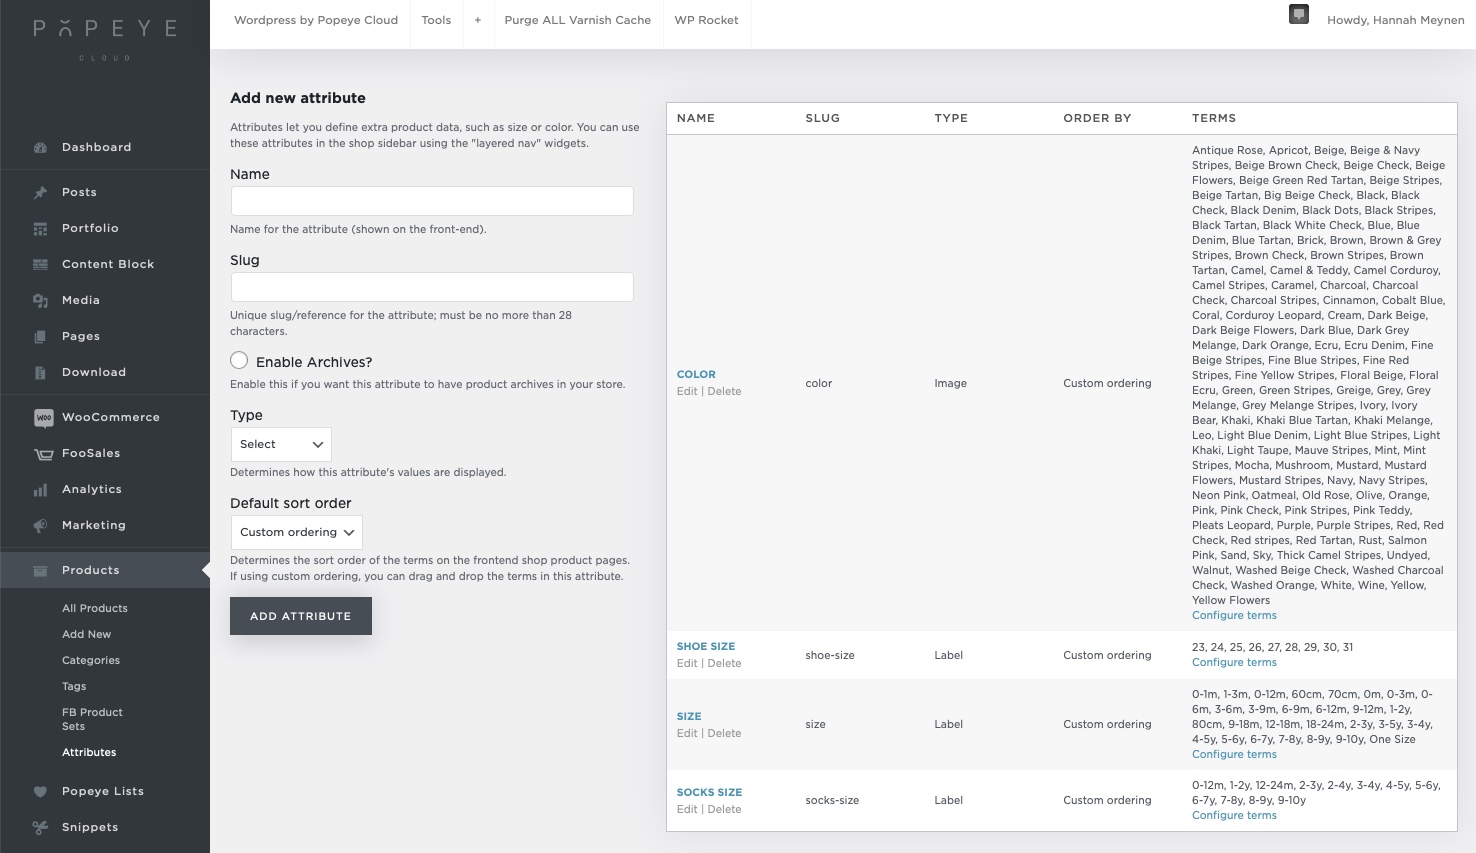
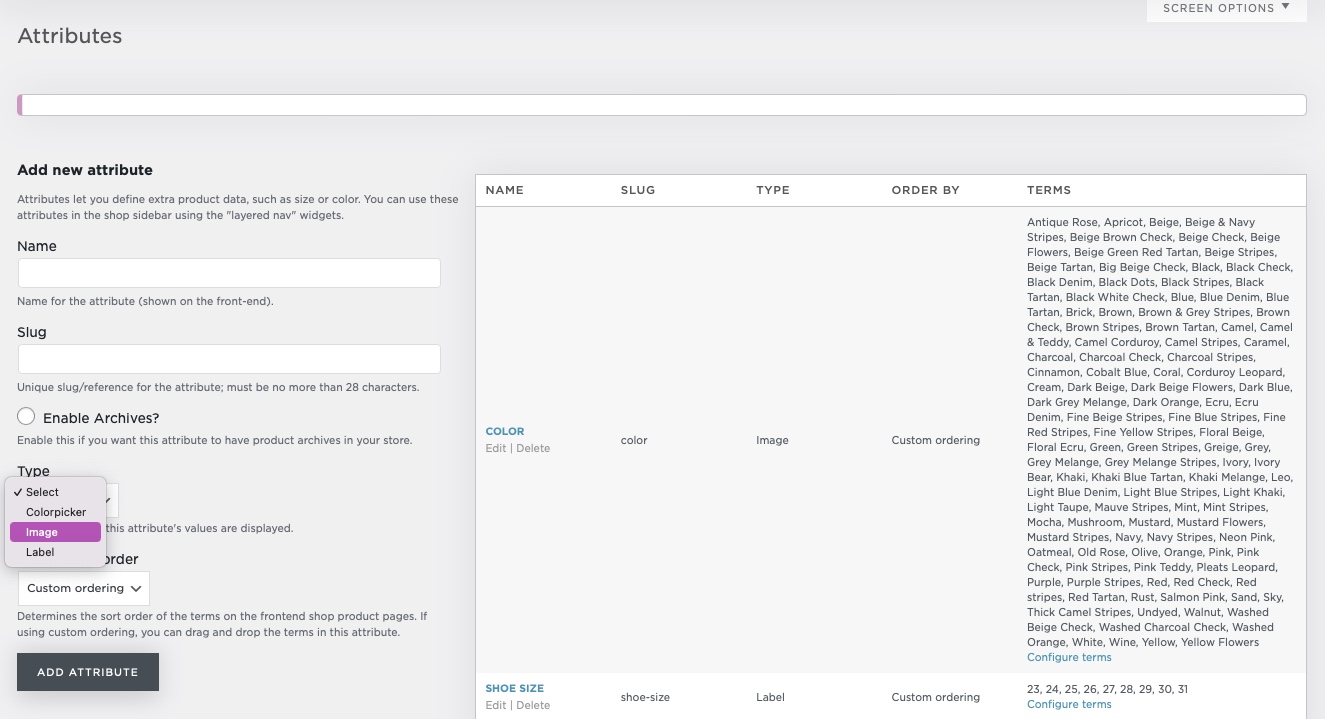
To show your size and color variations in your shop, either in the filter or shop detail or elsewhere we need to add attribute groups first. That way we can specify specific products to certain colors and sizes. Go to products > attributes
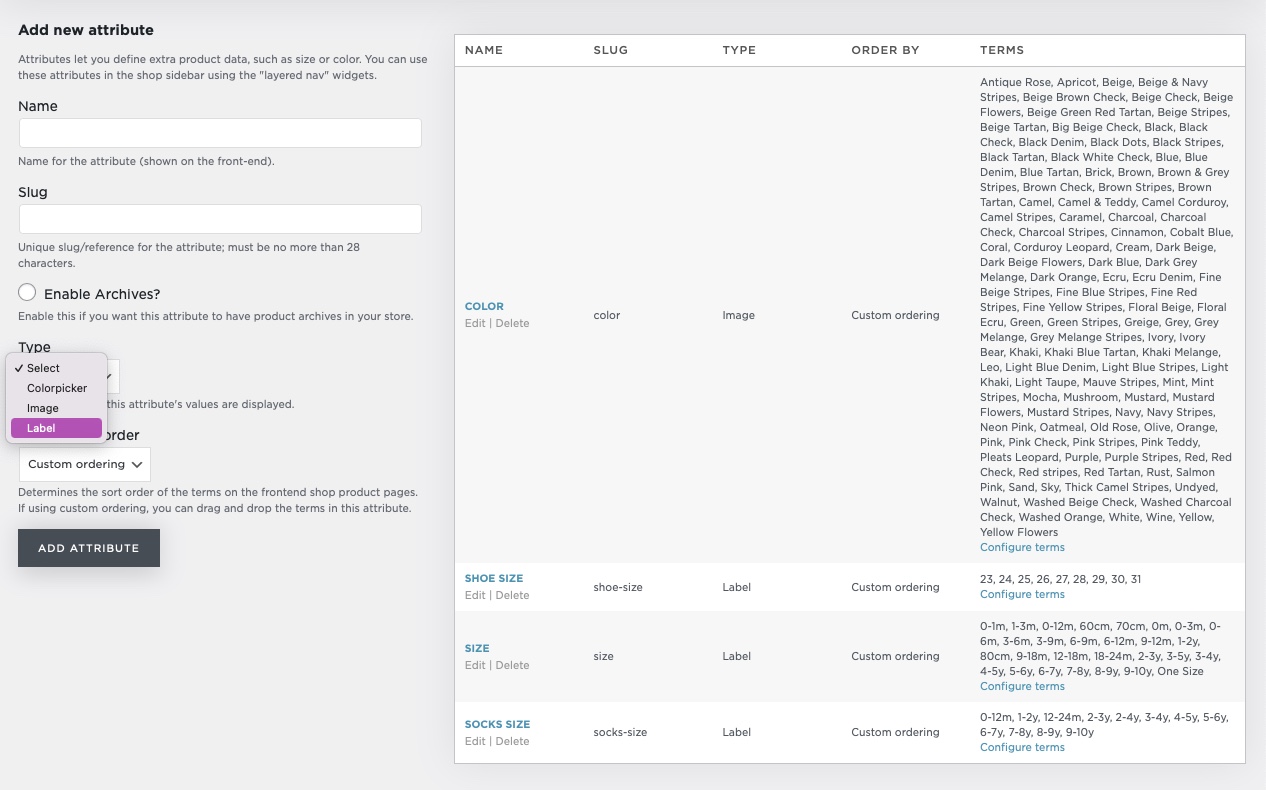
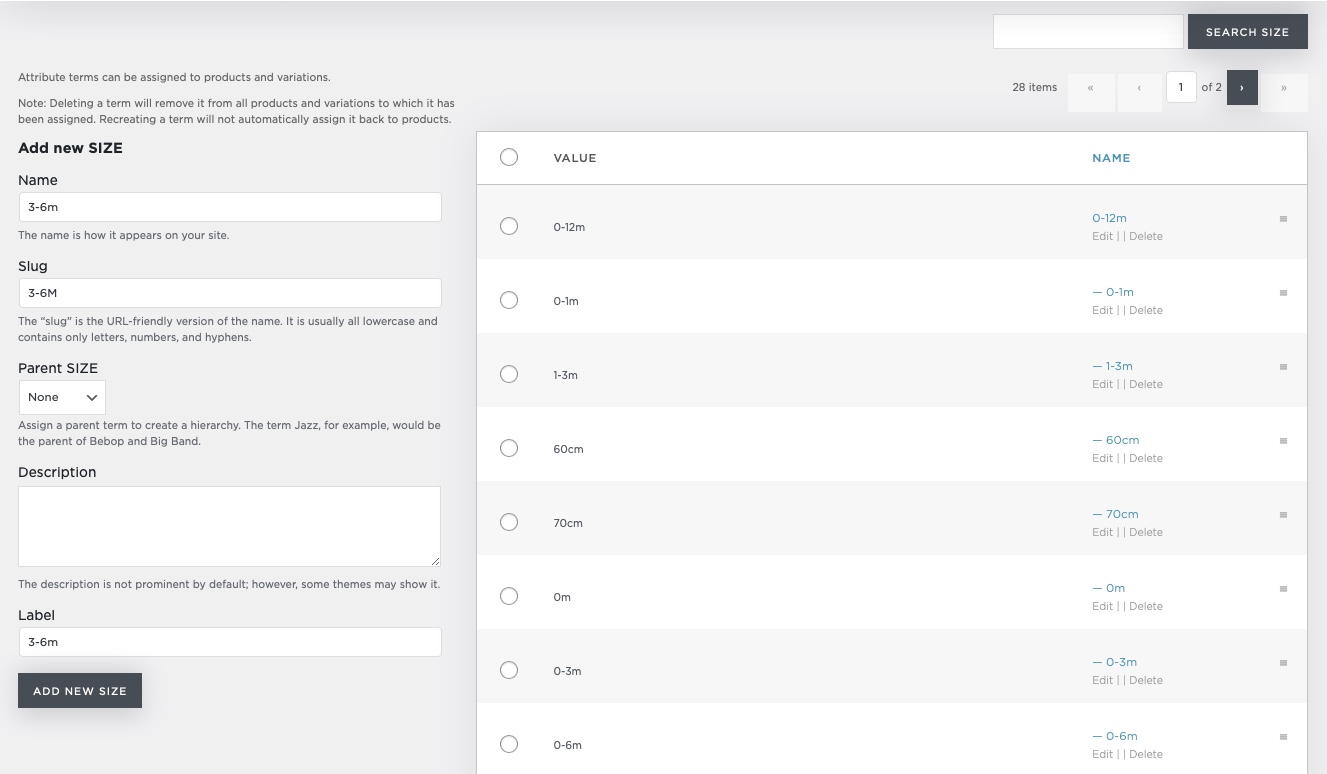
Add your attribute groups. In this case we've added: color, shoe size, size and socks size If you want to add a new category group for example: prints you can add it in the left column by typing the name 'prints' into the name field. Click 'add attribute'. IMPORTANT! You have to select a type, this defines how these colors or sizes are going to be shown! In the right column you can see which types are defined for each attribute group. Define this group now: for example how do we add another shoe size? Click 'configure terms' but in the same line of the shoe size of course
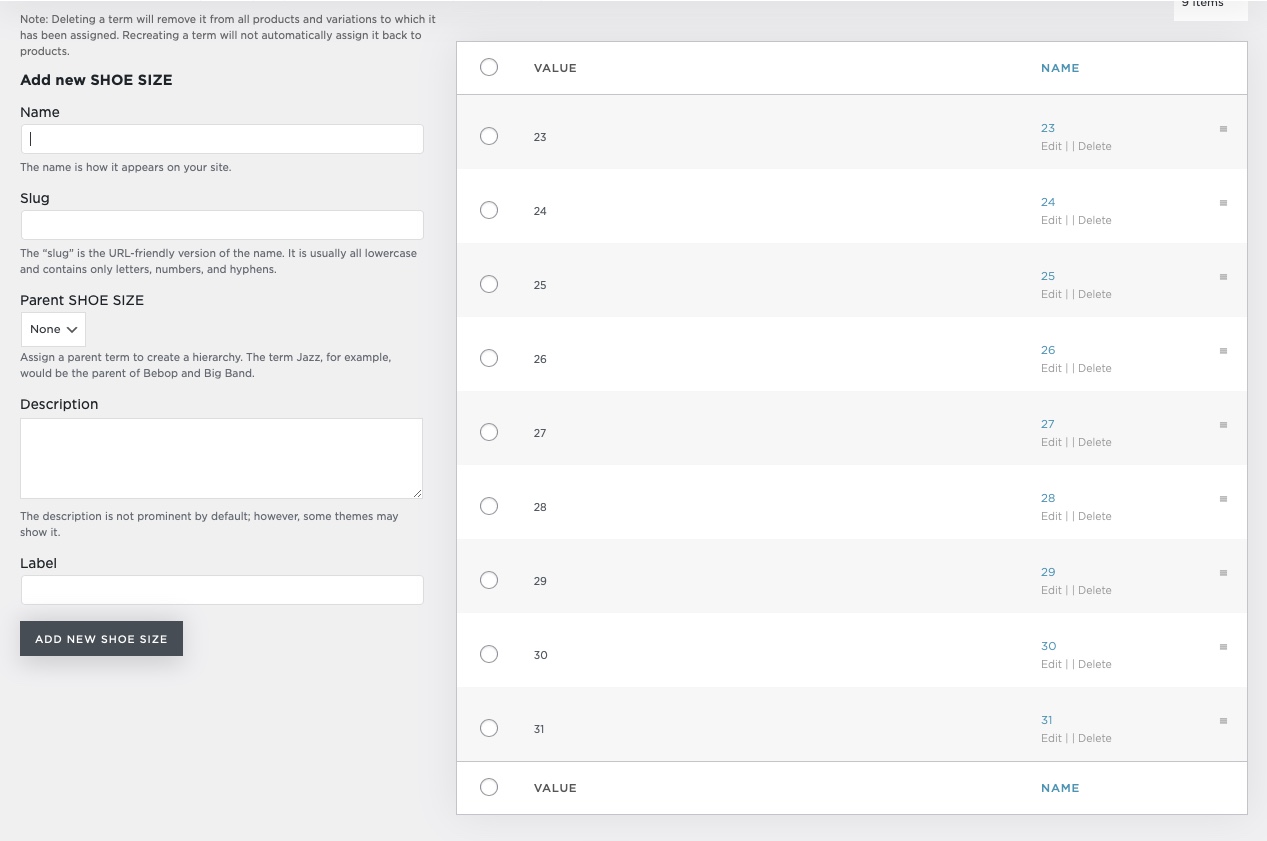
4. Now we can add a shoe size in the left column, click 'add new shoe size' which adds the new size to your right column
Adding clothing sizes with parent categories 🩳
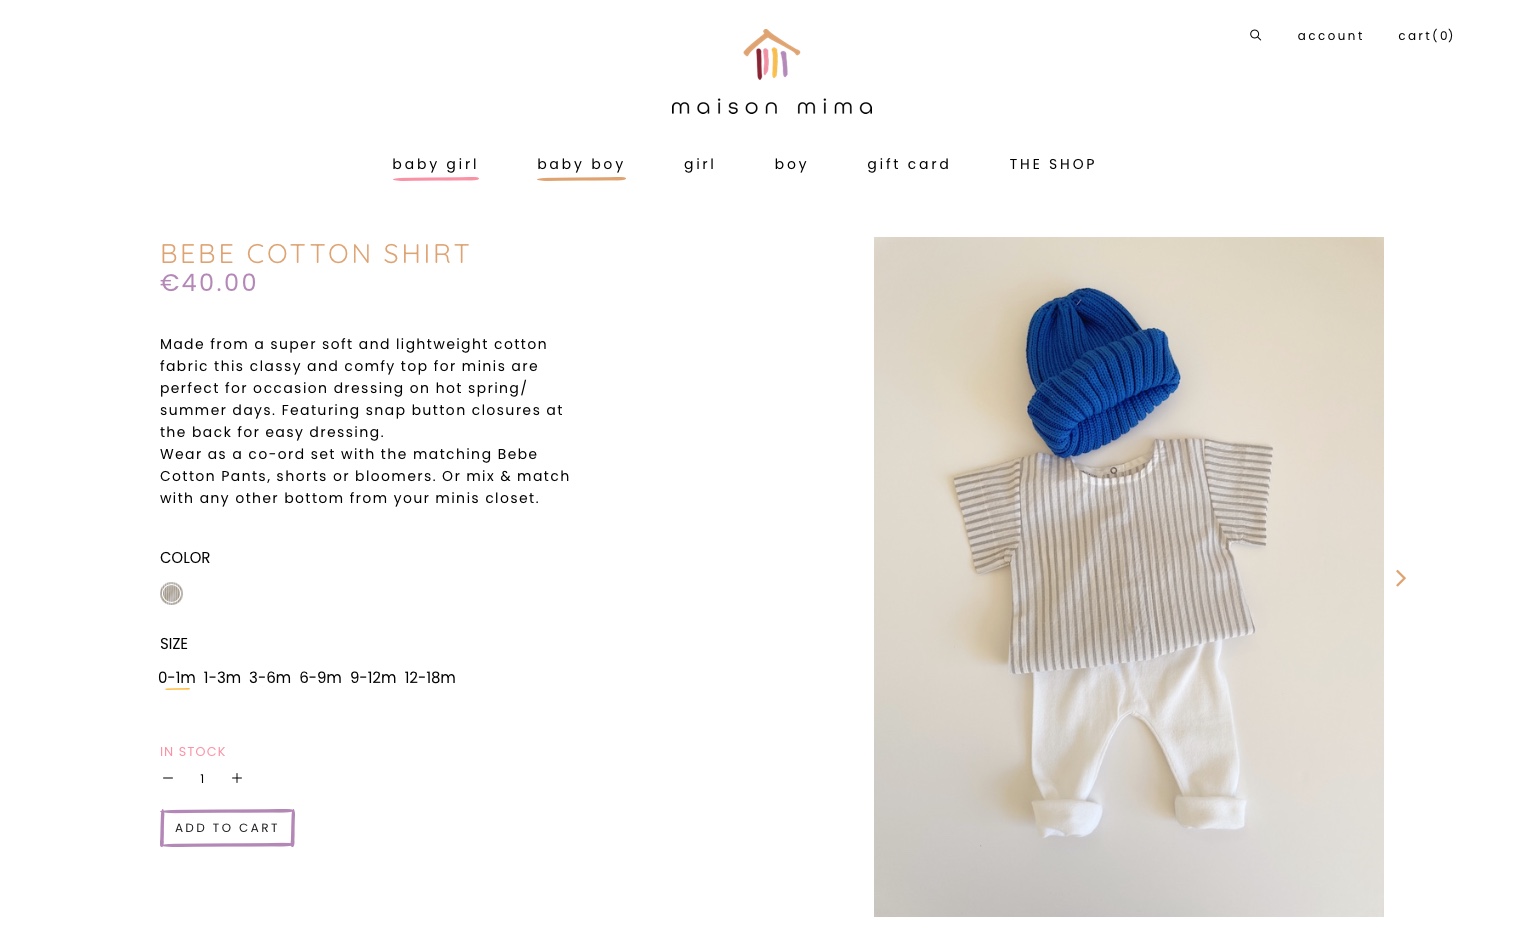
As you can see we've added the attribute 'SIZE' for clothing sizes, with the type LABEL Which will show on product pages in a label design like the second image Add all the variable sizes you need for products
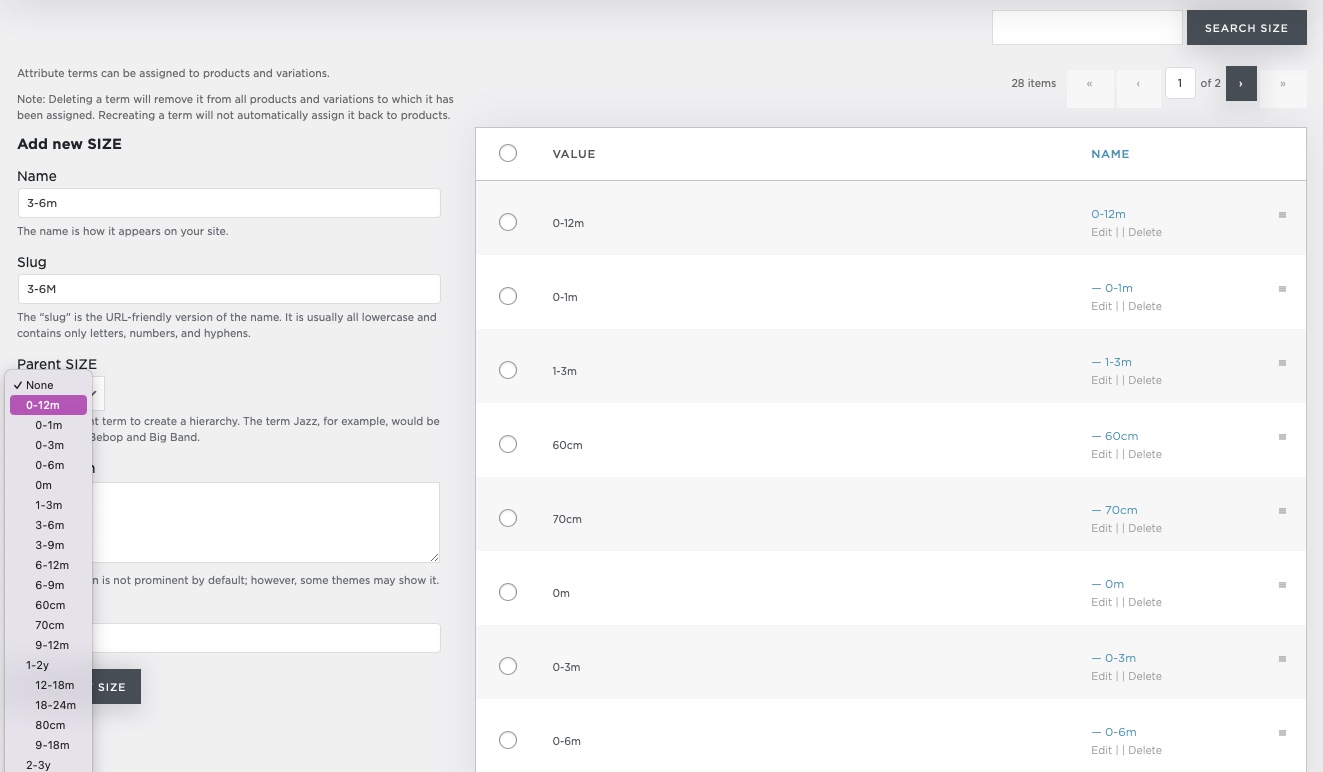
However all variable sizes are needed in the shop for each product, but you maybe want to re-group a few of them to avoid a large filter! You can see in the image below that they've added the attributes very compact which is the best way to display all sizes. Next steps are now to create parent categories and child categories. You can do this for colors too. It's the same method
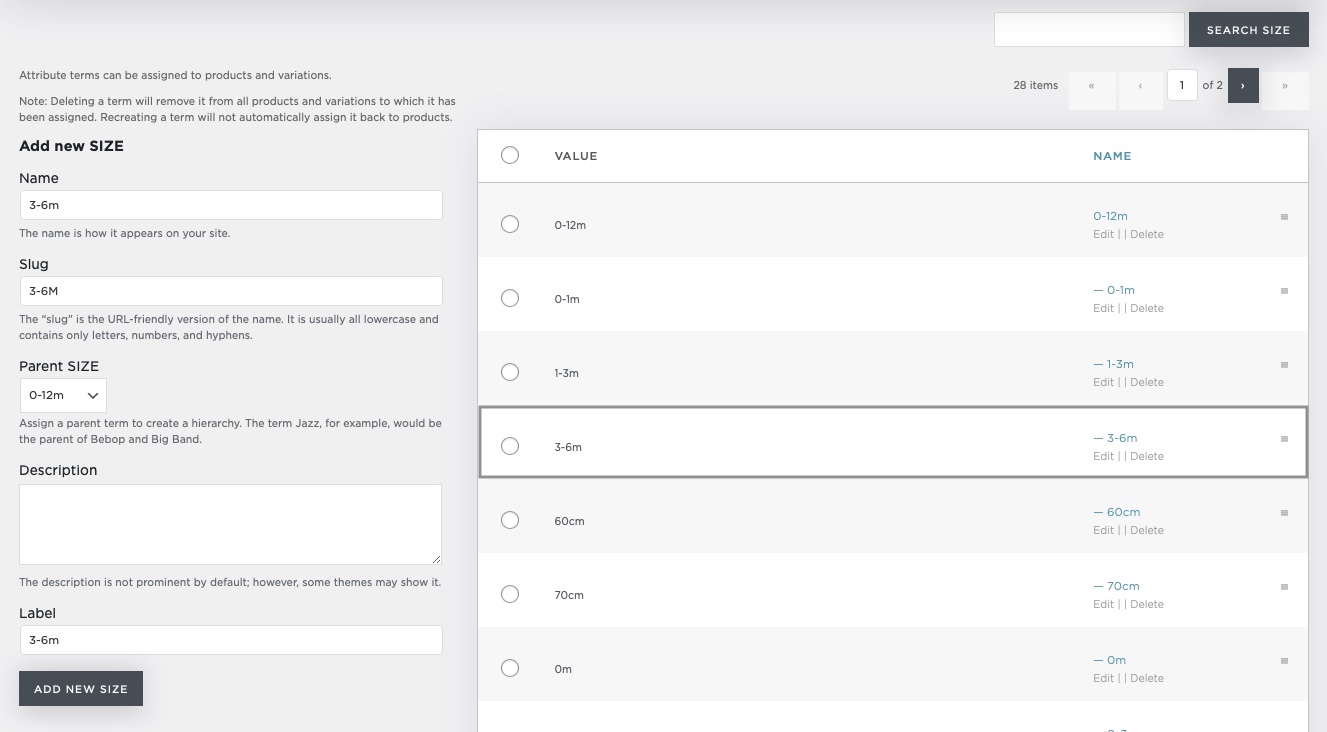
Click configure terms on the attribute group you want to edit We'll add a new size 3-6 months Fill in the left column like in the example Select a parent size because 3-6 months falls/belongs in the parent category 0-12 months Click 'add new size' You can see the new size has appeared in the right column. Parent categories have no — before the attribute, all child categories have it. For example our new size is now displayed under the 0-12m like this: — 3-6m
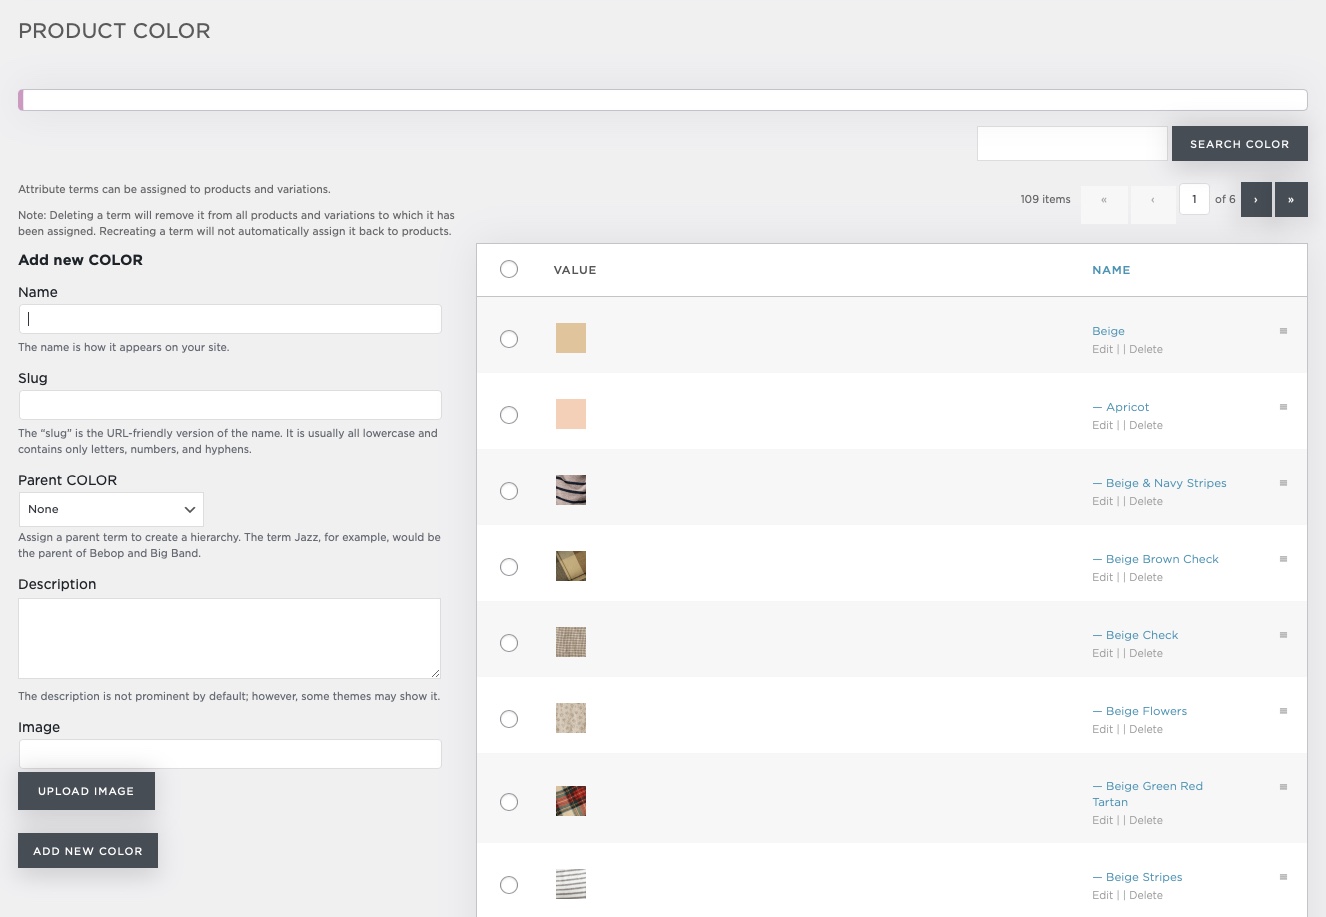
Adding colors with parent categories (swatches) 🟣 🟠 🟢
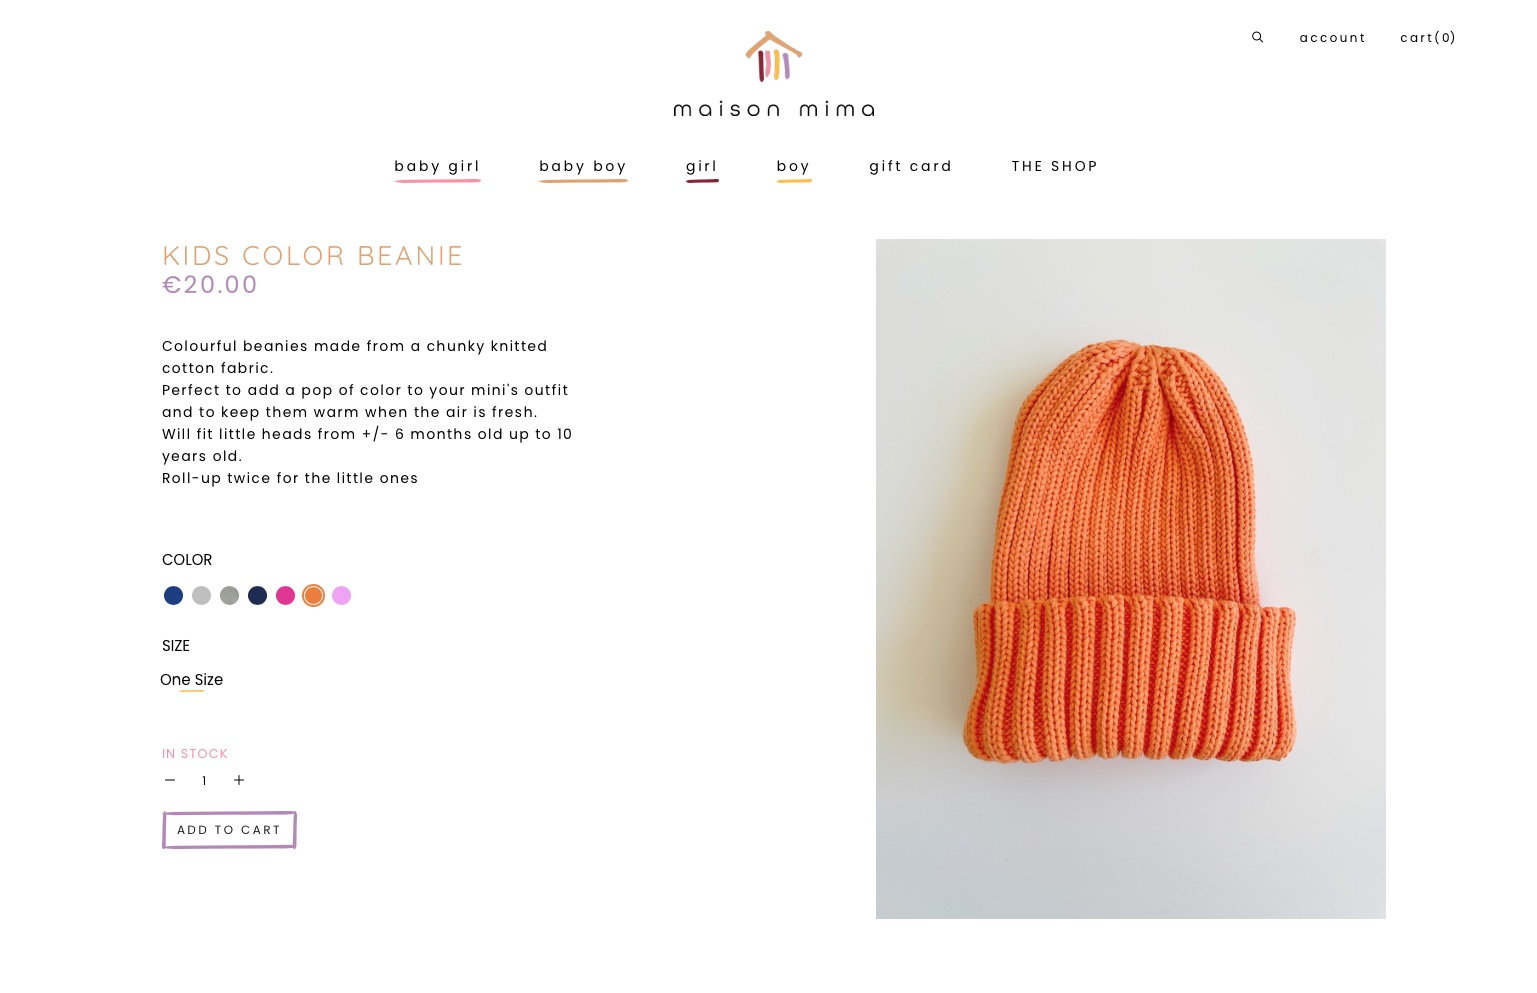
As you can see we've added the attribute 'COLOR' for products, with the type 'IMAGE'. Which will show on product pages in a color swatch design like the second image. We use the type 'images' because that way we can also add prints from clothing as a color swatch.
However all variable colors are needed in the shop for each product, but you maybe want to re-group a few of them to avoid a large filter!
Click configure terms on the attribute group you want to edit, in this case colors. Add all the main colors as parent categories. F.e: black, white, red, blue, green, pink, orange and yellow. You can add them by filling in the left column. Upload an image for the color. Parent color is set to none! Click add new color Now you can add child categories for example the color khaki belongs under the green parent category Fill in the left column again, but choose 'green' for the parent color. Click 'add new color' You can see the new color has appeared in the right column with the color image you added. Parent categories have no — before the attribute, all child categories have it. For example our new color is now displayed — khaki