
Pop-up plugin
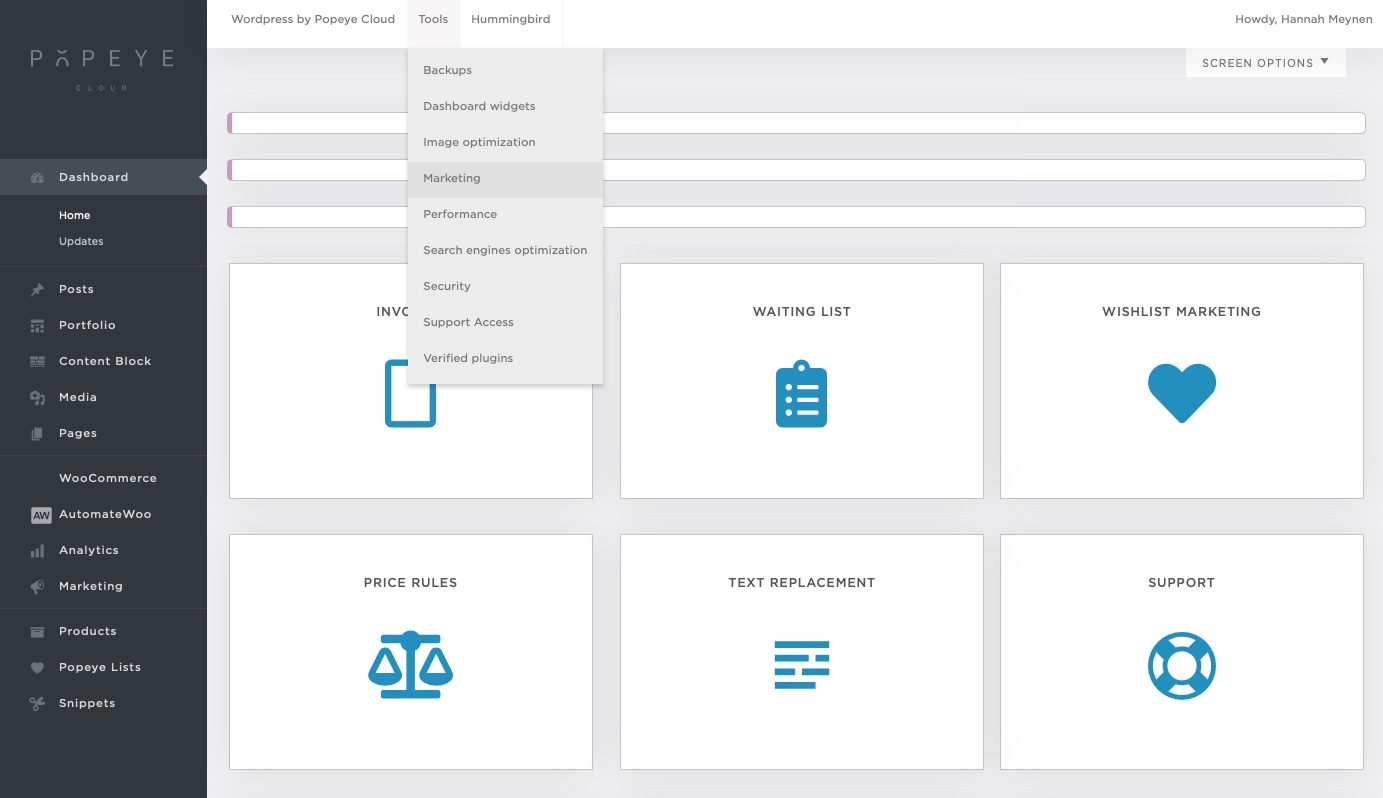
To set up a pop up notification on your website, go to 'tools', then click on 'marketing'.

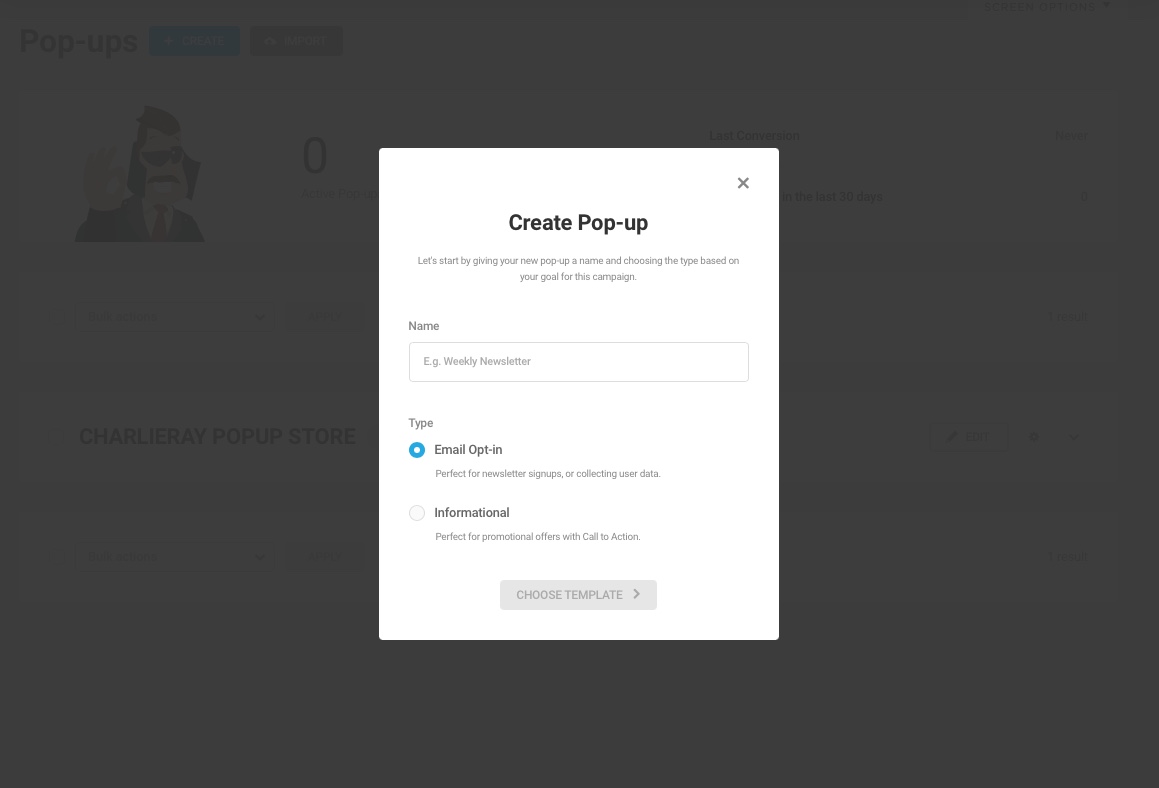
On the dashboard, in the pop up section, click the blue button that saids '+create'.
Name. Choose a good name for your pop up so you'll be able to find it easily.Type. Choose 'opt-in' if you want customers to leave their email address. If you just want to communicate something, choose 'informational'. We chose 'opt-in' in the example below.
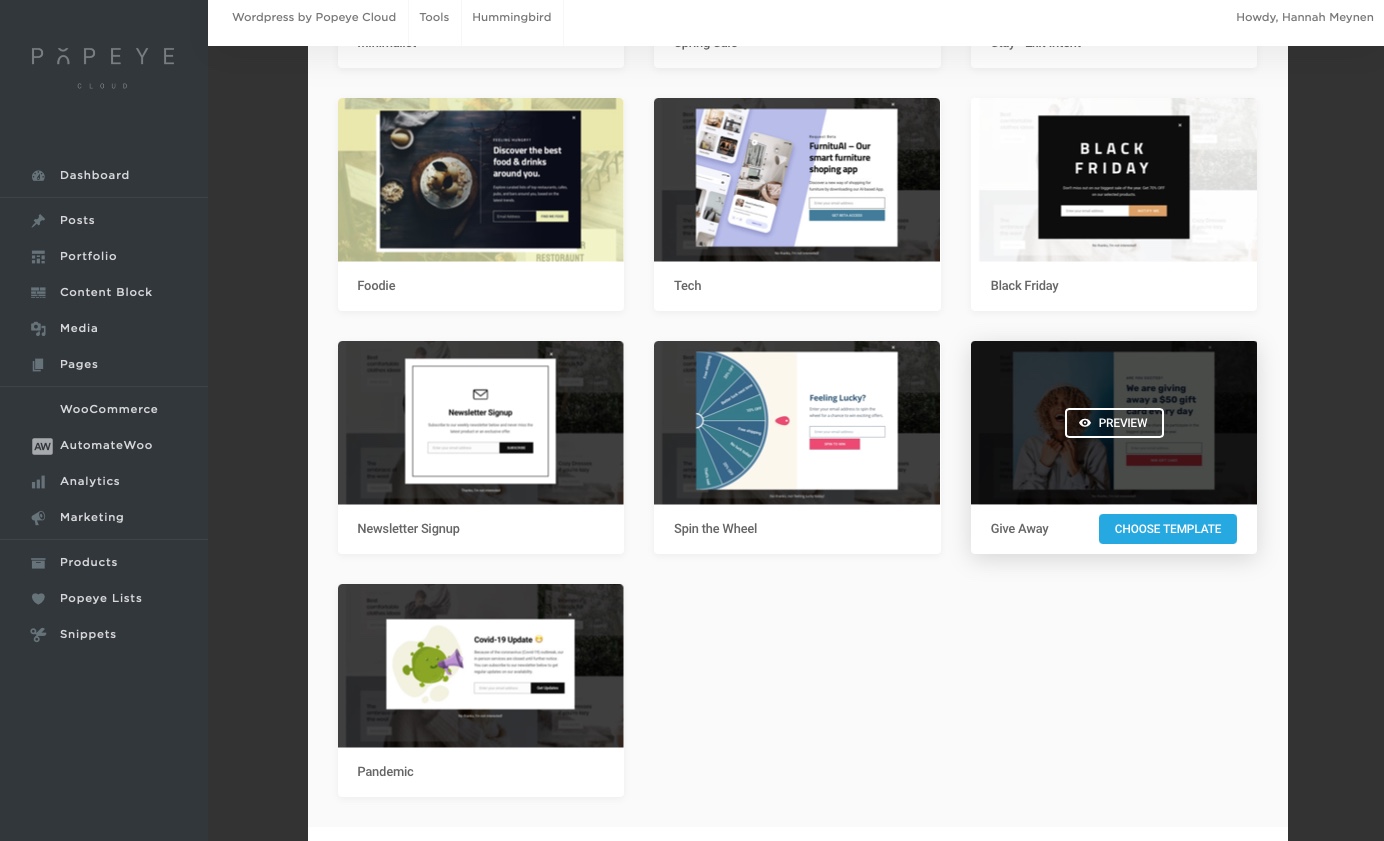
Your pop up has been created. You can now start building it from scratch or, the easier way, you can choose a template. Text, colours and fonts can always be edited afterwards.
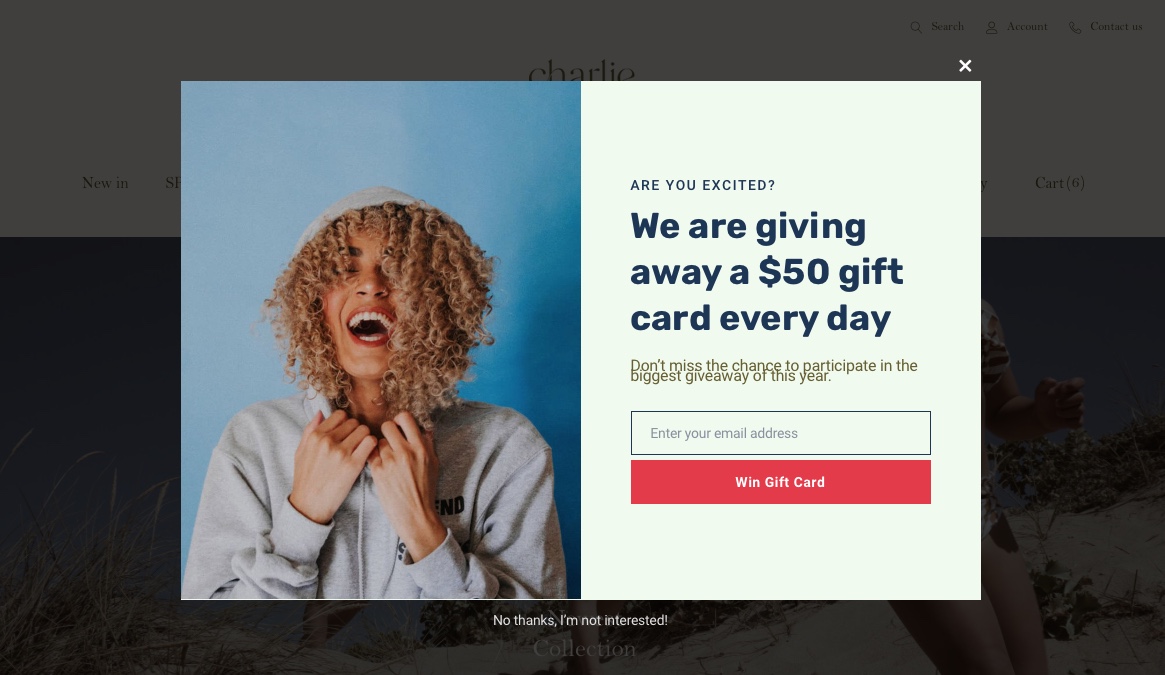
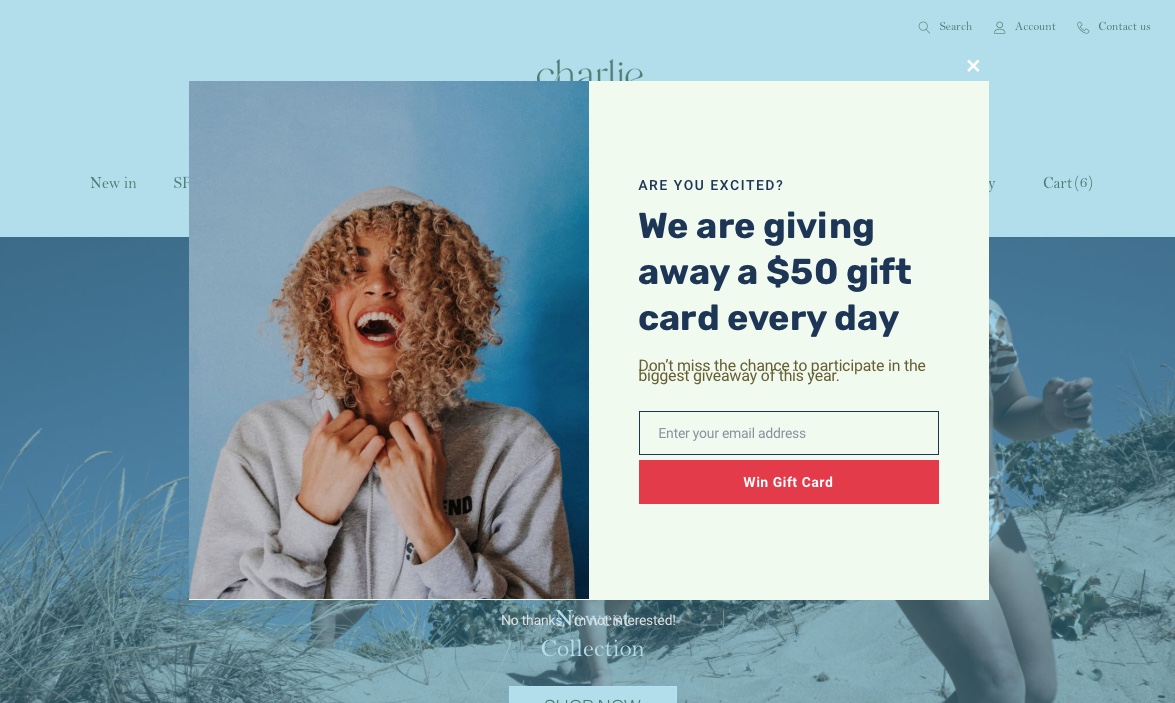
In the example below, we chose the template 'give away'. Simply by clicking on 'choose template'.
Start designing your pop-up
Now for the real thing, designing your pop up. Useful to know: if you click on the preview button in the top right corner, you can already see what your pop up looks like right now.
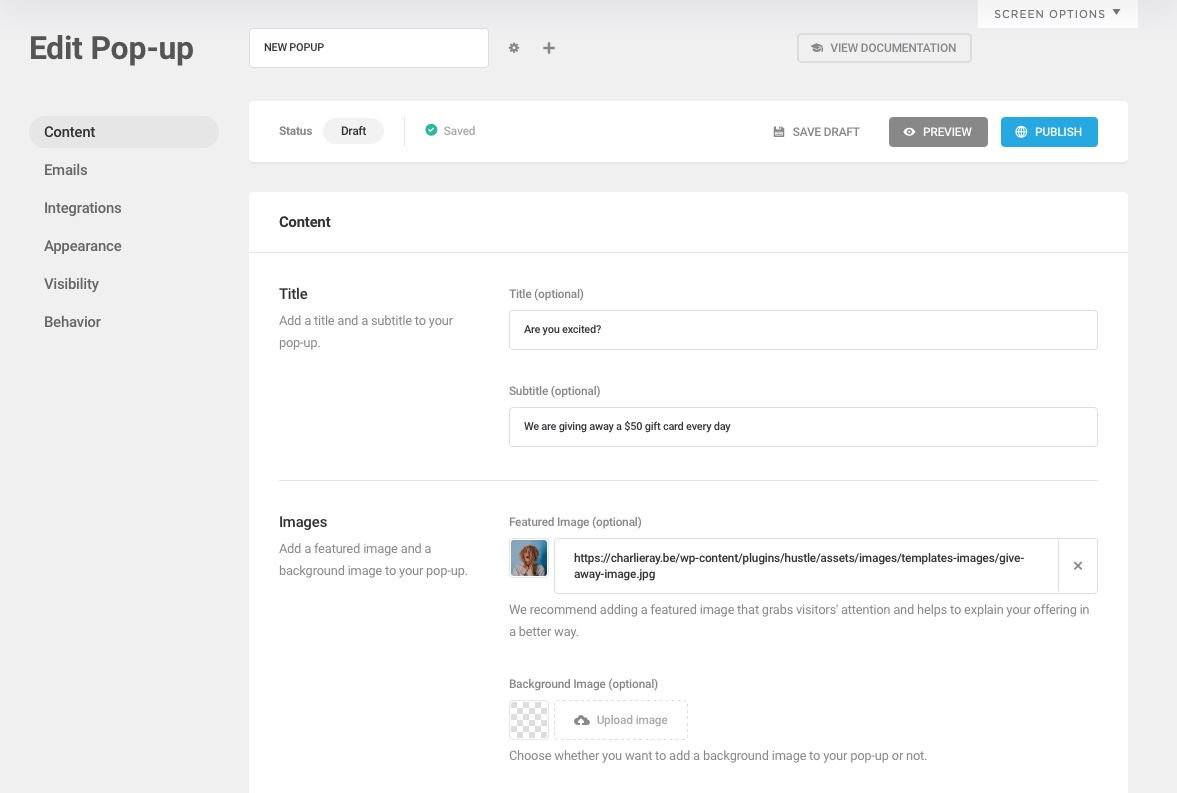
Content. In this tab, you can edit the title, subtitle, featured image and main content.
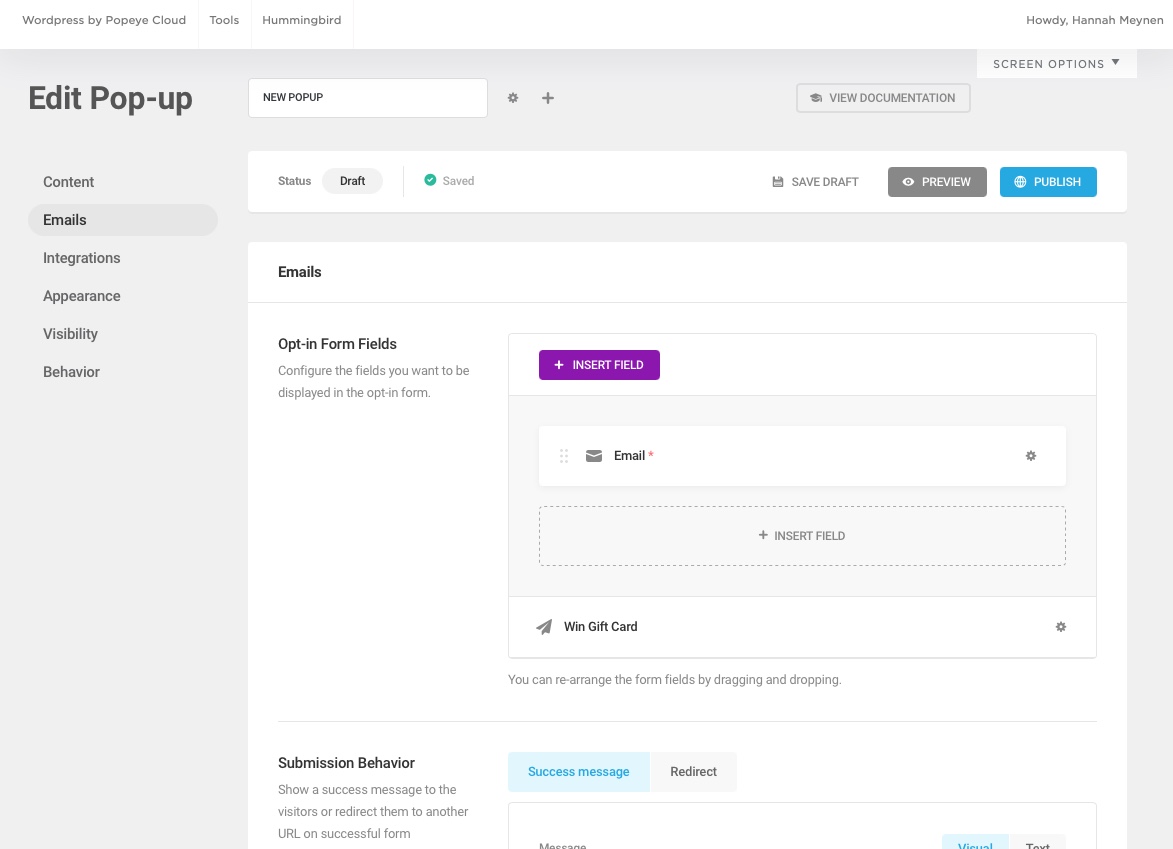
Emails. In this tab, you can find all settings regarding the email opt-in options.
You can add new fields to your form, for example if you want customers to leave their name. It goes without saying that you can also remove fields. In 'submission behaviour' you can enter a message that customers will receive when the message pop up is successfully sent or completed.
Integrations. This tab contains everything regarding graphic design.
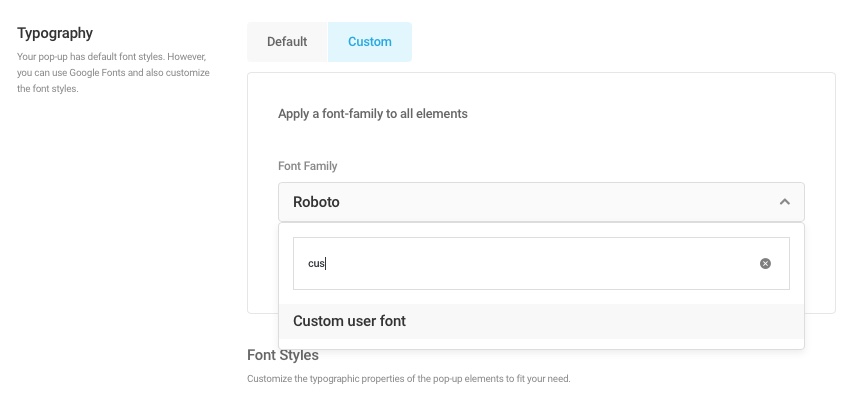
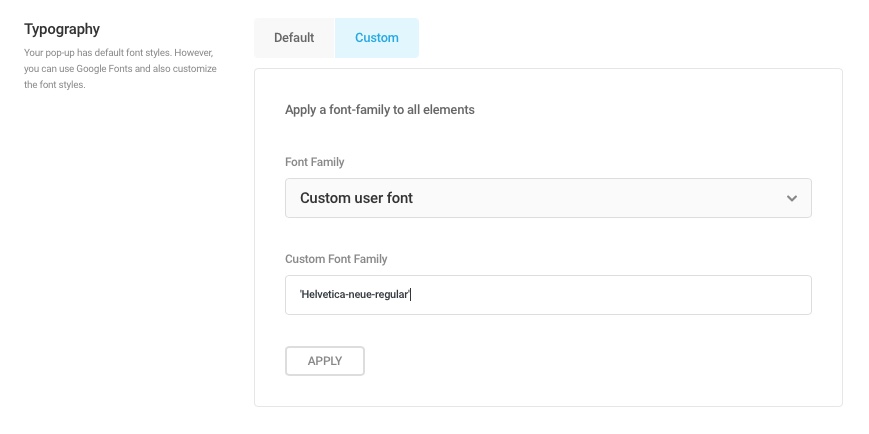
You can adjust several things graphically. The font, to start with, under 'typography'. 'Roboto' is used by default, but you can enter any font you like. If you want to use a customized font, choose 'customer user font'. When you have chosen, click 'apply'.
If you want a specific item in a certain font, e.g. the title, you can do that too. Open the right tab and make the same adjustments as described above.
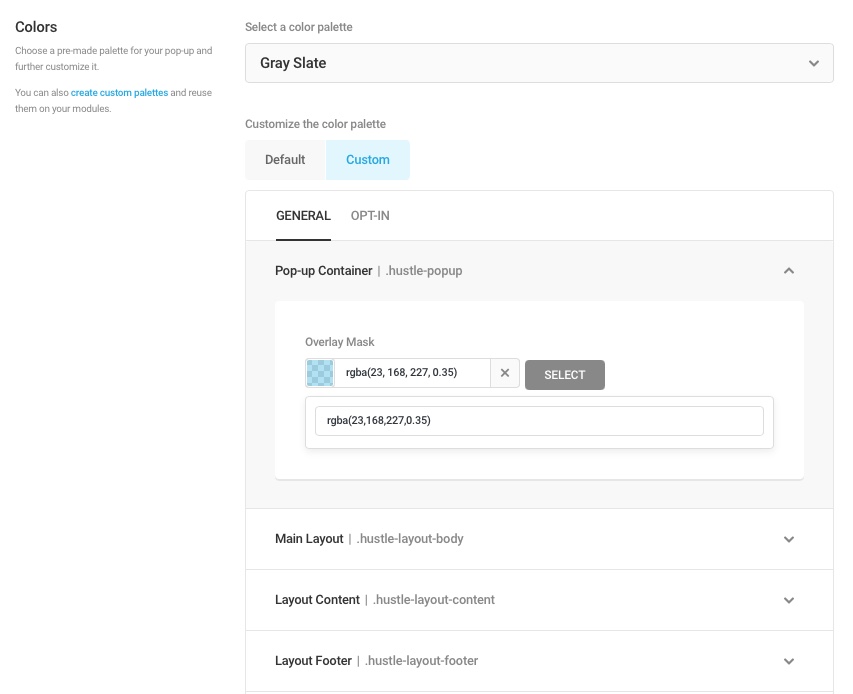
When you scroll down, you can change your colour scheme. Choose 'custom' and change the colours of your title, subtitles, close button, ... In the example below, we chose blue for the overlay mask.
If you want to save your changes, click 'save draft'. If you want to publish your pop up on the website right away, choose 'publish'.
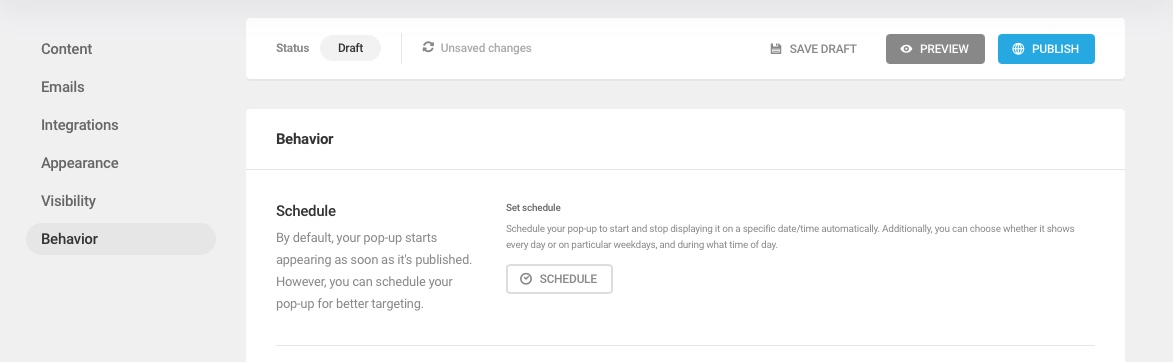
Setting rules on where to show the pop-up
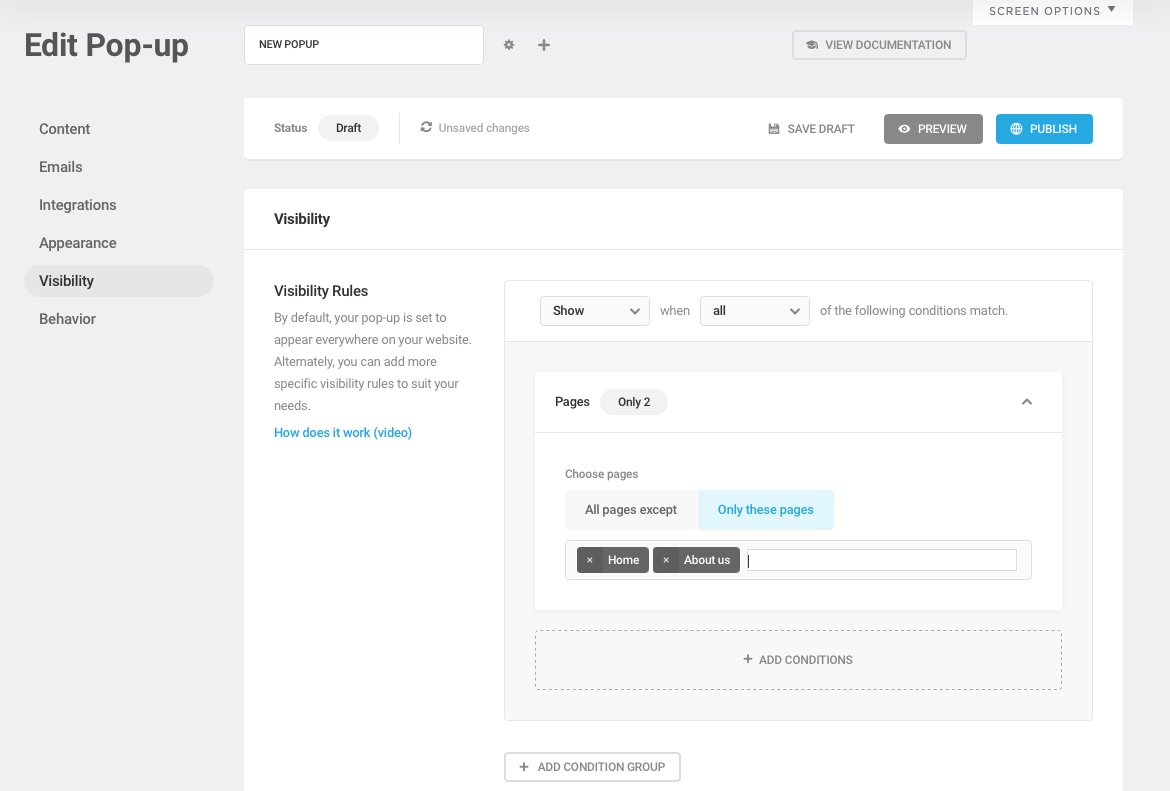
Visibility. In this tab, you can set rules on where to show your pop up. You decide where and when the pop up is shown on your website by selecting conditions and linking them to certain pages. In the example below, the pop up is shown when all conditions are met, but only on the home page and the about us page.
Behavior. When does the pop up apply? When do you want to show it on your website?You can schedule your pop up. Set a time, for example when you are having a sale, and your notification will be turned on and off automatically.
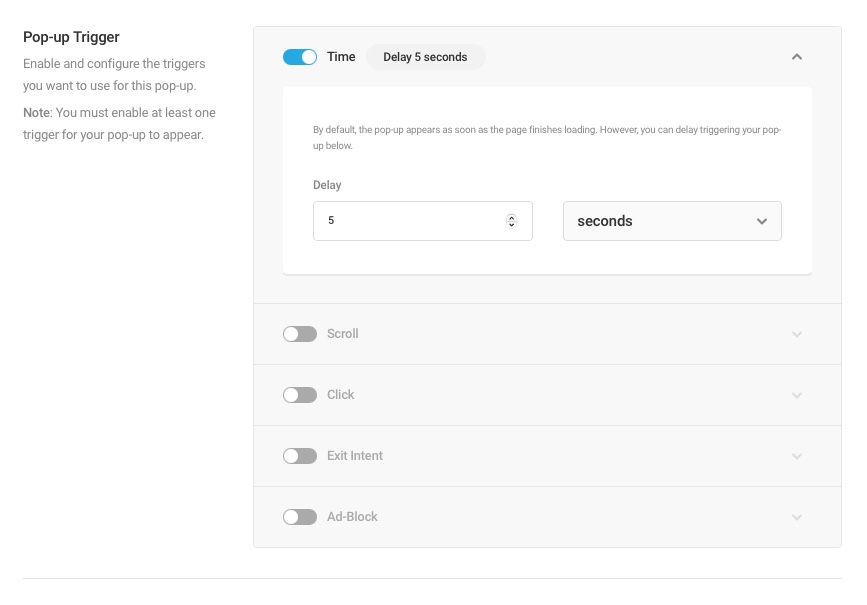
Pop up trigger. You can enable and configure the triggers you want to use for every pop up.Choose 'time' to show the pop up after a visitor spends a certain amount of time on your website.
Choose 'scroll' to show the pop up after a visitor has seen a certain percentage of your website. And so on ...
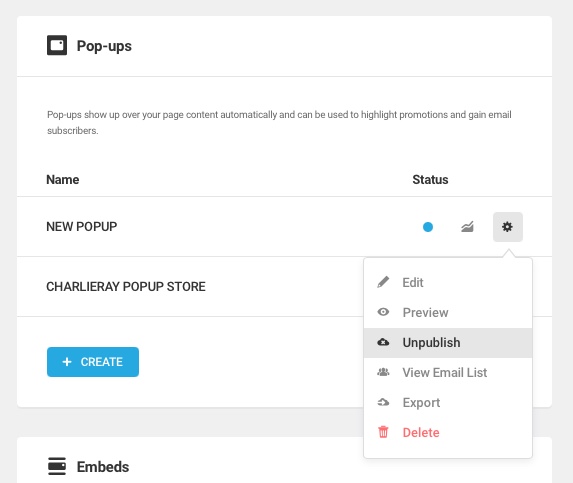
Very important: don't forget to save your design or to publish the pop up. To disable the pop up, there's no need to delete it. Just click on the setting wheel and then on 'unpublish'.