
Badge plugin
Get started
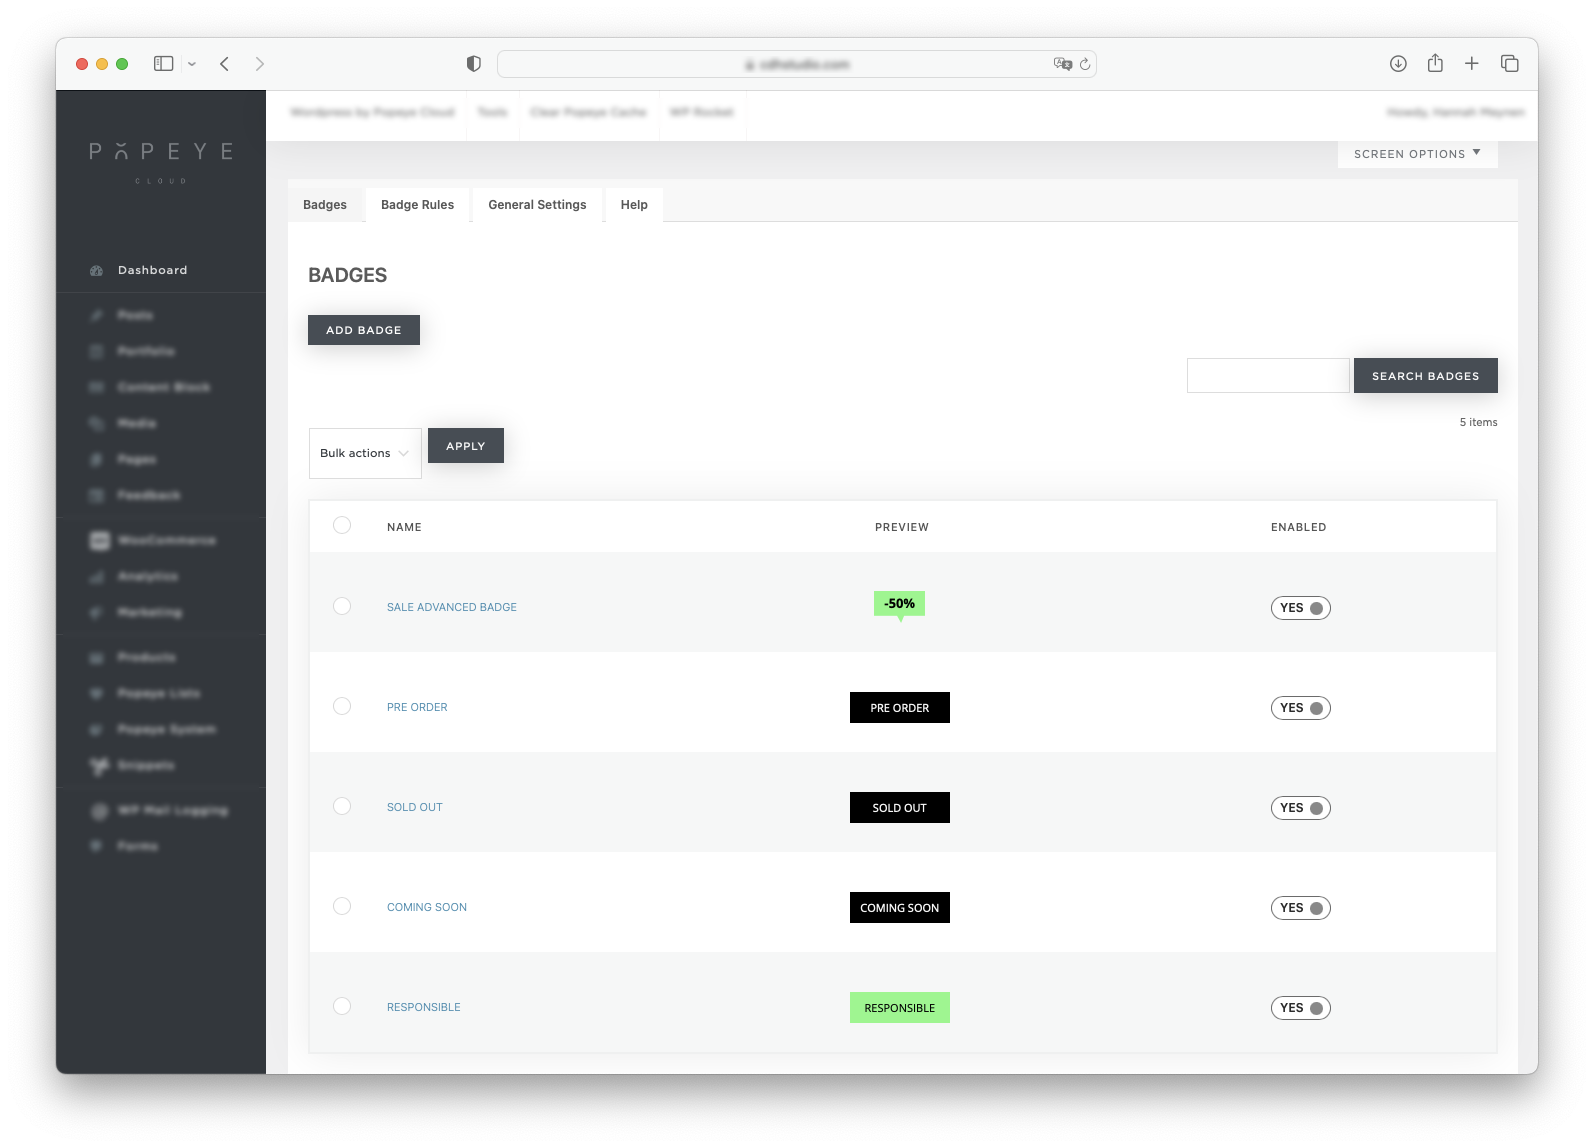
Go to your dashboard and find the label creator icon for the plugin settings An overview with all the badges will appear Don't forget to set a badge name if you create one, otherwise you won't be able to see the difference between all the created rules. You also don't have to delete them. Just enable or disable them
Percentage sale badge based on discount
CREATE AND VISUALIZE THE BADGE
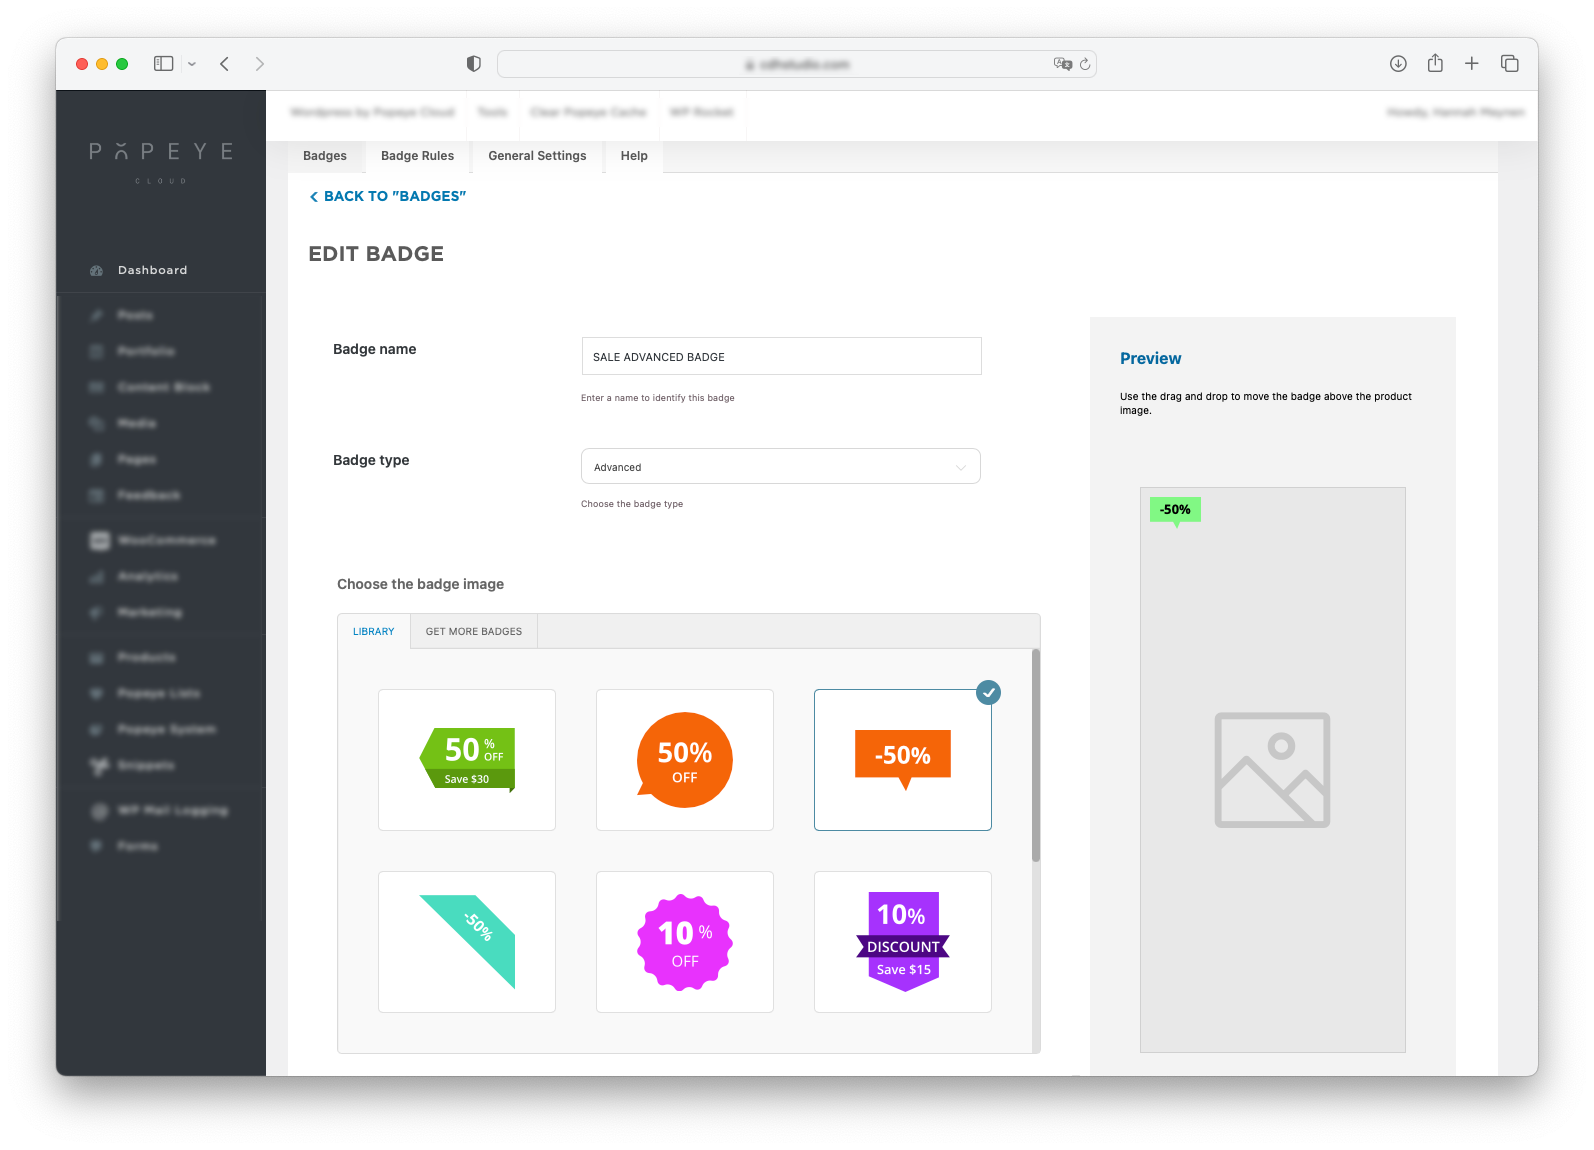
Click add badge Badge type: advanced (this means the badge will automatically apply the discount that has been set by you in the product settings) We call this badge: sale advanced badge Choose a badge image: you can choose the one we've selected, because the rest is ugly 🙃

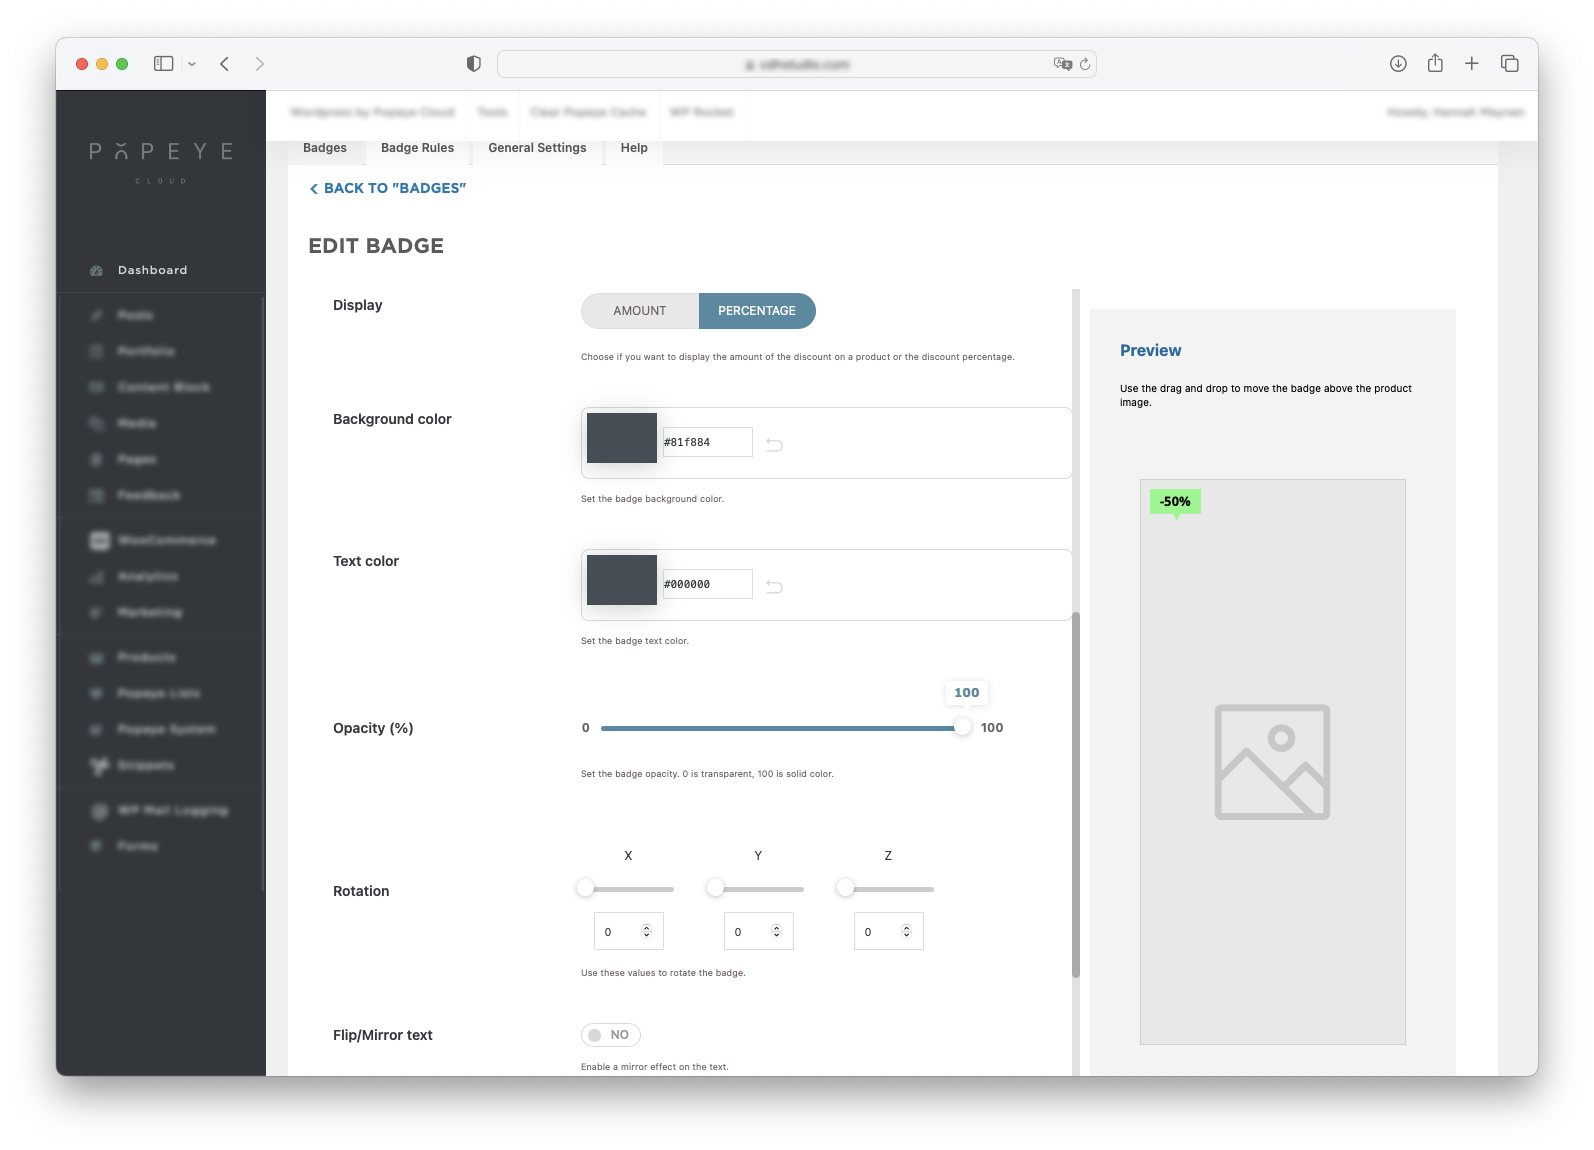
Scroll down, we have a lot of other options Display: you can choose if the badge shows the discount in percentage or amounts Set the background color code and the text code Opacity: makes the badge a bit transparant on the product image (don't recommend because the readability could reduce) Set position: set it to fixed Position: in this case the badge is shown in the top left corner (you can change that and check the preview on the right) Margin: set is to 9 top and 9 left same settings as in the example below Click save badge

CREATE RULE FOR THIS BADGE
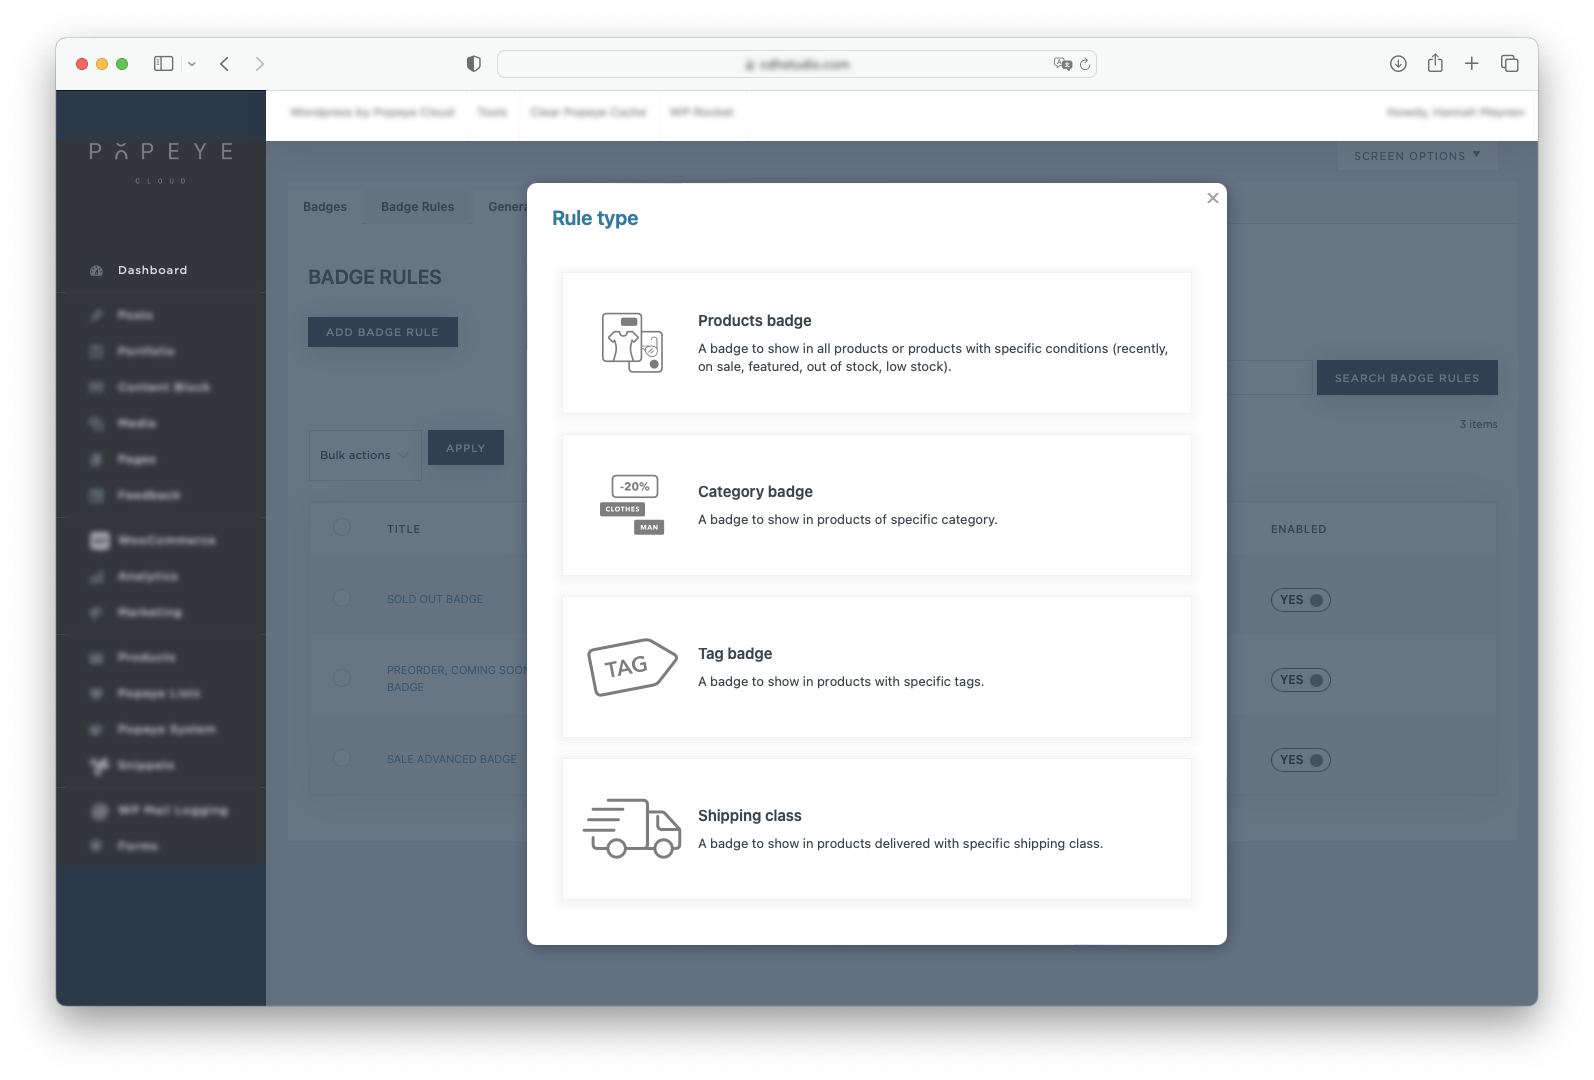
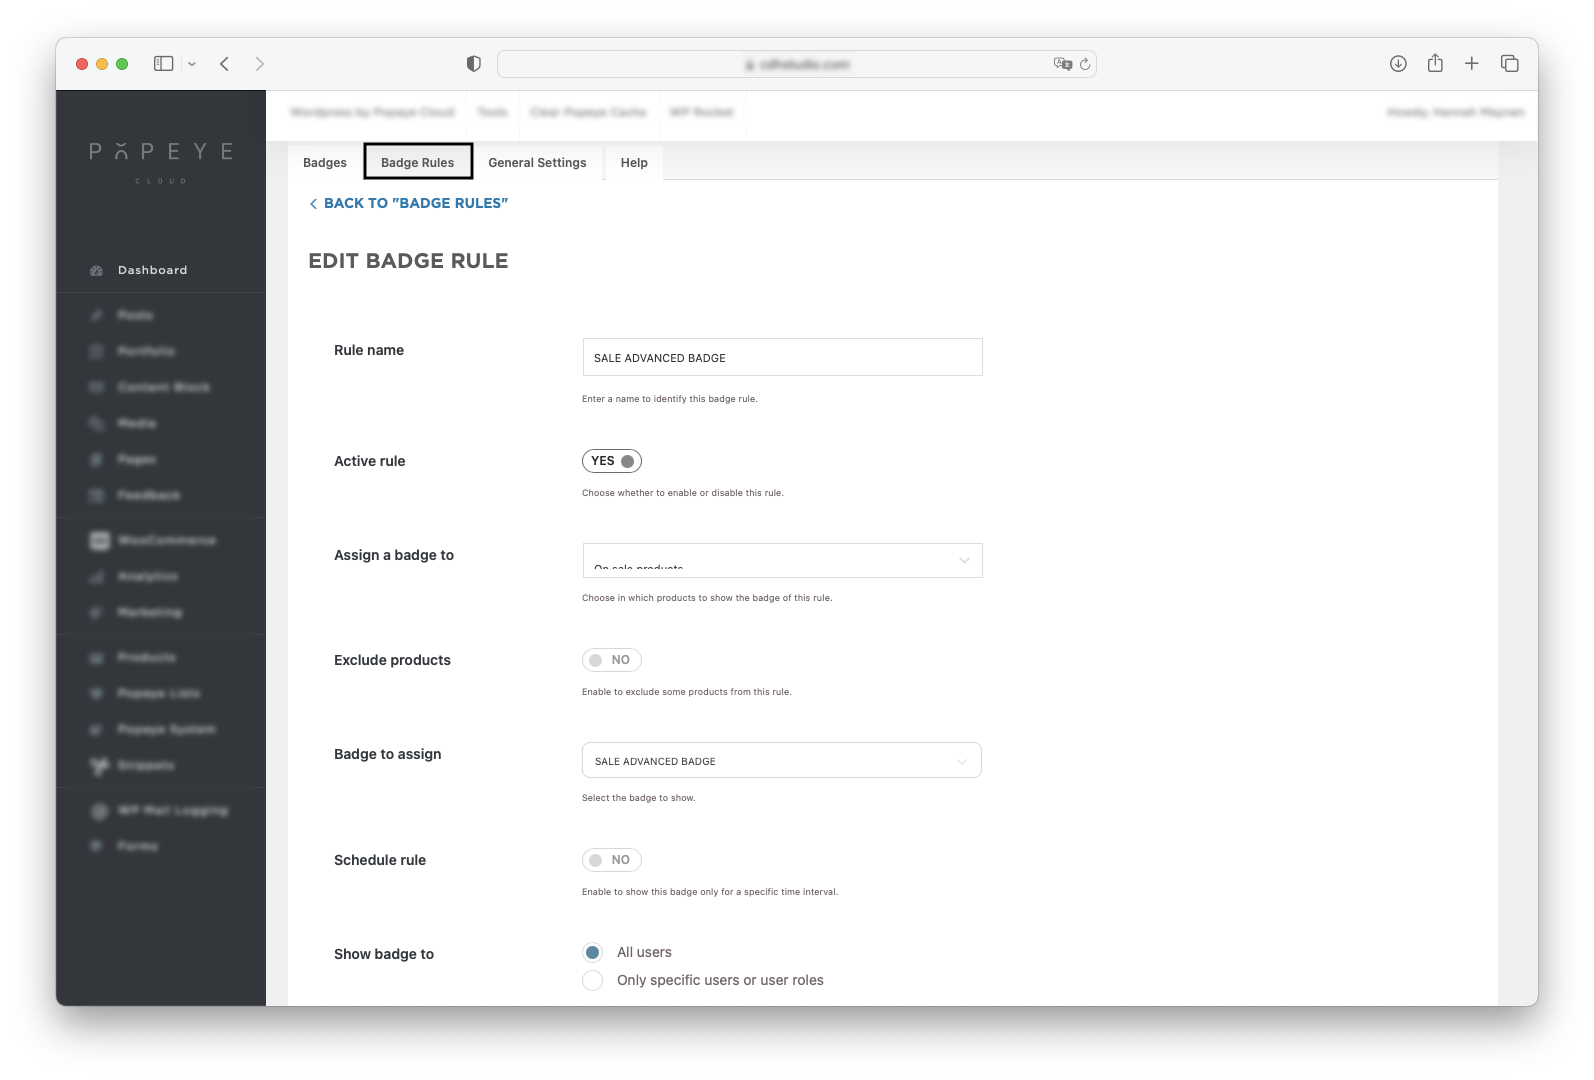
Click the tab: badge rules Click add badge rule: choose products badge We call this badge rule: sale advanced badge Active rule: set to yes Assign badge to: on sale products Exclude products: if you need to Schedule rule: only apply is this badge needs to be shown for a period of time Click save rule
Sold out badge
CREATE AND VISUALIZE THE BADGE
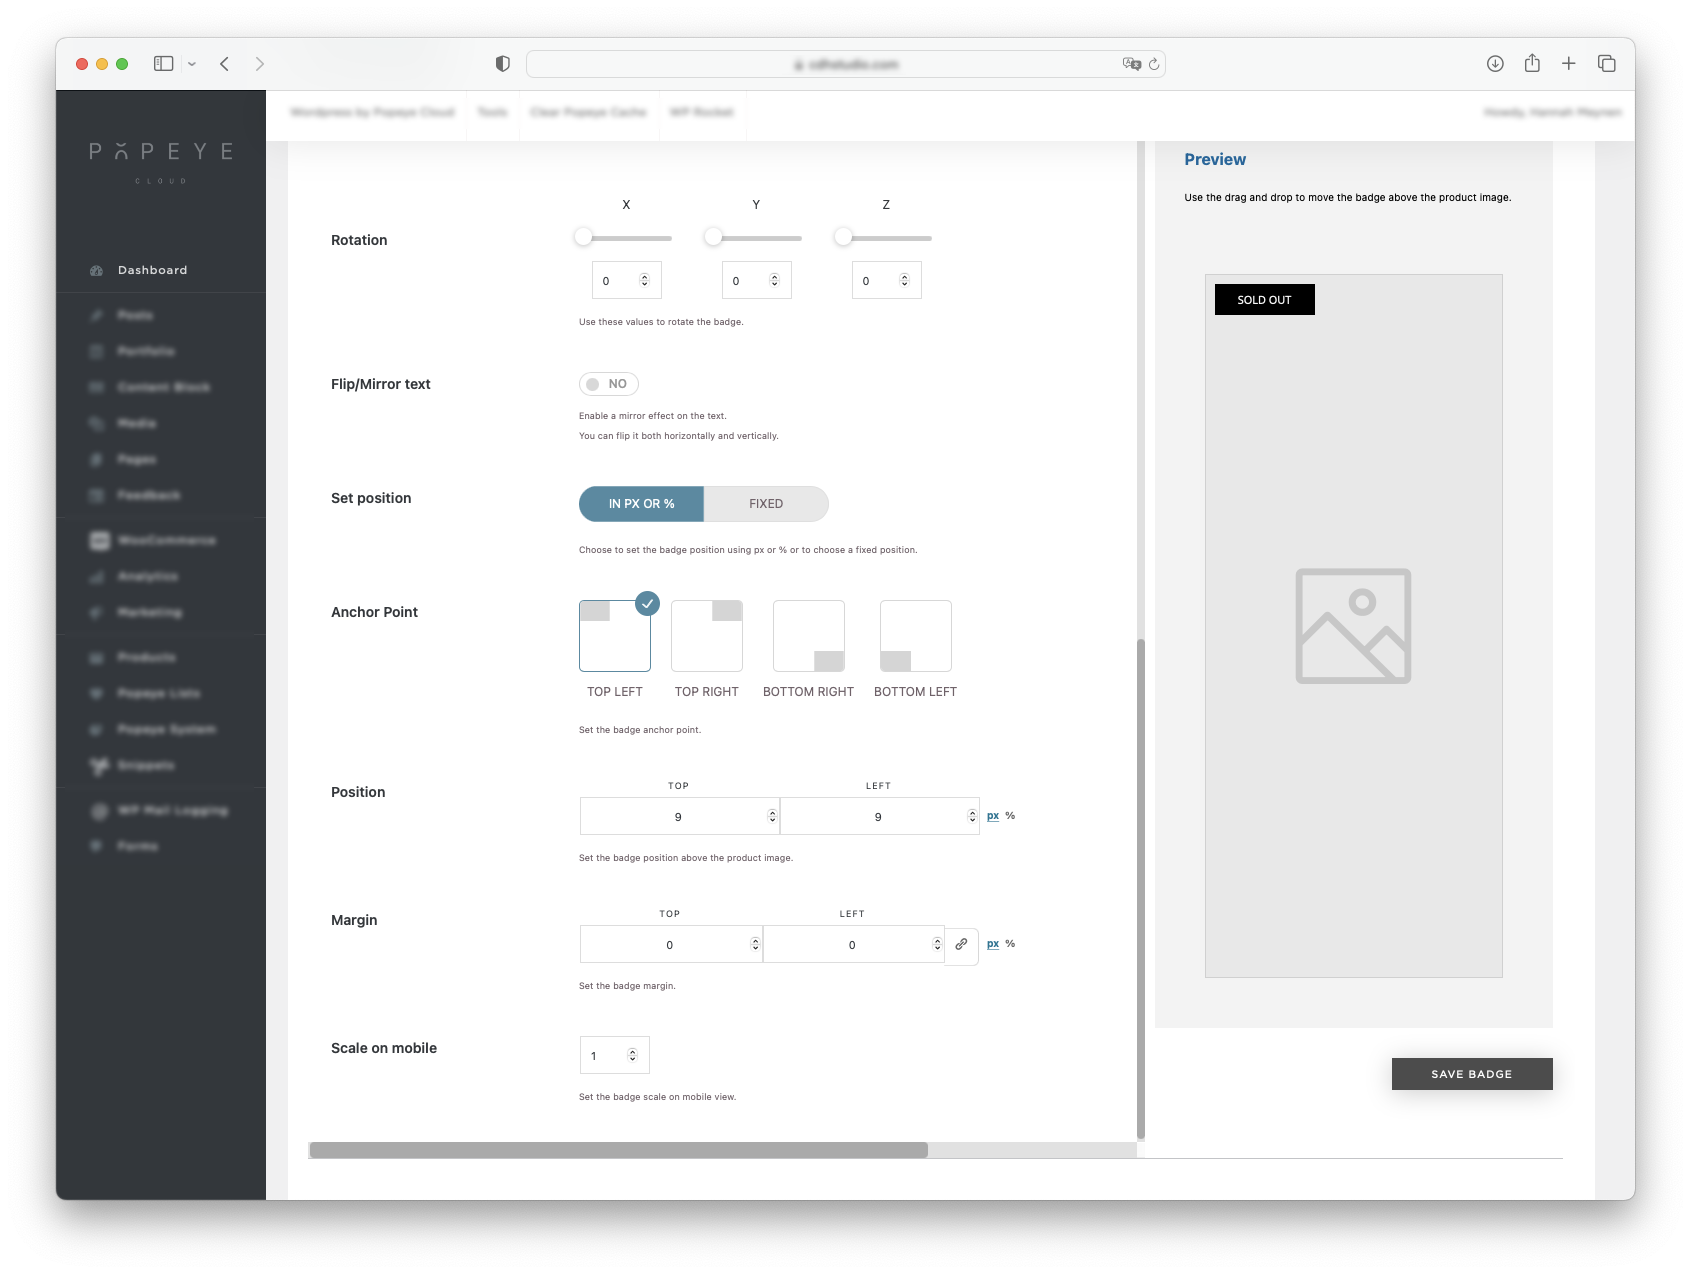
Click add badge Badge type: text badge We call this badge: sold out Text: SOLD OUT Background color: choose your color Size (px): 100 width and 31 height Opacity: 100% Set position: in px or % Achor point: choose where the badge is positioned Position: top 9 left 9 (if you want the badge to stick in the corner without space, set top and left to 0) Click save badge

CREATE RULE FOR THIS BADGE
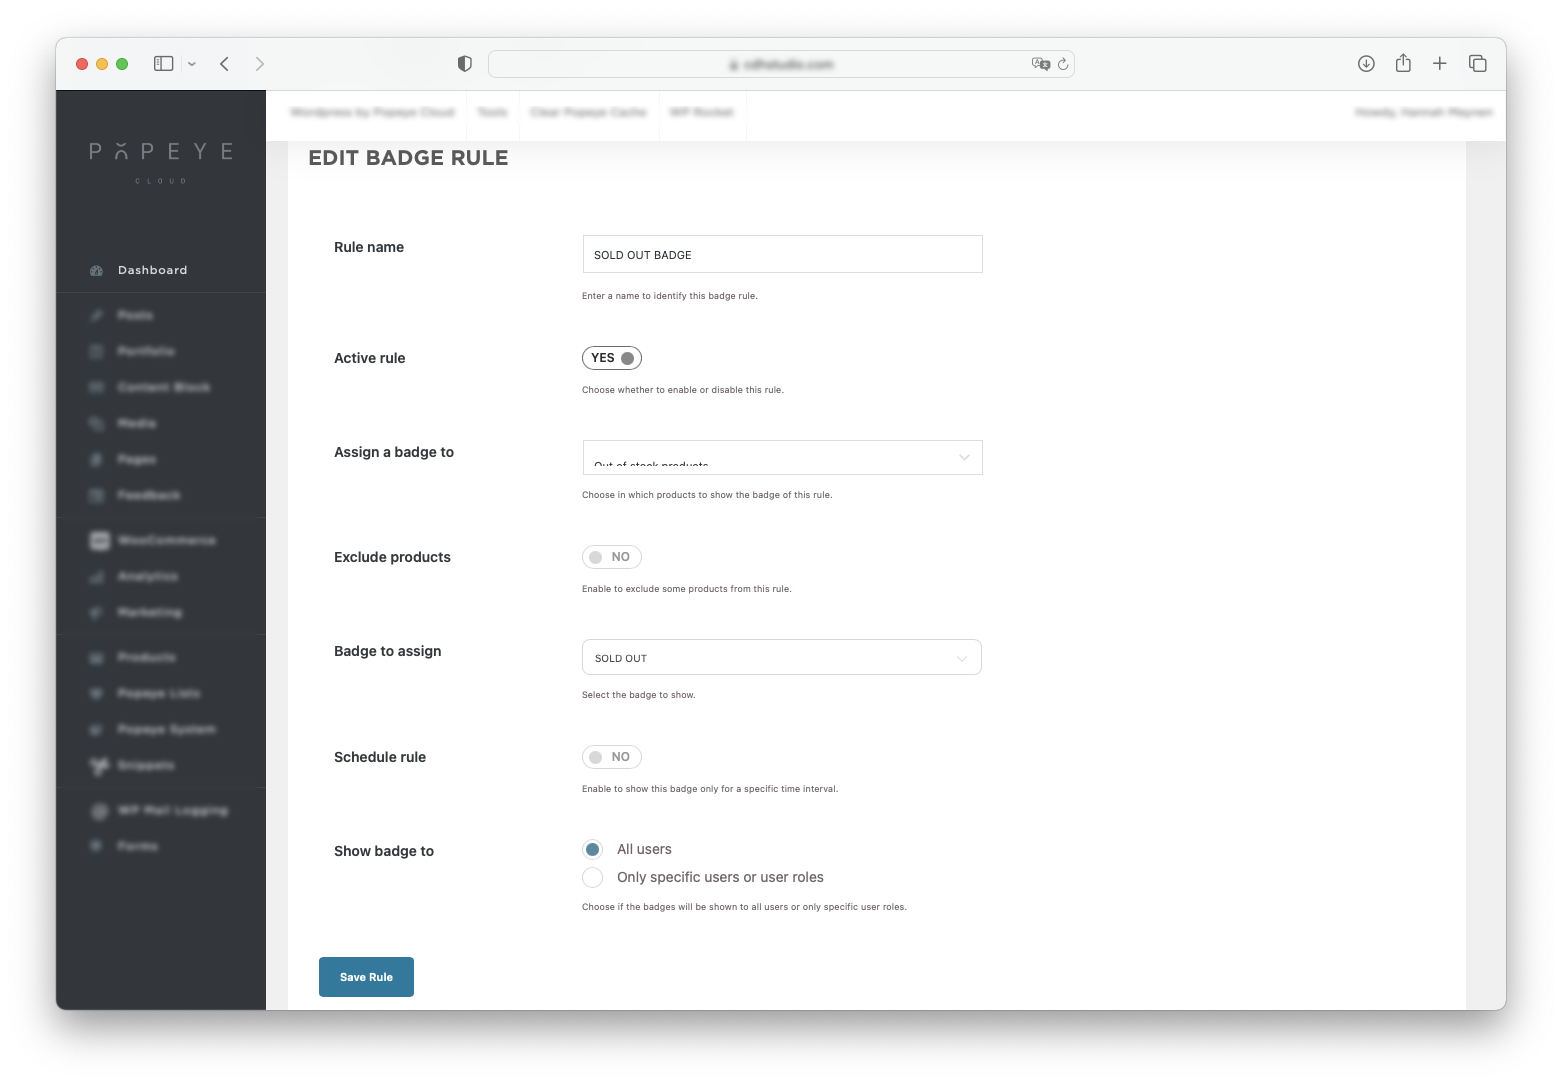
Click the tab: badge rules Click add badge rule: choose products badge We call this badge rule: sold out badge Active rule: set to yes Assign badge to: out of stock products Badge to assign: now you have to assign the correct badge, we named in the previous steps: SOLD OUT Click save rule
Other badges
Such as: preorder, coming soon, responsible, brand names or other tags/categories...
CREATE AND VISUALIZE THE BADGE
Click add badge Badge type: text badge Set a name for this badge Text: set the name of this badge Background color: choose your color Size (px): 100 width and 31 height Opacity: 100% Set position: in px or % Achor point: choose where the badge is positioned Position: top 9 left 9 (if you want the badge to stick in the corner without space, set top and left to 0) Click save badge CREATE RULE FOR THIS BADGE
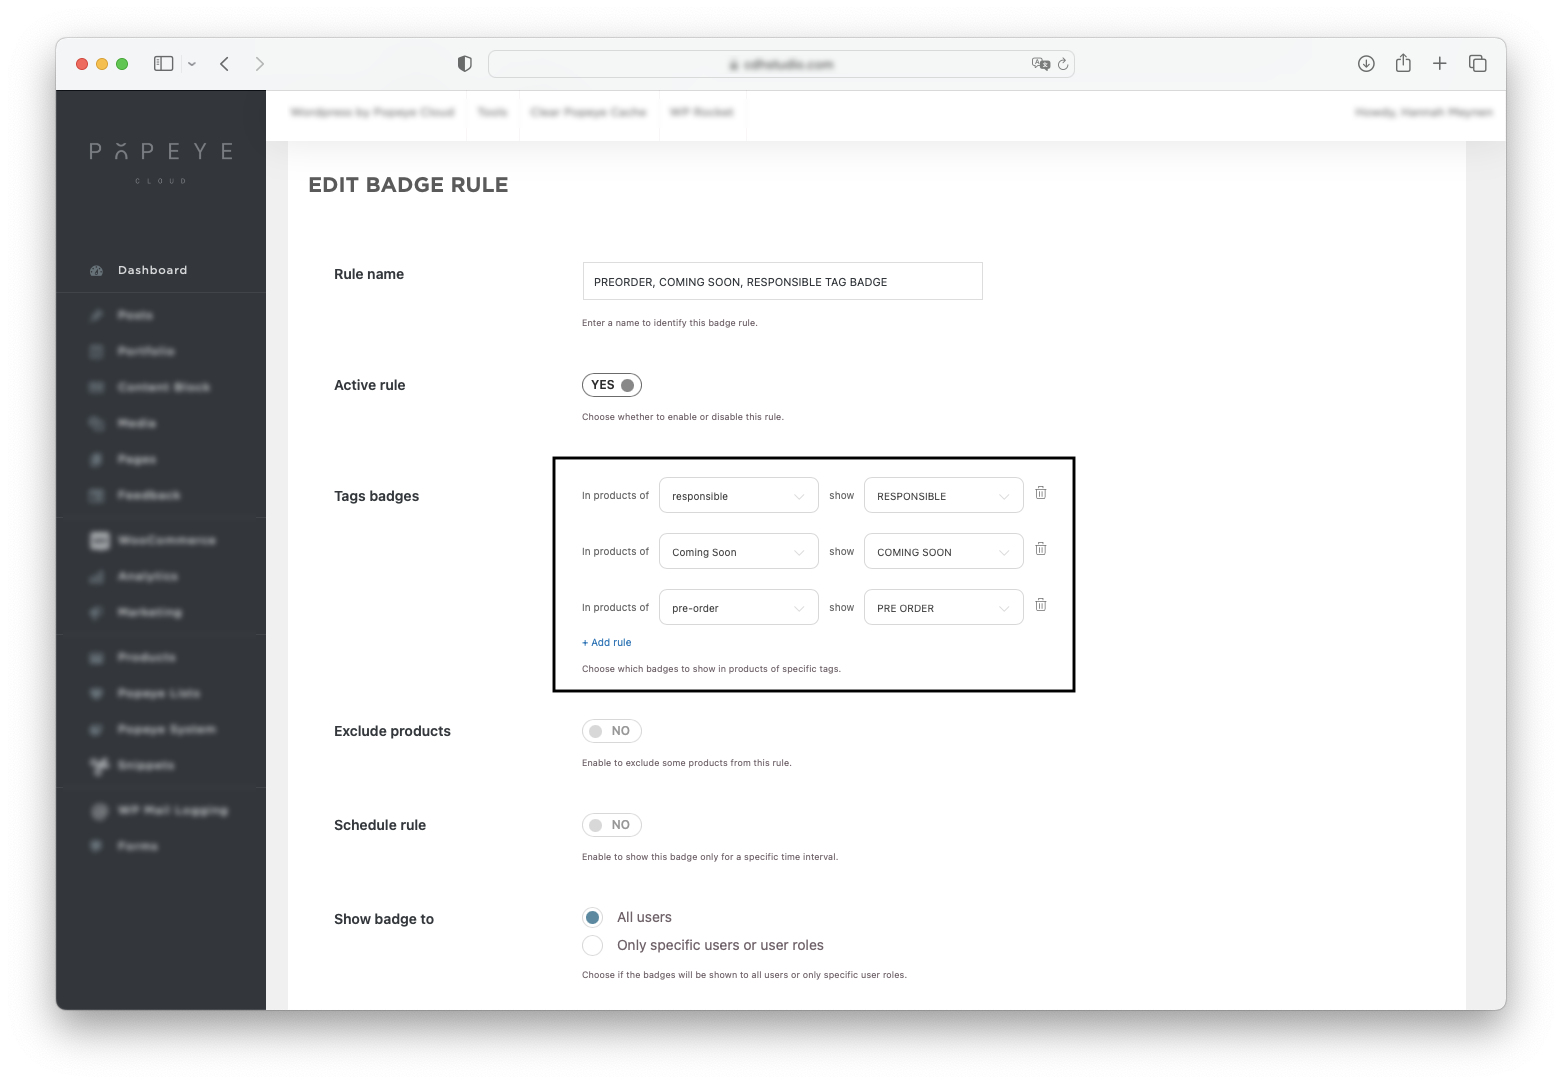
Depending on what kind of badge you need, you have different options If you have a specific tag such as: unisex you can set it there then select TAG otherwise CATEGORY You can assign different badges to 1 rule here's an example: