

Step 04: Backend and frontend editor
Backend
When logged in, you automatically are directed to the backend dashboard. Which means literally the backside of the website. Go to a specific page you want to edit via pages > edit page. Which opens the backend of the page. Whereafter you'll see a block structured editor with elements such as 'empty spaces' or 'single media' or 'headings'.
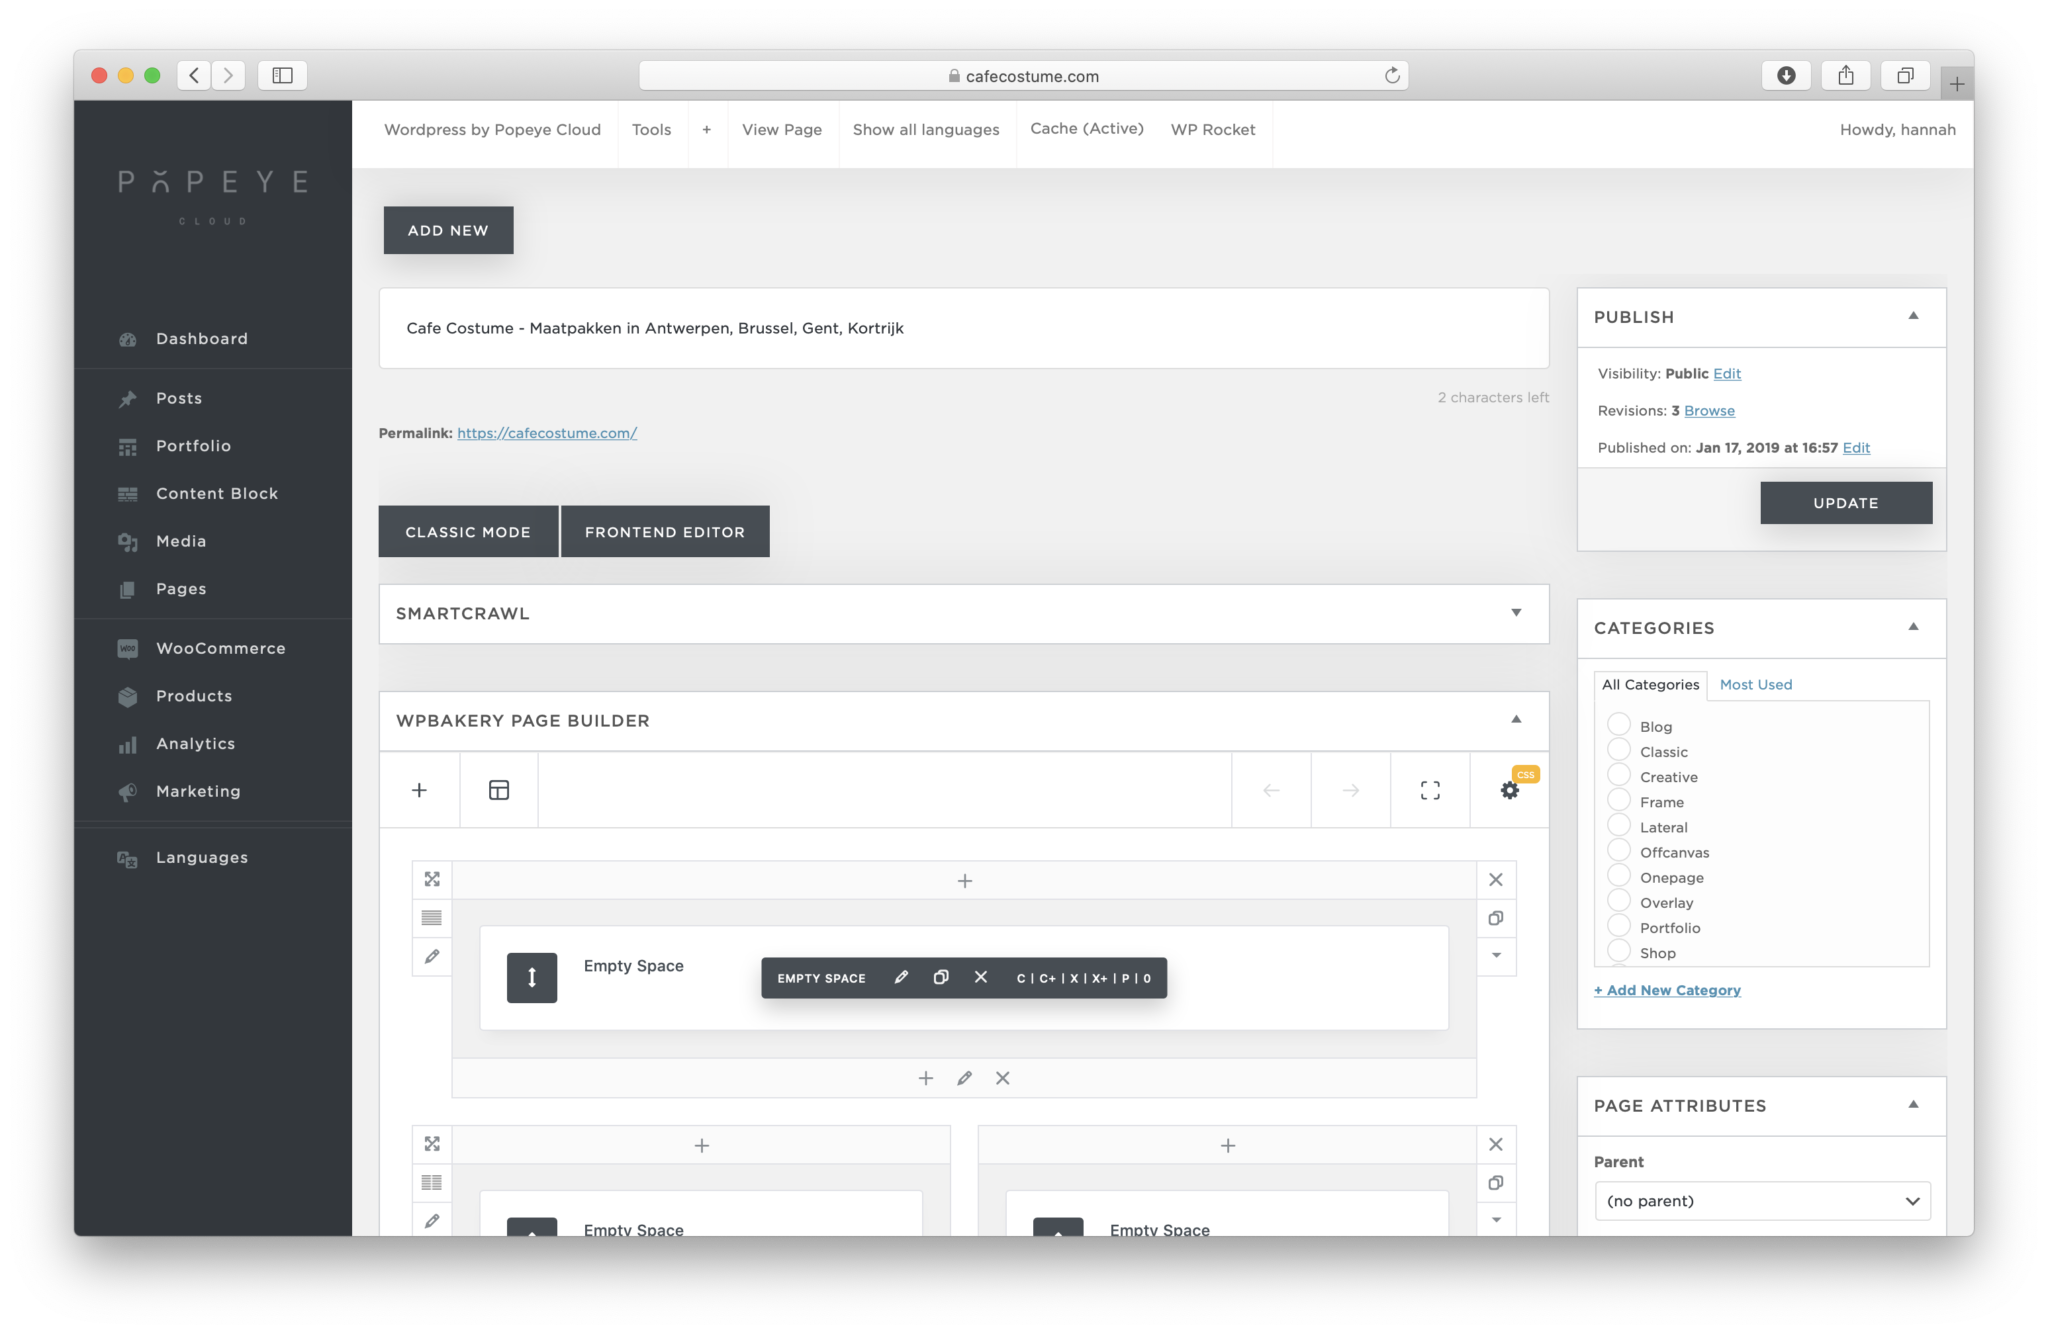
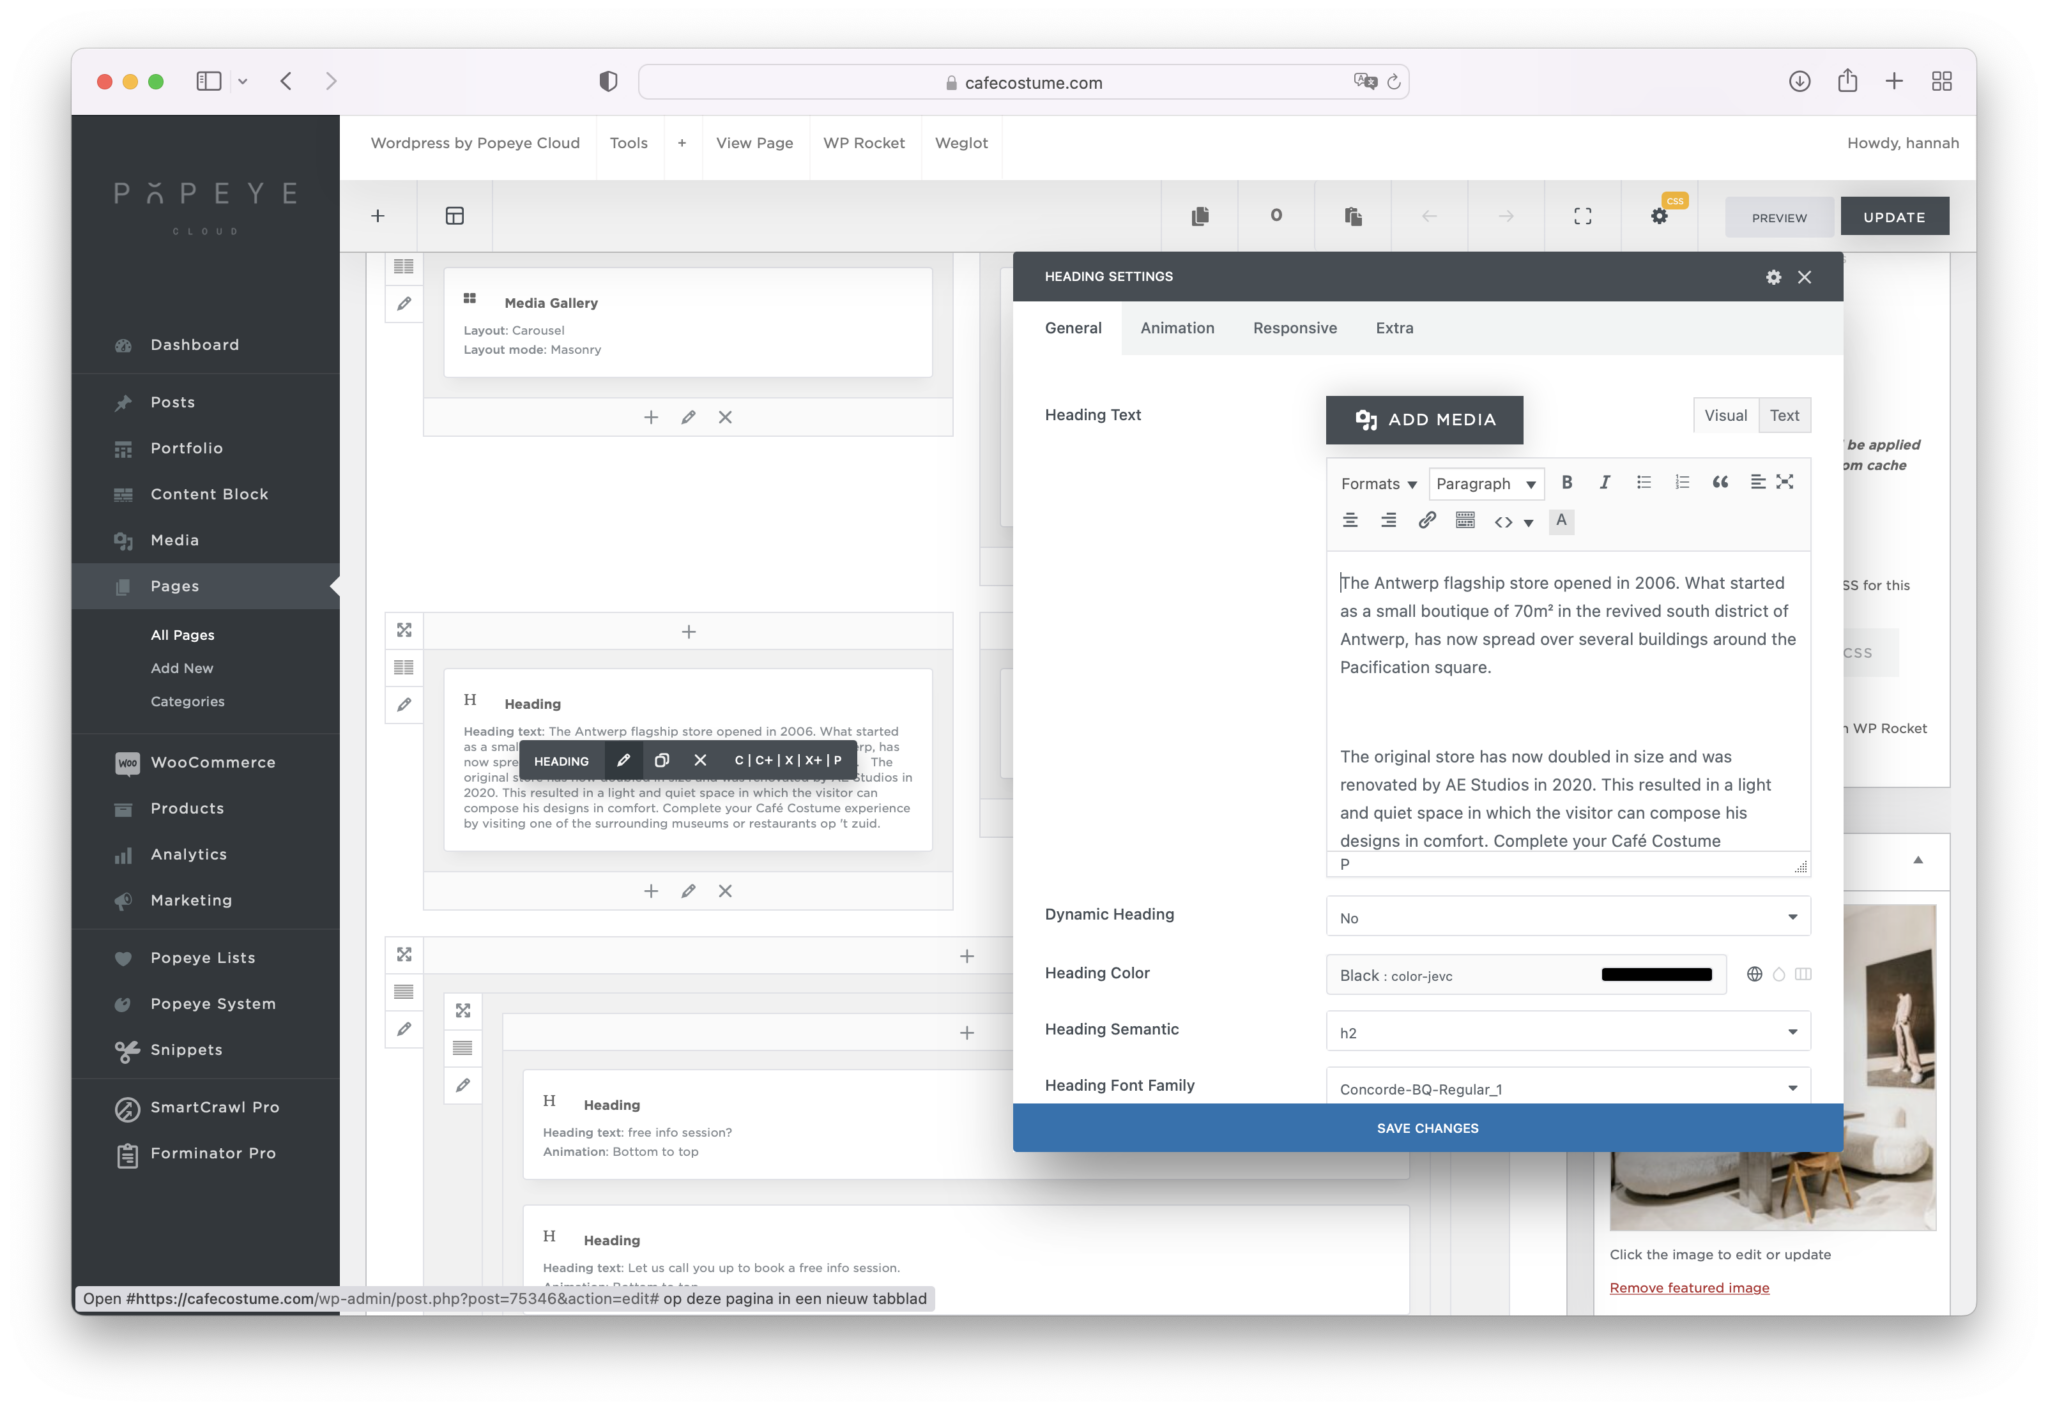
If you want to edit a certain element a black bar appears. The pencil icon represents 'editing' so if you want to edit an element, in this case: heading. > click pen icon. A text window wil pop up where you can edit/delete/add text. Don't forget to click 'save changes' and 'update'.
Frontend
Editing in the frontend means literally editing the website on the frontside. You can go to the frontend editor by going to the page you want to edit and click the button 'edit frontend' or 'edit with page builder'.

Once the frontend editor is open you can navigate with your mouse to all elements. Blue frames will show and give you the ability to make changes. Also same as in the backend > pencil icon represents making changes! A pop up window will appear.
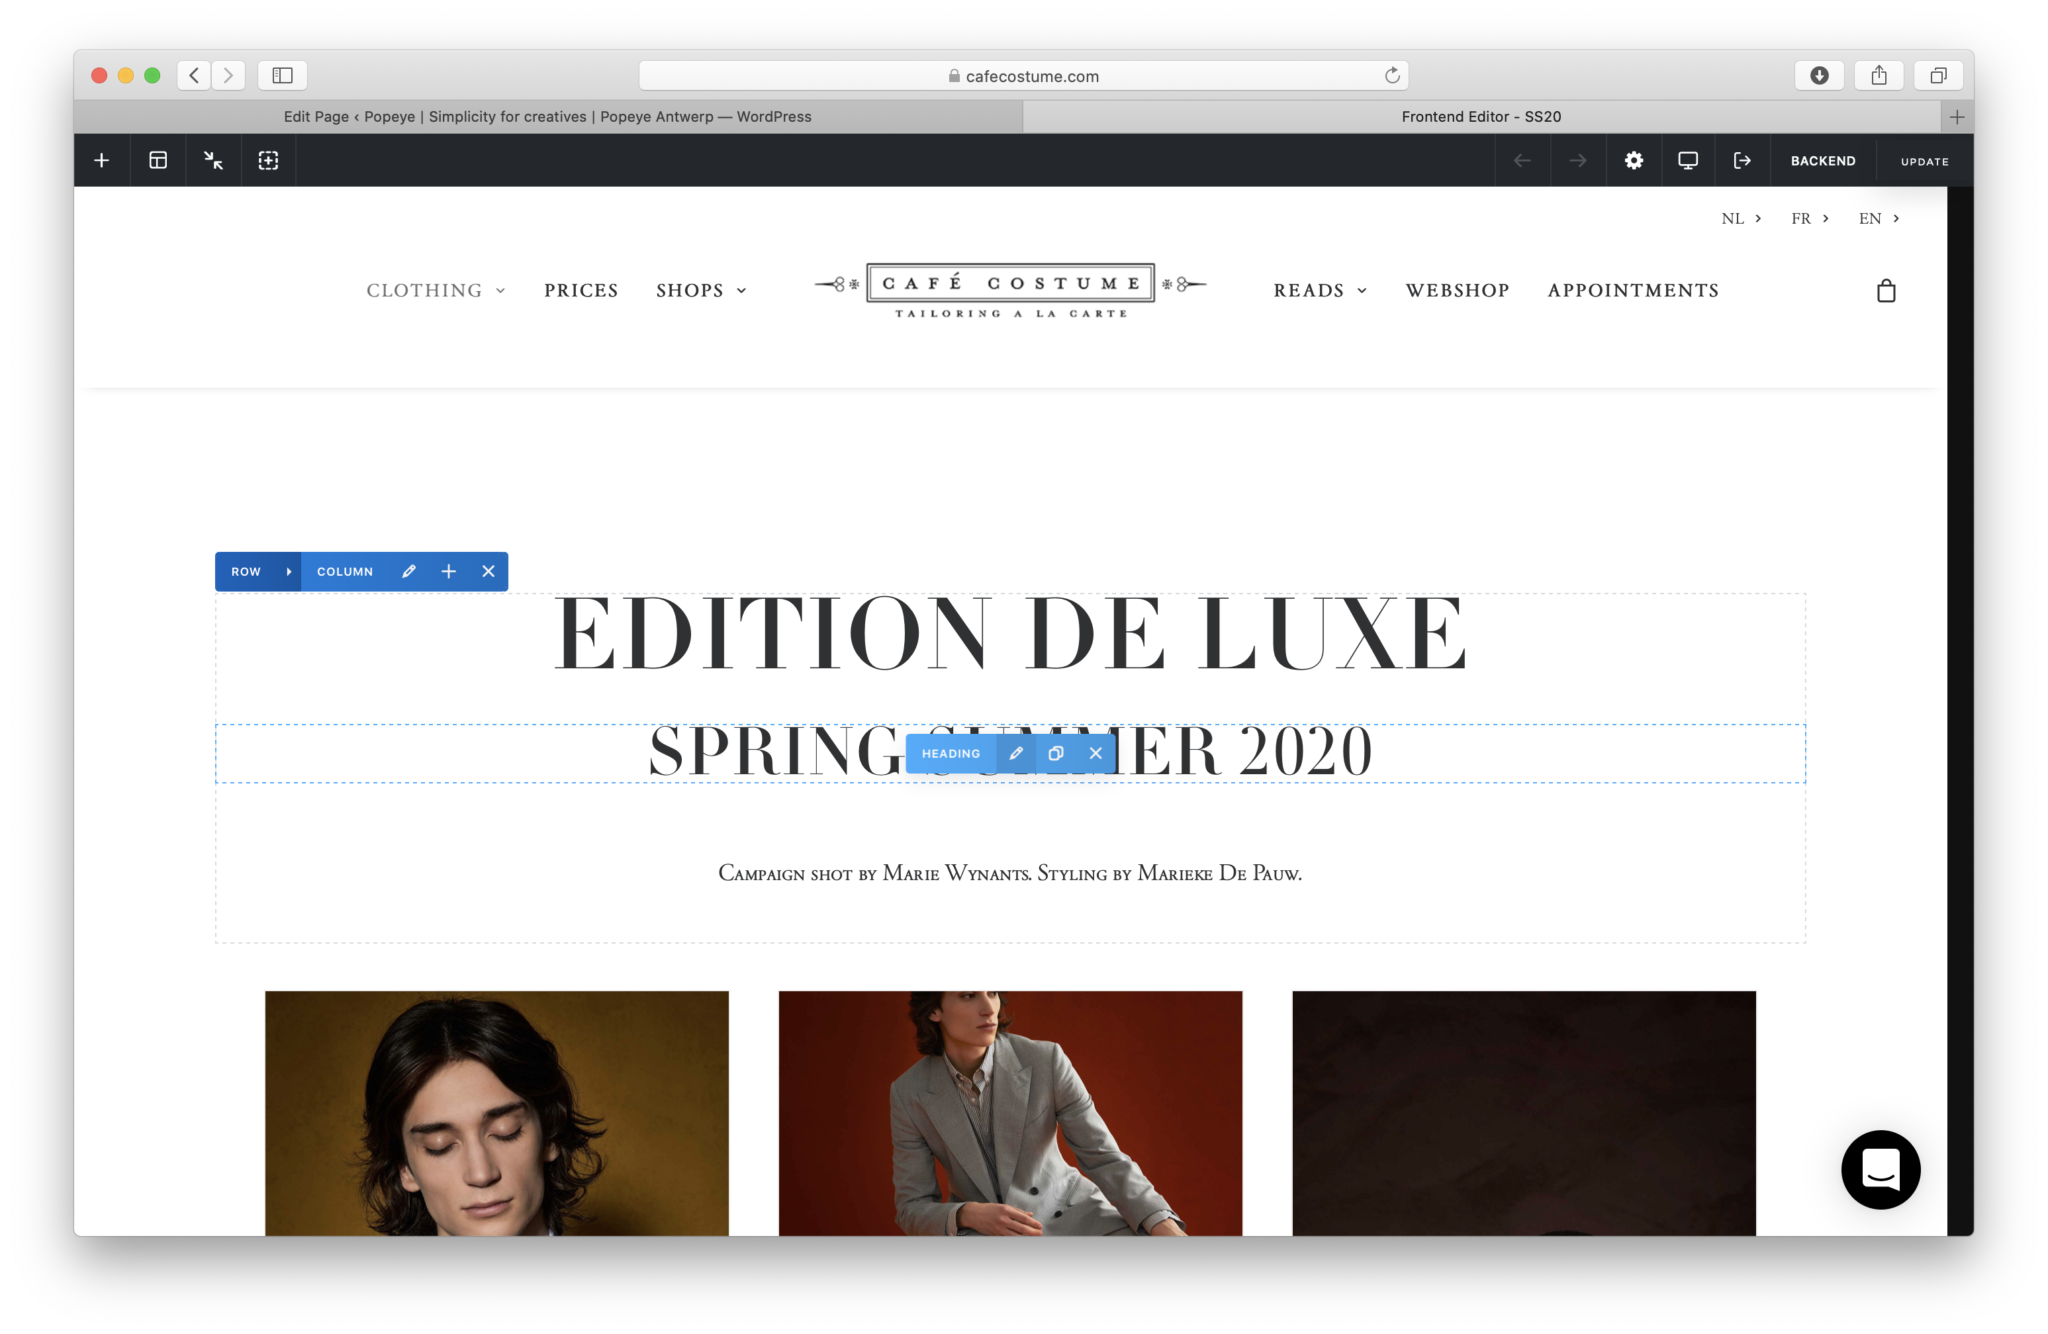
When all changes have been made, you can click 'update' in the right top corner. To exit this frontend editor click the blue highlighted icon. If you don't see any changes yet please clear your (WP Rocket) cache! Need help with that? Click here for more information about WP Rocket